Replacing a door may seem straightforward, but even the smallest measurement error can result in drafts, uneven gaps, or a door that simply will not close properly. We know how frustrating it can be to invest time and resources into a project, only to find that the new door does not fit as expected.
With the right approach and careful measuring, you can avoid costly mistakes and ensure an easy installation. In this guide, we will walk you through the exact steps to measure accurately for a replacement door.
Ready to experience the benefits of custom closet doors? Explore our range of Paniflex products now.
Before we begin:
- To measure for a replacement door, record the width, height, thickness, and swing direction; include rough opening and jamb depth if replacing the frame.
- Skipping accurate measurements can result in uneven reveals, drafty gaps, misaligned hardware, or even the need to reorder an entirely new door.
- Slab doors suit intact frames, while prehung systems work best when both door and frame require replacement.
- Cost factors include materials, customization, hardware, and installation complexity.
Why Do Accurate Door Measurements Matter?
Measuring a replacement door is about more than just fitting a slab into an opening. Precision ensures smooth operation, reduces the need for costly adjustments, and helps preserve the integrity of your design.
This is why accurate door measurements are important:
- Smooth Installation: Eliminates the need for trimming or forcing the door into place.
- Energy Efficiency: Prevents gaps that lead to drafts and higher utility costs.
- Design Consistency: Ensures uniform reveals and a polished, professional finish.
- Hardware Alignment: Keeps hinges, locks, and latches working as intended.
- Cost Savings: Avoids reordering doors or paying for additional labor and adjustments.
With the importance of precision clear, let us look at the tools and materials you will need to take accurate measurements.
Tools and Materials Required
Accurate measurements start with having the right tools on hand. Using reliable measuring equipment ensures your replacement door will fit perfectly without costly adjustments or rework.
| Tool/Material | Purpose |
|---|---|
| Tape Measure | Provides precise width, height, and thickness measurements. |
| Level | Ensures the frame and measurements are plumb and square. |
| Framing Square | Confirms accurate 90‑degree corners. |
| Pencil & Notepad | Record all measurements clearly to avoid confusion later. |
| Ladder (if needed) | Assists in reaching and measuring taller doors. |
| Existing Door (if in place) | Serves as a direct reference for measurements. |
With the right tools ready, you can now begin measuring accurately. First, let us cover how to measure your door when you are replacing the door slab only.
Suggested Read: Smart Closet Door Solutions for Small Spaces
How to Measure When Replacing Just the Door?
If the frame and jamb are in good condition, replacing only the door slab is often the simplest and most cost‑effective choice. However, precision is critical, as the new door must fit exactly within the existing frame.
Follow these steps to measure for a replacement door:
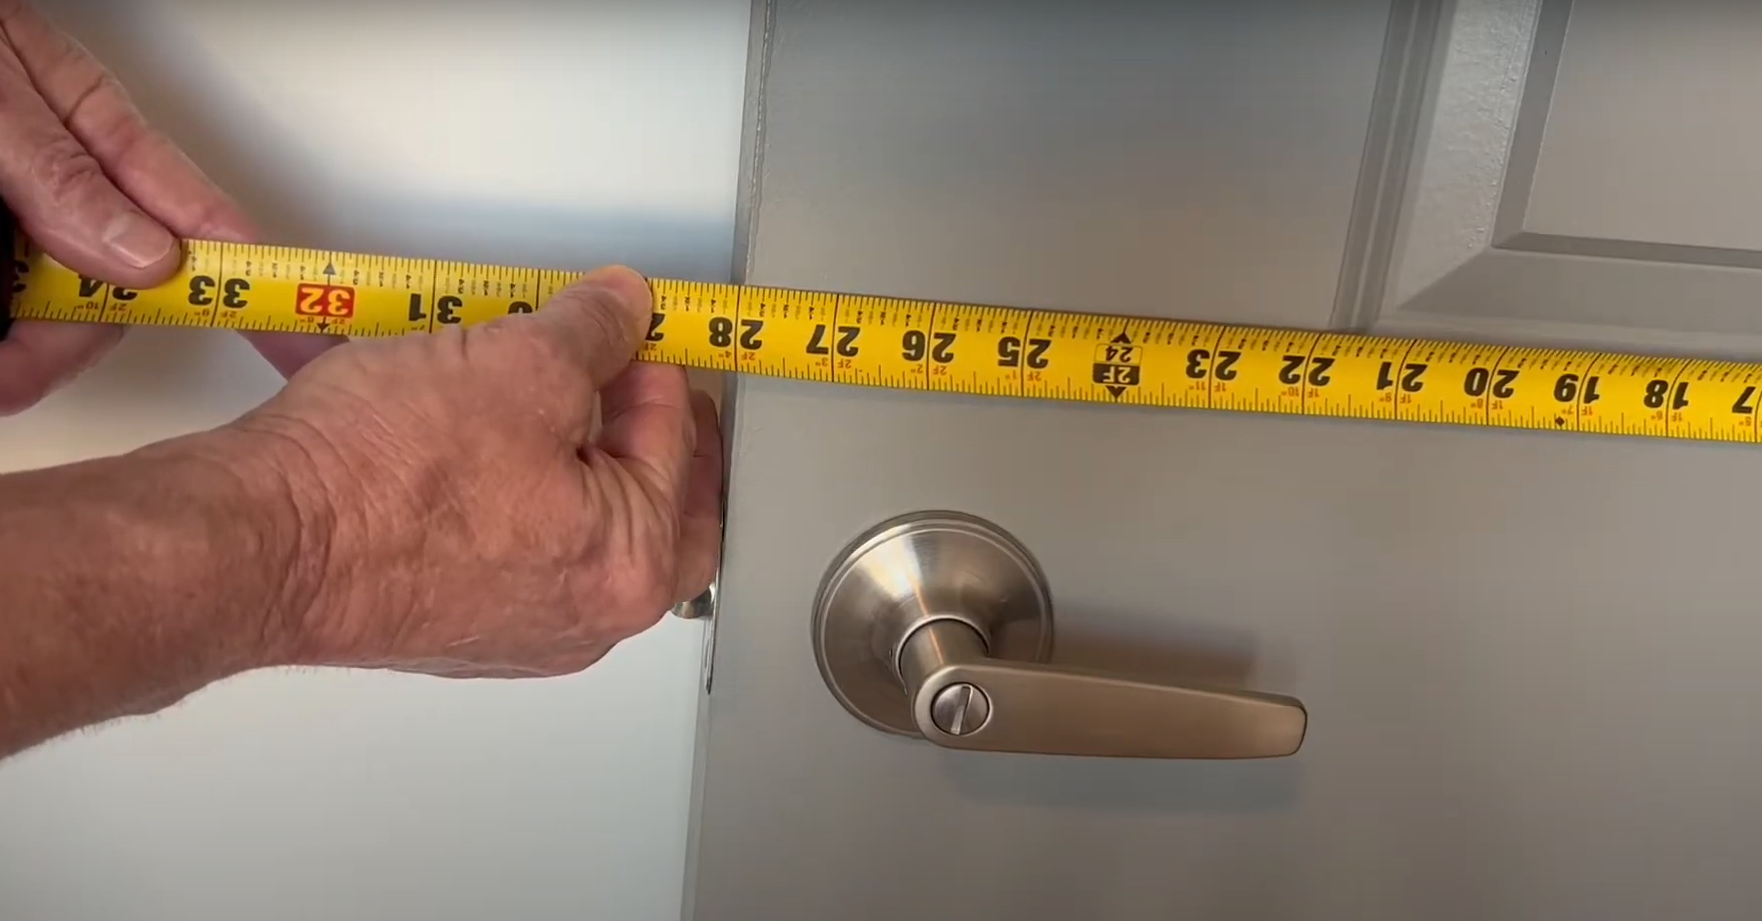
1. Measure the Width
To get an accurate width, measure the door at three points: the top, the middle, and the bottom. Since doors and frames can shift over time, you should always use the smallest measurement you record. This ensures the new slab will fit without binding, even in the tightest spot.
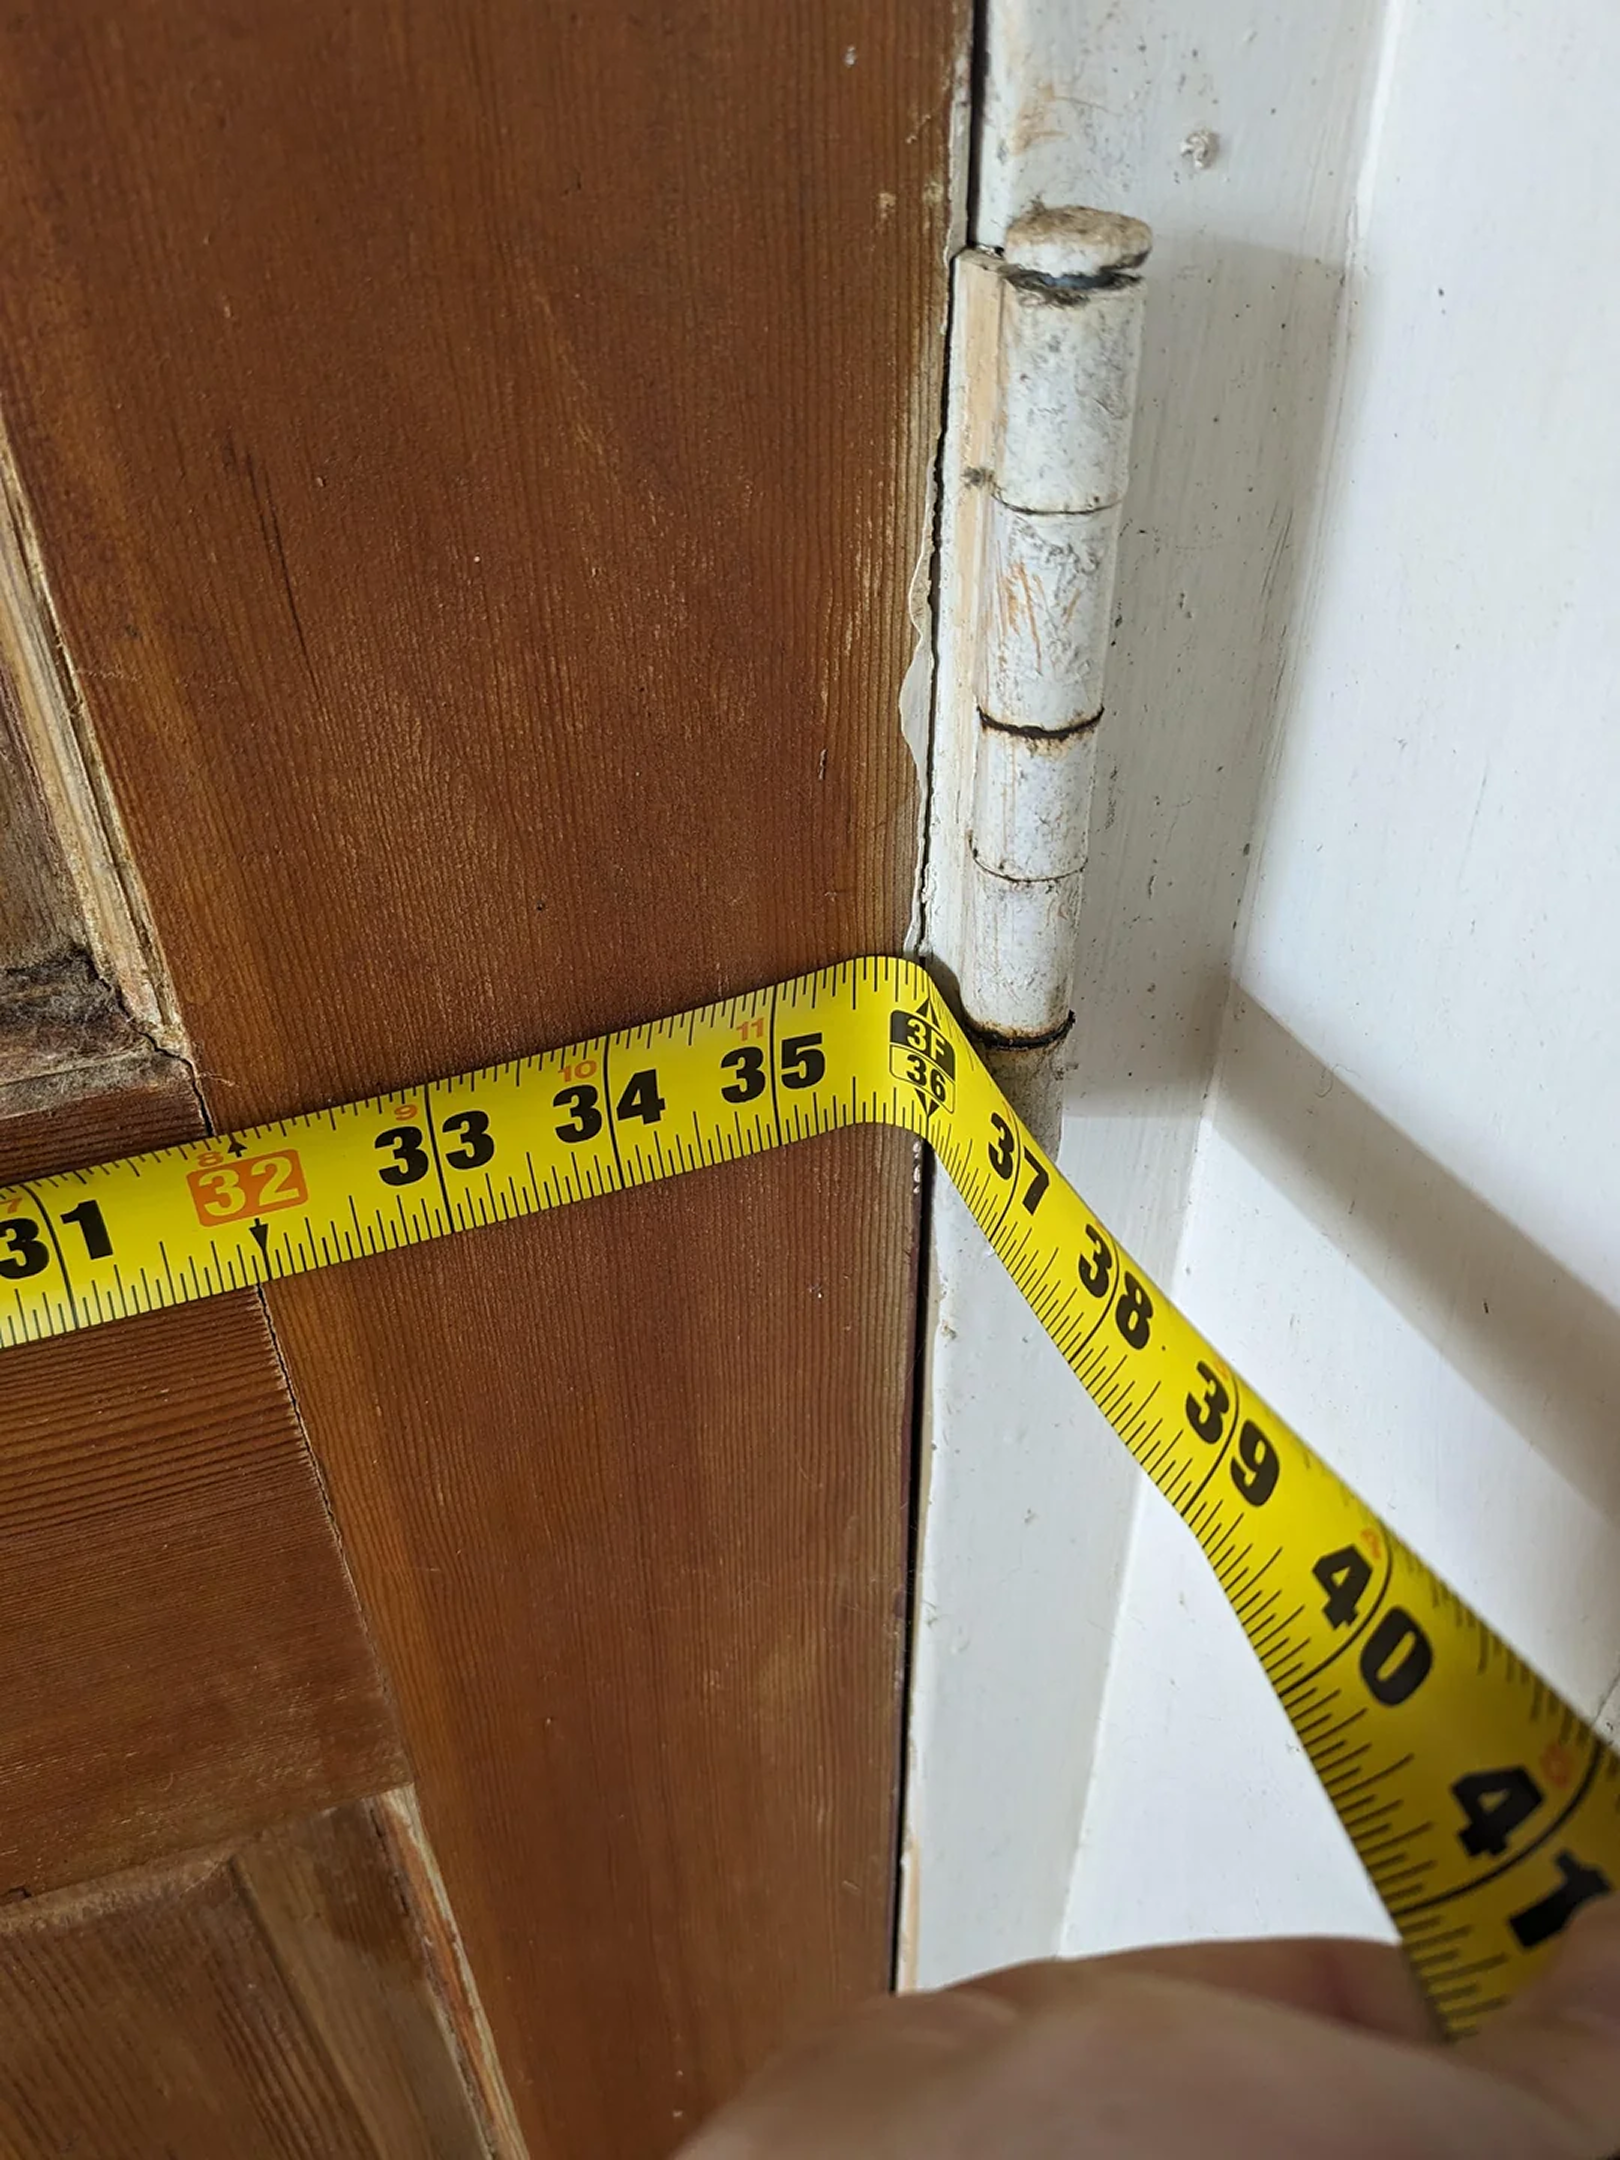
2. Measure the Height
Next, measure the height of the door from top to bottom along both the left and right edges. Floors and frames are not always perfectly level, so choose the shorter measurement to avoid the new door dragging against the floor during operation.
3. Measure the Thickness
The thickness of the door slab is equally important for a proper fit. Measure along the edge of the existing door. Most interior doors are 1 ⅜ inches thick, while exterior doors are typically 1 ¾ inches. Using the correct thickness ensures the new slab will align properly with the hinges and latch.
4. Identify Swing Direction
Finally, determine the swing direction of the door. Stand facing the door on the side where it opens toward you. If the hinges are on your left, it is a left‑hand door; if they are on your right, it is a right‑hand door. Correctly identifying swing direction prevents costly ordering mistakes.
Once these measurements are complete, you will have all the information needed to order a slab‑only replacement. If the frame or jamb also needs replacing, you will need a more detailed process, which we will cover next.
Suggested Watch: This video explains how to measure a door very clearly and briefly.
How to Measure When Replacing the Entire Door System?

In cases where the existing frame or jamb is damaged, outdated, or no longer meets design requirements, replacing the entire door system is the best approach. This process involves measuring both the door slab and the rough opening to ensure a precise and functional installation.
Step-by-step process to measure for replacing an entire door system:
1. Measure the Rough Opening
Start by measuring the framed opening itself rather than the old door. Measure the width at the top, middle, and bottom, and use the smallest figure for accuracy. Do the same for the height on both sides, again using the shorter number. As a general rule, rough openings should be about 2 inches wider and 1 inch taller than the door slab to allow for the frame and shimming.
2. Measure the Jamb Depth
After confirming the rough opening, measure the jamb depth from the inside surface of one wall to the inside surface of the other. Be sure to include the thickness of any drywall, plaster, or finish material so the new jamb will sit flush with the wall and provide a seamless look.
3. Hinge and Hardware Placement
Finally, check the placement of hinges, strike plates, and any specialty hardware that will be installed. Record the number of hinges and their exact spacing, as well as the location of the strike plate. If your project requires hardware such as closers or electronic locks, plan additional clearance so that the system functions without obstruction.
By carefully measuring these elements, you ensure the replacement system fits smoothly into the wall opening. With measurements complete, the next step is determining the correct door swing, which is essential for proper functionality.
Suggested Read: Locking a Sliding Closet Door: A How-To Guide
How to Determine Door Swing
Knowing the swing direction of your replacement door is just as important as measuring its width and height. Ordering the wrong swing can delay your project, complicate installation, and compromise the functionality of the space. Here is how to determine it correctly.
Steps to Identify Door Swing:
- Side It Opens Toward You: This position helps you clearly identify how the hinges are oriented.
- Check the Location of the Hinges: If the hinges are on your left, the door is left‑handed. If the hinges are on your right, the door is right‑handed.
- Consider the Door’s Purpose and Traffic Flow: Ensure the swing direction supports natural movement in and out of the room and does not interfere with nearby walls, furniture, or other doors.
Correctly identifying the door swing ensures smooth operation and prevents costly mistakes. With swing direction confirmed, let us explore some of the most common mistakes people make when measuring for replacement doors and how to avoid them.
Common Mistakes When Measuring Replacement Doors
Even experienced professionals can encounter measurement errors when preparing for a replacement door. These mistakes often lead to poor fit, functional issues, or additional costs. Knowing what to watch for and how to fix it can save both time and resources.
Be wary of the following pitfalls:
1. Ignoring Variations in Wall Thickness
Walls are not always uniform, especially in older buildings. Ignoring changes in thickness can cause the jamb to sit unevenly, creating visible gaps or misalignment.
Solution: Measure the wall depth at multiple points and use the largest measurement to ensure the jamb covers the entire surface evenly.
2. Taking Only One Measurement
Measuring in just one spot can overlook uneven frames, leading to doors that bind or leave gaps.
Solution: Always measure width at the top, middle, and bottom, and height on both sides. Using the smallest measurement helps the new door fit properly.
3. Overlooking Hinge and Hardware Placement
Forgetting to note hinge spacing or strike plate location can prevent the new door from aligning with the existing frame.
Solution: Record hinge locations, strike plate dimensions, and spacing in detail to ensure a seamless fit with existing hardware.
4. Confusing Swing Direction
Ordering the wrong door swing can make a door unusable or awkward in its space.
Solution: Stand on the side where the door opens toward you, note hinge placement, and confirm swing direction before ordering.
By being mindful of these common mistakes, you can ensure your replacement door installation is efficient and problem‑free. Next, let us examine the different types of replacement doors and where they are best applied.
From the Community: In this Reddit thread, the user is looking for guidance on how to take accurate measurements for replacing an old door.
Types of Replacement Doors and Their Applications

Choosing the right type of replacement door is just as important as measuring it correctly. The type you select will determine the level of installation effort required, as well as how well the door meets the functional and design needs of the space.
Common types of doors include:
- Slab Doors: Best when the existing frame is still in good condition. They are cost‑effective and ideal for quick updates without altering the frame.
- Prehung Doors: Supplied with a new frame, hinges, and hardware cutouts, making them perfect when both the slab and frame need replacement.
- Interior Doors: Lightweight and decorative, designed primarily for bedrooms, bathrooms, and living spaces where looks matter most.
- Exterior Doors: Heavier and insulated to provide weather resistance, energy efficiency, and security for entryways.
Selecting the right type ensures the replacement complements both the performance and design goals of your project. With this choice in place, the next step is to understand the cost considerations involved in replacement doors.
Cost Considerations for Replacement Doors
Budgeting for a replacement door involves more than the purchase price of the slab or system. Material choice, customization, and installation requirements all play a significant role in determining the overall cost of your project.
Consider the following factors:
- Material Selection: Wood offers warmth and elegance, while steel and fiberglass provide durability and security at varying price points.
- Door Type: Slab doors are generally more affordable, while prehung systems cost more due to the inclusion of a new frame and hardware preparation.
- Customization Needs: Special finishes, glass inserts, or unique designs increase cost but also enhance the final look and value of the door.
- Labor and Installation: Complex installations, especially for exterior or oversized doors, can significantly affect total expenses.
- Hardware and Accessories: Quality hinges, locks, and handles add to the budget but are essential for security and performance.
Understanding these cost factors allows you to balance budget considerations with design and performance goals. With this in mind, let us look at why Custom Door & Mirror is a trusted partner for replacement doors.
Suggested Read: Updating and Replacing Hardware for 1970s Bi-Fold Closet Doors
Choose Custom Door & Mirror for Your Replacement Doors
When precision and design matter most, choosing a trusted partner makes all the difference. At Custom Door & Mirror, every custom door is designed to meet the highest standards of quality, style, and functionality. Interior designers, architects, and contractors can be sure of an optimized replacement project from start to finish.
Here are some key reasons to partner with us:
1. Easy Integration
Our doors are carefully crafted to align perfectly with existing frames or rough openings, reducing the need for on‑site adjustments and ensuring a clean, professional finish.
2. Wide Range of Doors
From sleek modern panels to mirrored and routed designs, we offer an extensive variety of finishes and styles, giving you the creative flexibility to match any design vision.
3. Durability
Using premium materials and advanced construction methods, our doors are built to withstand daily use while maintaining both their function and appearance over time.
4. Expert Technical Support
We provide shop drawings, BIM files, and professional guidance to simplify planning and installation for architects, designers, and contractors.
Serving Long Island (Nassau & Suffolk County), Queens, Brooklyn, Manhattan, the Bronx, Staten Island, New Jersey, and Connecticut, our team understands local design preferences and building requirements. Custom Door & Mirror provides solutions that enhance design integrity, support efficiency, and guarantee reliable performance.
Ready to experience the benefits of custom closet doors? Explore our range of Paniflex products now.
Conclusion
Measuring accurately for a replacement door is essential to achieving a secure fit, smooth operation, and a professional finish. By following the correct steps and avoiding common mistakes, you can ensure your new door enhances both the function and appearance of the space.
At Custom Door & Mirror, we provide solutions designed with high precision, extensive customization options, and easy installation in mind. Our products give architects, designers, and contractors the creative flexibility needed to deliver standout projects that align with both design goals and performance standards.
Contact our team today to place bulk orders and discuss your specifications and project needs. Let us help you bring your vision to life with doors that fit perfectly the first time.
Frequently Asked Questions
1. How do you measure a prehung door for replacement?
Measure the rough opening’s width, height, and jamb depth. Allow clearance for shimming, usually 2 inches wider and 1 inch taller than the door slab. Confirm swing direction and hardware placement for a smooth installation.
2. How to measure to install a new door?
Measure the width at the top, middle, and bottom, the height on both sides, and the slab’s thickness. If replacing the frame, also measure the rough opening and jamb depth for an accurate fit.
3.How to find the exact replacement door?
Match your existing door’s width, height, thickness, and swing direction. Confirm hinge spacing and placement. If replacing the frame, measure the rough opening and jamb depth. These details ensure the replacement door fits seamlessly without costly adjustments.
4. Can you put a new door in an old frame?
Yes, if the frame is square and structurally sound. Measure the door’s width, height, thickness, hinge spacing, and swing direction carefully. A precise fit allows the new slab to operate smoothly without modifying the old frame.
5. How do you measure a prehung door for replacement?
Measure the rough opening width and height at multiple points and use the smallest numbers. Include the jamb depth to ensure it sits flush with the walls. Allow space for shims and confirm swing direction for accurate ordering.


