
As an interior designer or architect, you know that the devil is in the details. Among these crucial details, door hardware plays a pivotal role in both functionality and aesthetics. Today, we’re diving deep into the world of door hardware installation, exploring how this seemingly small element can make a significant impact on your projects.
Understanding the Importance of Proper Door Hardware Installation
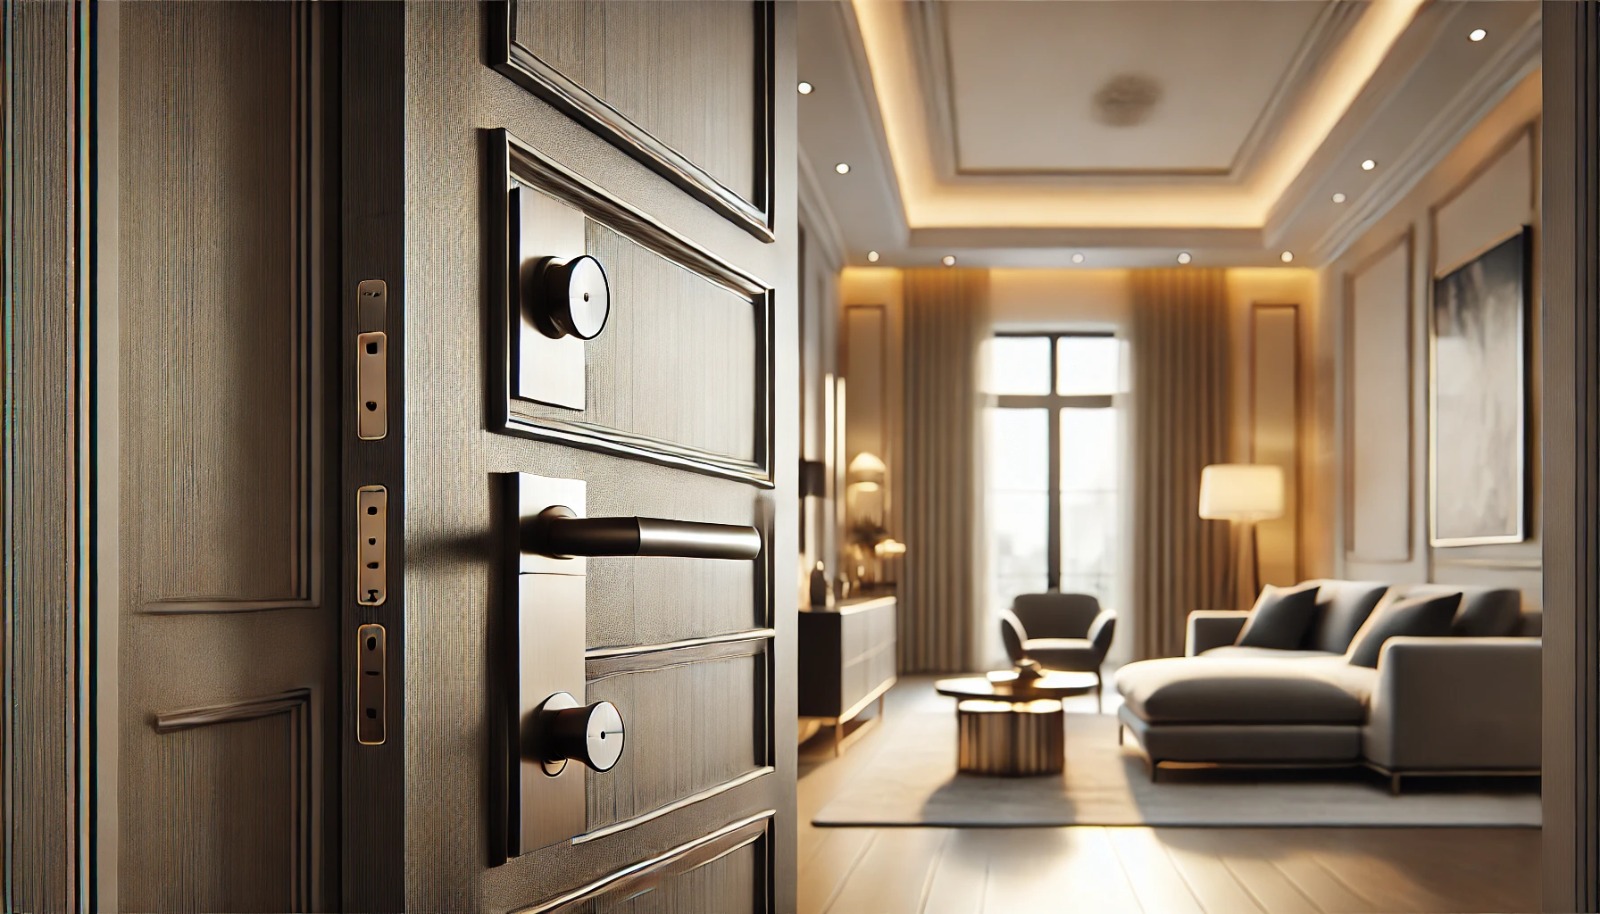
In the realm of interior design and architecture, every element counts. Proper door hardware installation involves:
- Enhancing the overall aesthetic of the space
- Ensuring smooth operation and longevity
- Meeting crucial accessibility standards
- Reflecting your client’s personality and style preferences
Tools and Materials Needed for Installation

For a flawless door hardware installation, gather these essential tools:
- Screwdriver set (flathead and Phillips)
- Power drill with appropriate bits
- Chisel set
- Tape measure
- Pencil
- Level
- Safety glasses
- New door knob kit (including latch, strike plate, and screws)
Preparation: Setting the Stage for Success
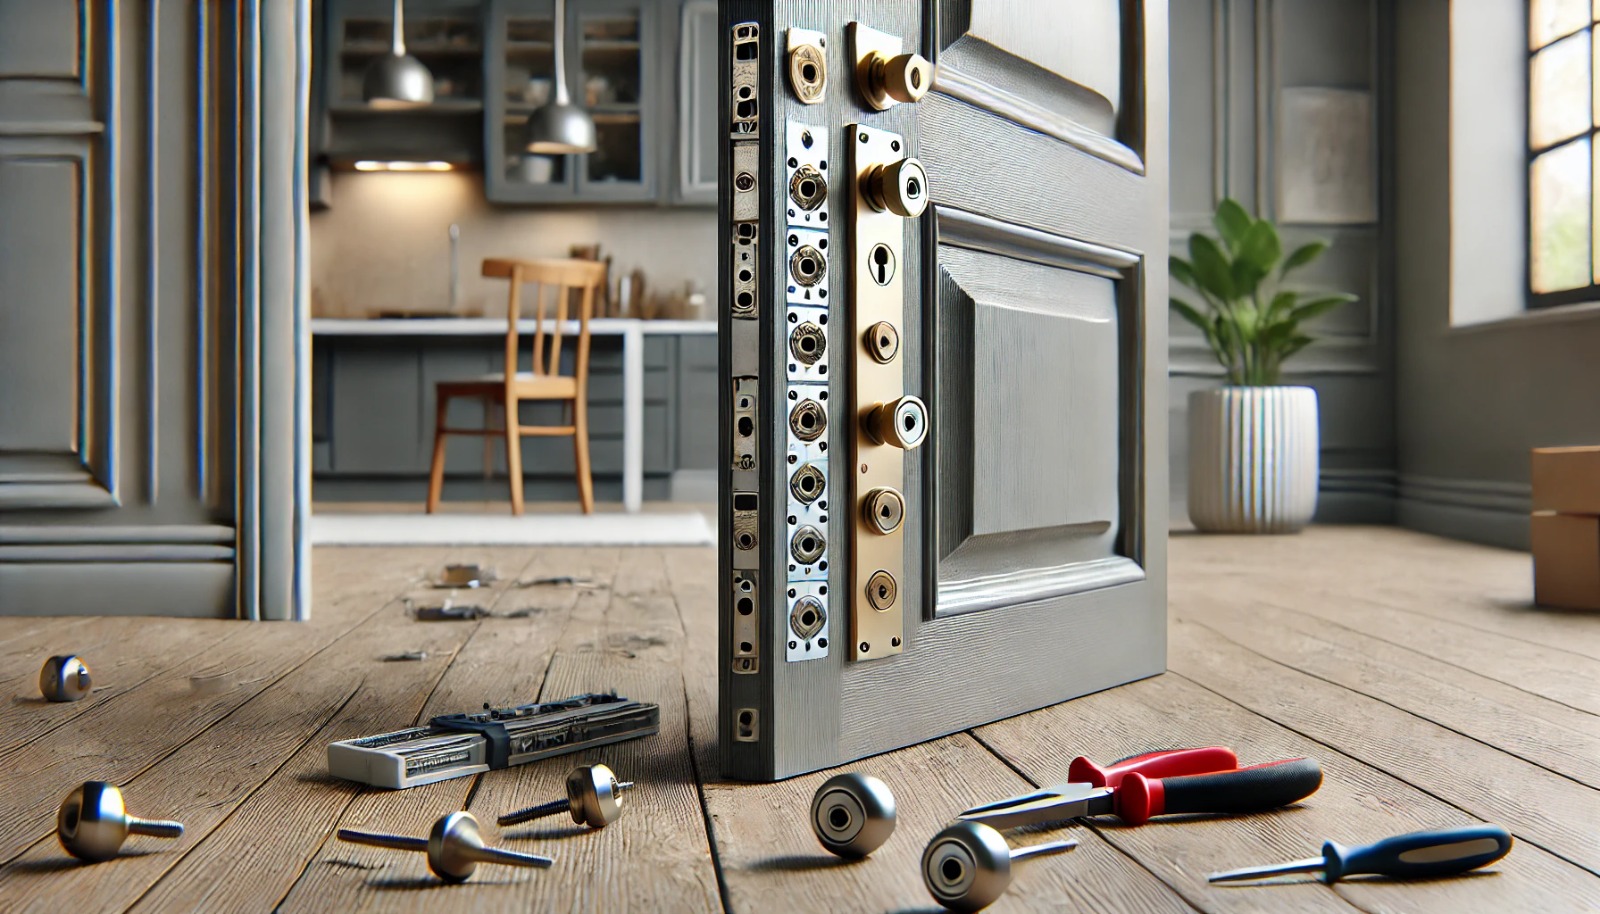
- Removing the Old Door Knob
- Unscrew and remove the interior knob.
- Take out the exterior knob and spindle
- Remove the latch plate from the door edge
- If the old strike plate is present, unscrew and remove it from the door frame.
- Ensuring the Door and Frame Are Ready
- Clean the door and frame surfaces thoroughly
- Inspect for any damage or irregularities
- Fill and sand any old screw holes if necessary
- Check that the door closes and aligns properly with the frame
- Gathering All Necessary Tools and Hardware
- Double-check that you have all components of the new door knob kit
- Ensure all tools are within easy reach
- Verify that the new hardware matches the door’s specifications (e.g., door thickness, backset)
Next, let’s dive into the nuts and bolts of installing the latch plate.
Installation of the Latch Plate: The Foundation of Functionality
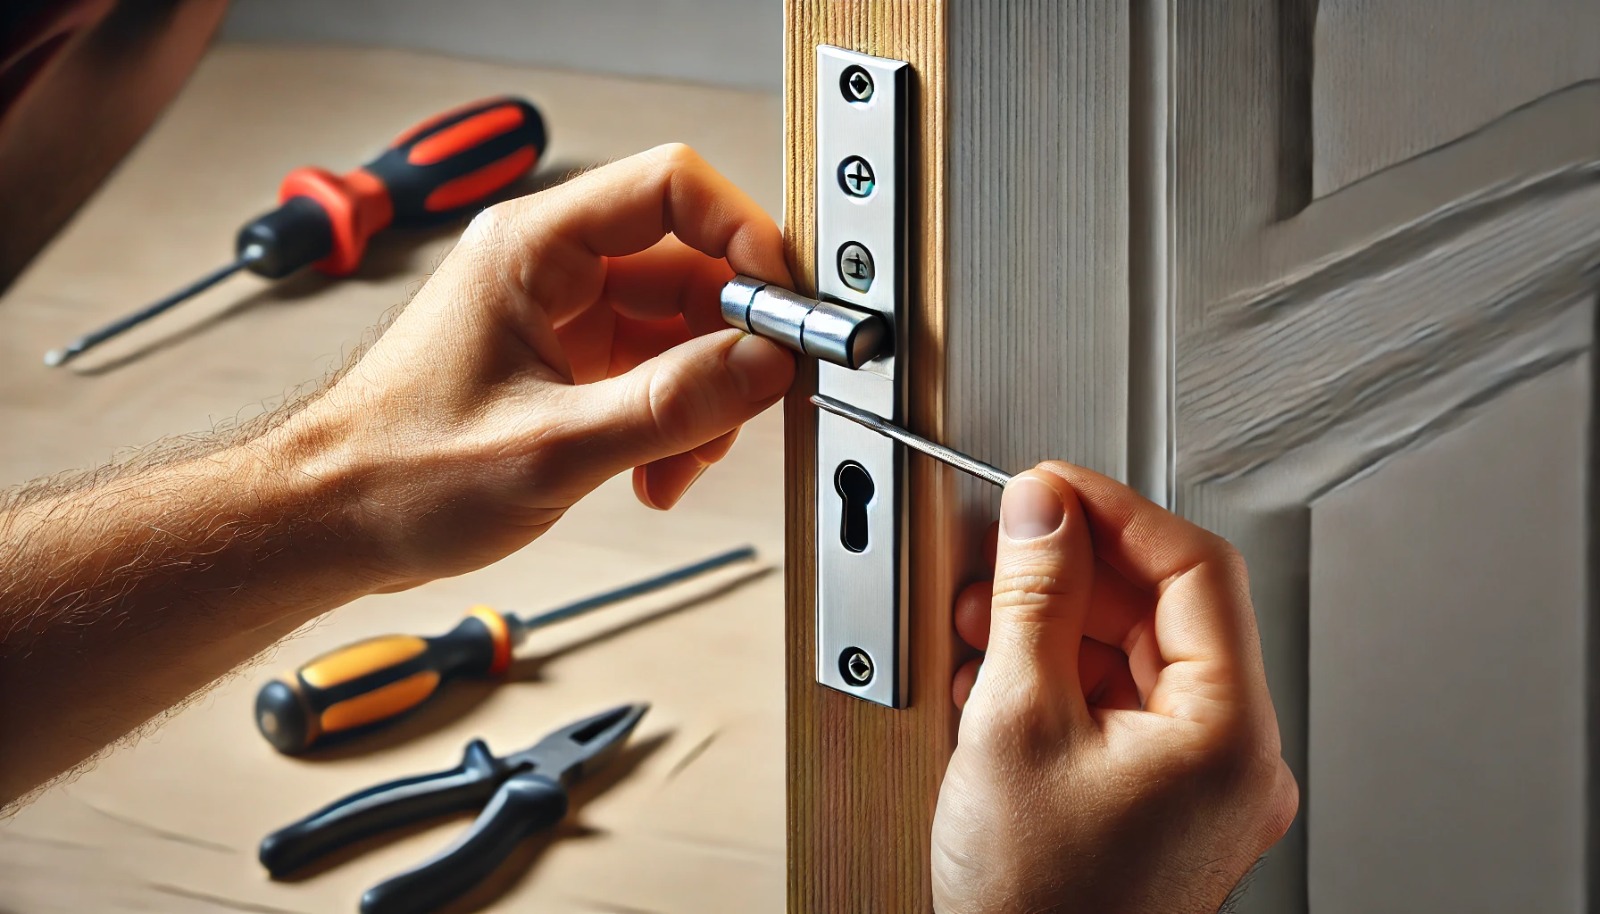
- Placing the New Door Knob Latch on the Door’s Edge
- Position the latch in the existing hole on the door edge
- If needed, use a chisel to adjust the mortise for a flush fit
- Ensuring the Tapered Side of the Latch Faces the Strike Plate
- Verify the orientation of the latch
- The curved side should face the direction you close the door
- Securing the Latch Plate with Screws
- Mark screw holes if they don’t align with existing ones
- Pre-drill holes if necessary to prevent wood splitting
- Fasten the latch plate securely with the provided screws
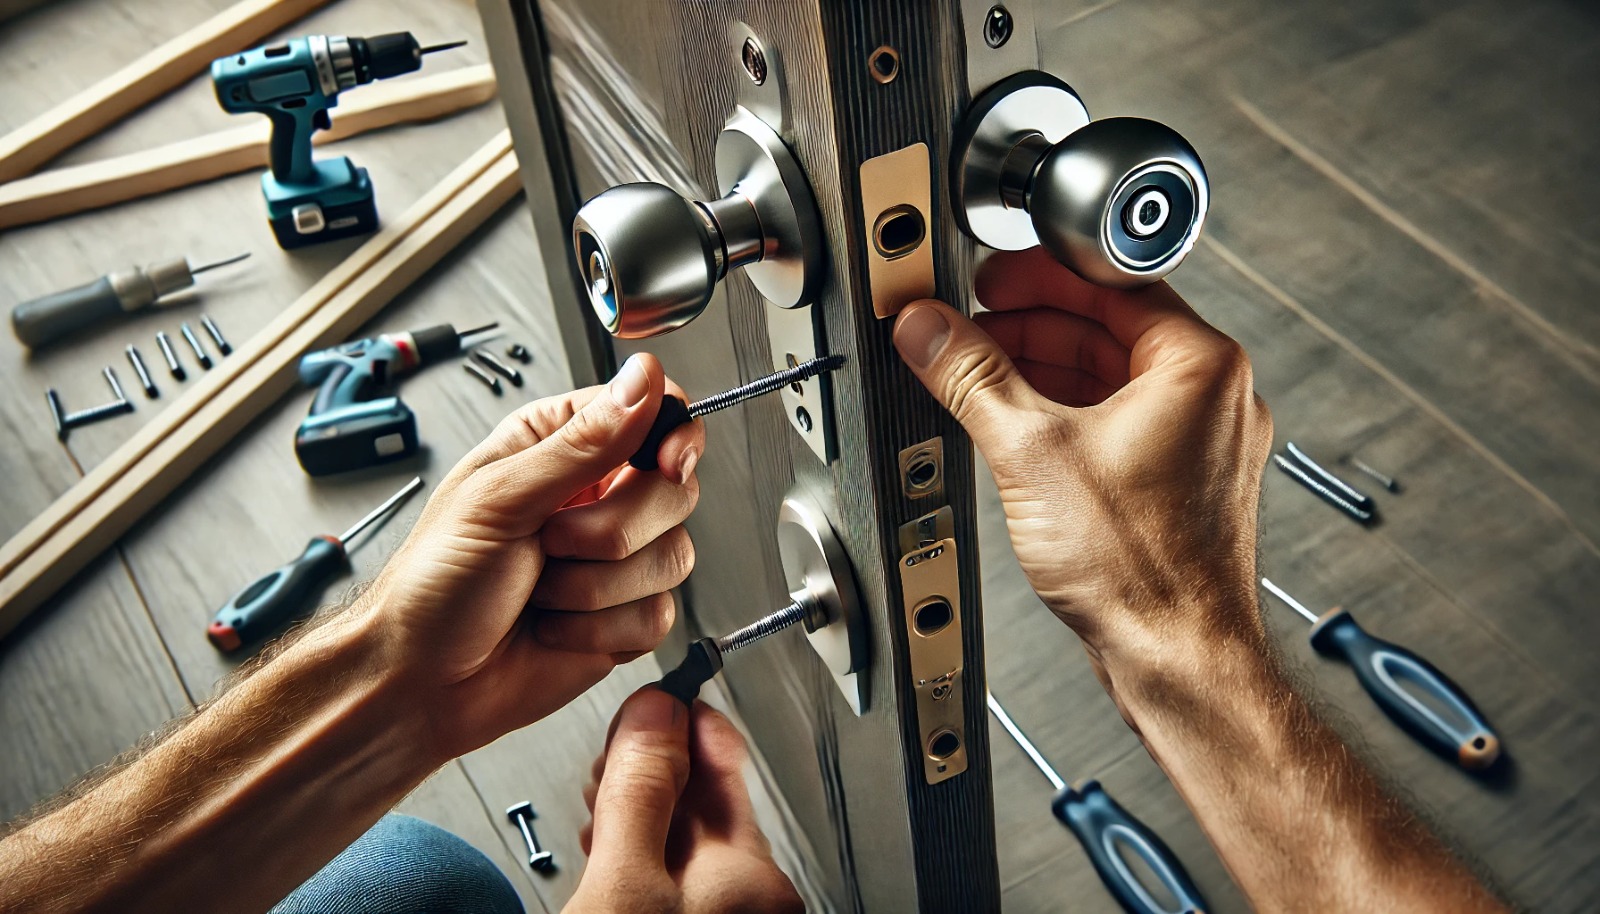
Installing the New Knob and Spindle: The Heart of the Hardware
- Inserting the Spindle Through the Latch Mechanism
- Slide the spindle through the latch from the exterior side
- Ensure it’s centered and extends equally on both sides
- Securing the Exterior Part of the Knob to the Door
- Place the exterior knob against the door
- Align it with the spindle and any mounting holes
- Attaching the Plate and Hardware from the Interior Side
- Position the interior plate over the spindle
- Align screw holes with those on the exterior knob
- Begin threading screws but don’t fully tighten them yet
Ready for the grand finale? Let’s bring it all together by finalizing the installation.
Finalizing the Installation: Bringing It All Together
- Attaching the Interior Knob to the Spindle
- Slide the interior knob onto the spindle
- Ensure it engages the latch mechanism properly
- Aligning and Securing All Parts with the Necessary Tools
- Check that both knobs are level and aligned
- Tighten all screws evenly, alternating between them
- Ensure the knob rosettes sit flush against the door surface
- Testing the New Door Knob for Proper Functionality
- Turn the knob from both sides to check for smooth operation
- Verify that the latch retracts and extends properly
- Test the door’s closing and latching action
Post-Installation Checks: Ensuring Perfection
- Ensuring the Door Knob Operates Smoothly
- Open and close the door multiple times
- Check for any sticking or resistance in the knob’s movement
- Adjusting Components if Necessary for Better Operation
- If the latch doesn’t align with the strike plate, adjust the strike plate position
- Tighten any loose screws
- Check the knob’s vertical alignment and adjust if needed
- Tips for Maintenance and Troubleshooting Common Issues
- Regularly clean hardware with appropriate products based on the finish
- Lubricate moving parts annually for smooth operation
- Troubleshooting tips:
- For a misaligned latch: Adjust the strike plate or door hinges
- For a loose knob: Tighten interior screws or replace worn components
- If the latch doesn’t retract: Check for obstructions or realign the spindle
Feeling confident about your installation skills? Let’s wrap this up and look at how mastering this art can transform your design projects.
Conclusion: Mastering the Art of Door Hardware Installation
Perfecting the door hardware installation process is crucial for creating spaces that are both beautiful and functional. By understanding each step of the installation process,staying up-to-date with trends, and considering the overall design impact, you can elevate your projects to new heights.
Ready to transform your next project with stunning door hardware? Explore Paniflex’s range of custom door solutions to find the perfect match for your design vision. Their expert team can guide you through selection and installation, ensuring a flawless finish that will impress your clients and stand the test of time.
Remember, in the world of interior design and architecture, it’s the details that make the difference. Make your mark with expertly chosen and installed door hardware.


