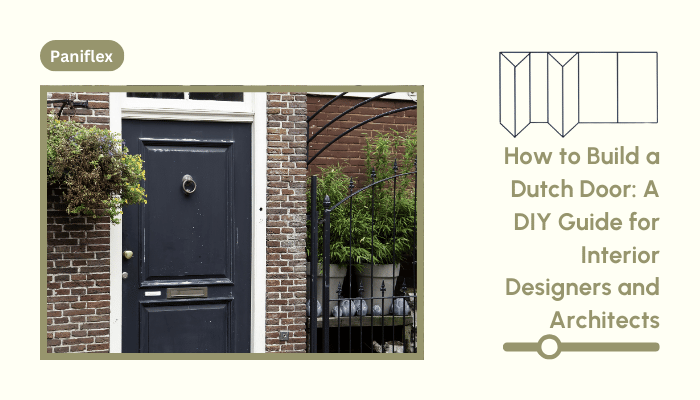
Interior designers and architects, are you looking for a unique way to add character and functionality to your projects? Look no further than the classic Dutch door. This guide will walk you through the process of creating a door cut in half, perfect for adding charm to any space while maintaining practicality.
The Rich History and Versatility of Dutch Doors
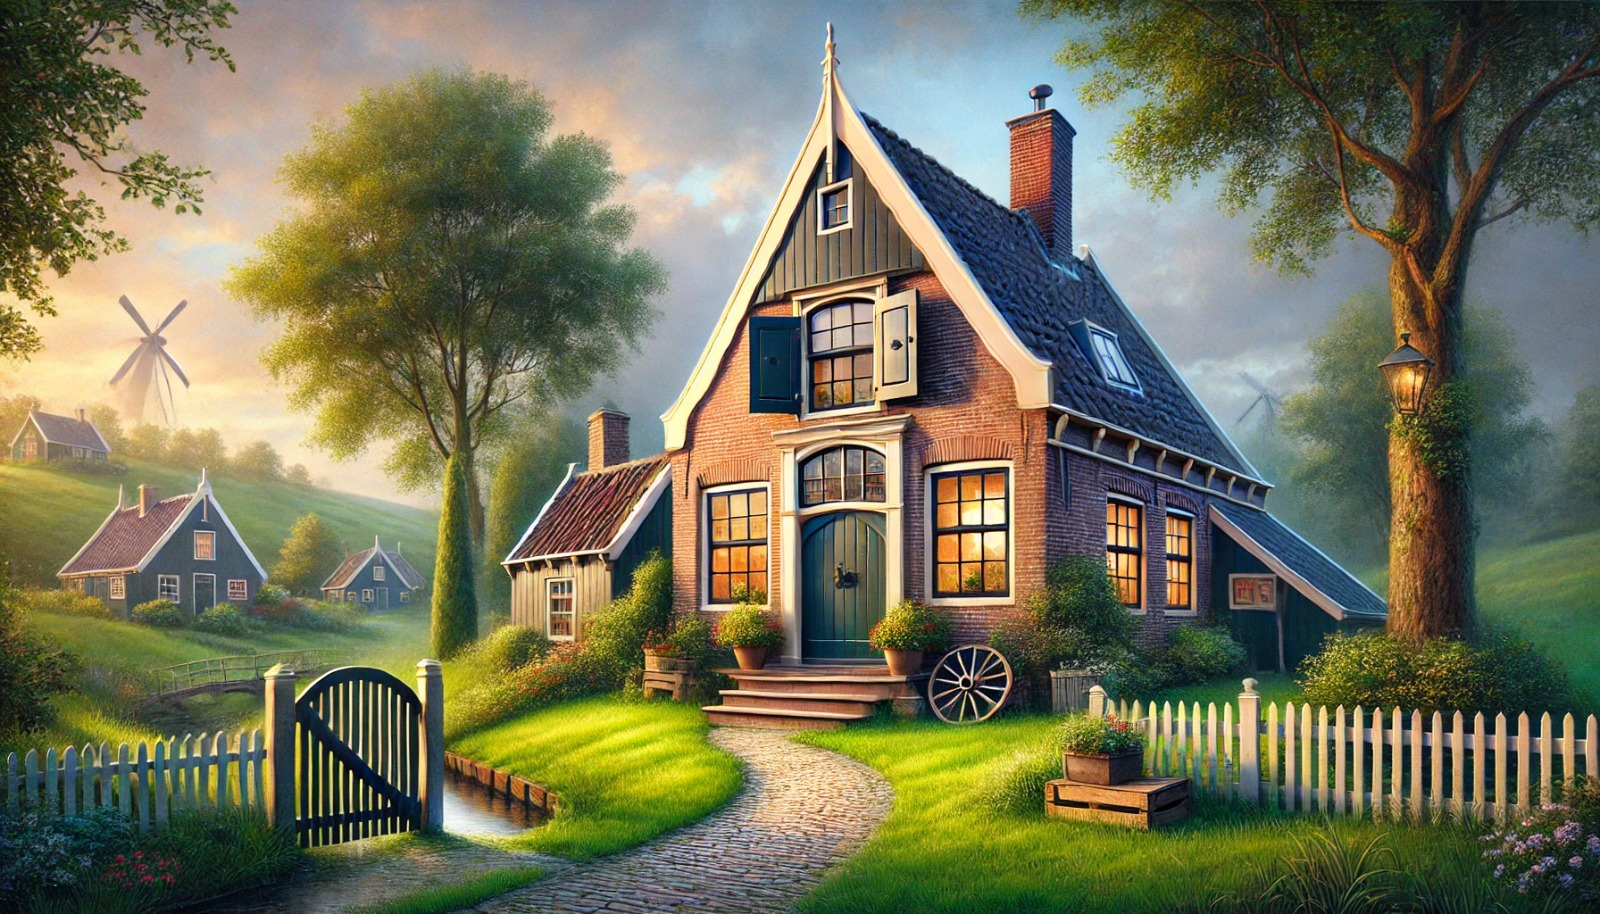
Dutch doors, originating in 17th-century Netherlands, have long been a symbol of hospitality and practicality. These split-level doors offer numerous benefits:
- Enhanced ventilation and natural light
- Improved safety for homes with children or pets
- Flexible climate control between spaces
- Added visual interest to both interior and exterior designs
While we guide you through the process of creating your own Dutch door, you will discover how this classic feature can elevate your design projects.
Selecting the Right Door for Your Dutch-Style Transformation
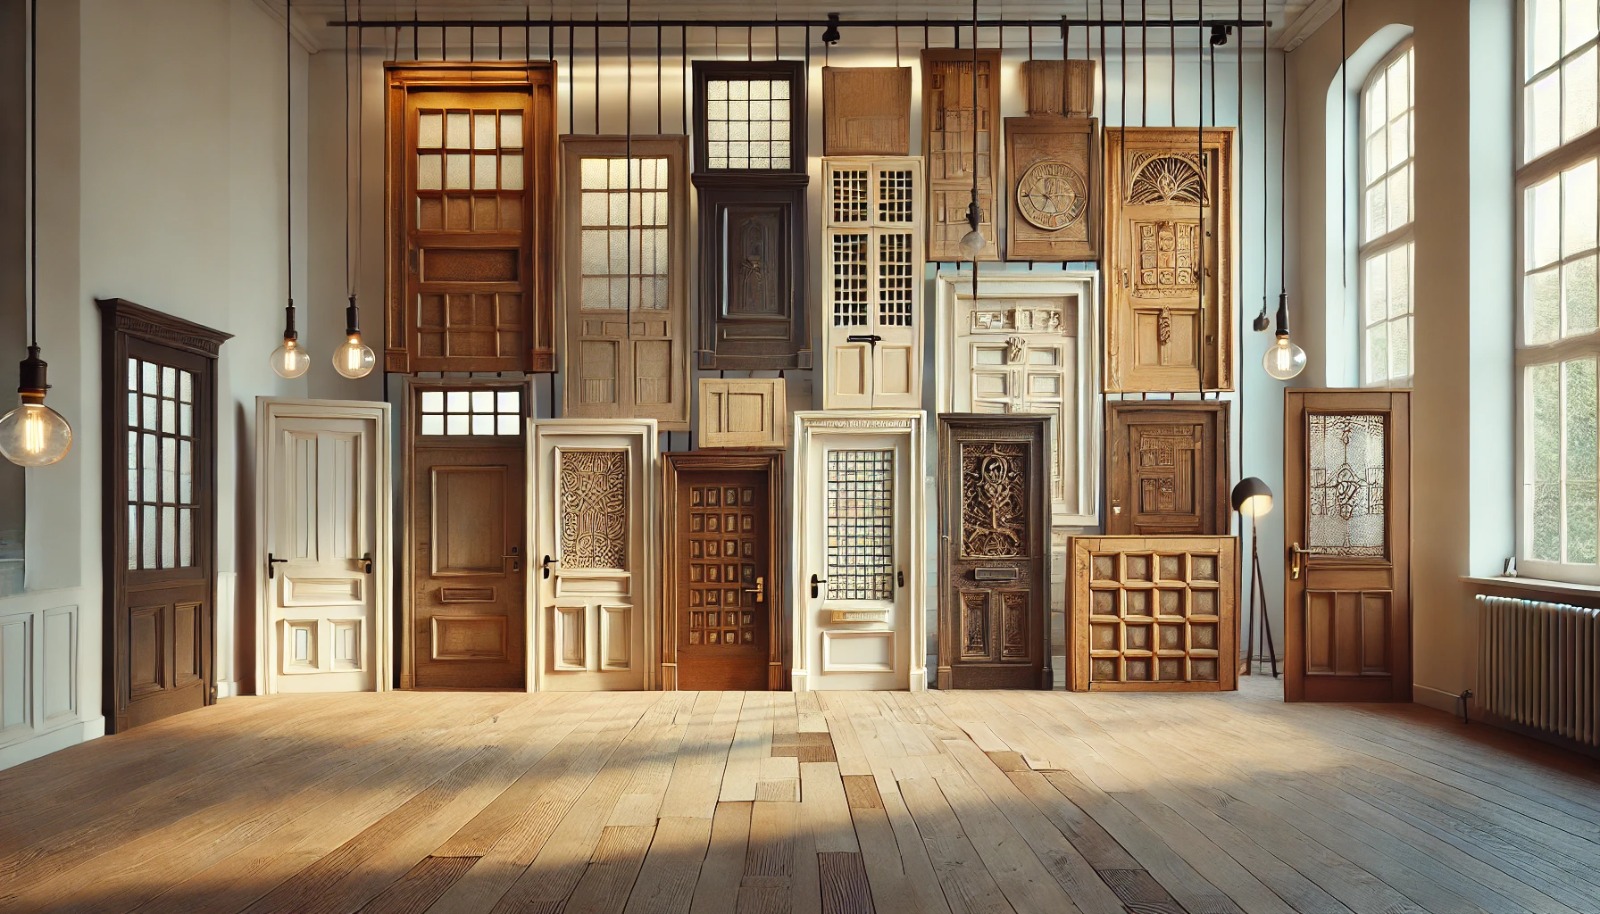
Before diving into construction, it’s crucial to choose the right door:
- Opt for a solid wood door for durability and easier modification
- Ensure the door is thick enough to accommodate the split (at least 1 3/4 inches)
- Consider the door’s existing design and how it will look when cut
Pro tip: For high-end projects, consider custom-ordering doors with premium wood grains or pre-building panels to enhance the final Dutch door aesthetic.
Now that you’ve chosen the perfect door, let’s get into the nitty-gritty of what you’ll need to make this project a smashing success.
Materials and Tools Required for Your Dutch Door Project

To create a stunning door cut in half, you’ll need:
- A solid wood door (pre-hung or slab)
- Hinges (including an extra set for the split)
- Door handles and latch mechanism
- Saw (circular or table saw)
- Drill and drill bits
- Chisel set
- Router and appropriate bits
- Sandpaper
- Wood filler
- Paint or stain
- Weather stripping
Safety equipment:
- Safety glasses
- Dust mask
- Hearing protection
Step-by-Step Guide to Building Your Dutch Door
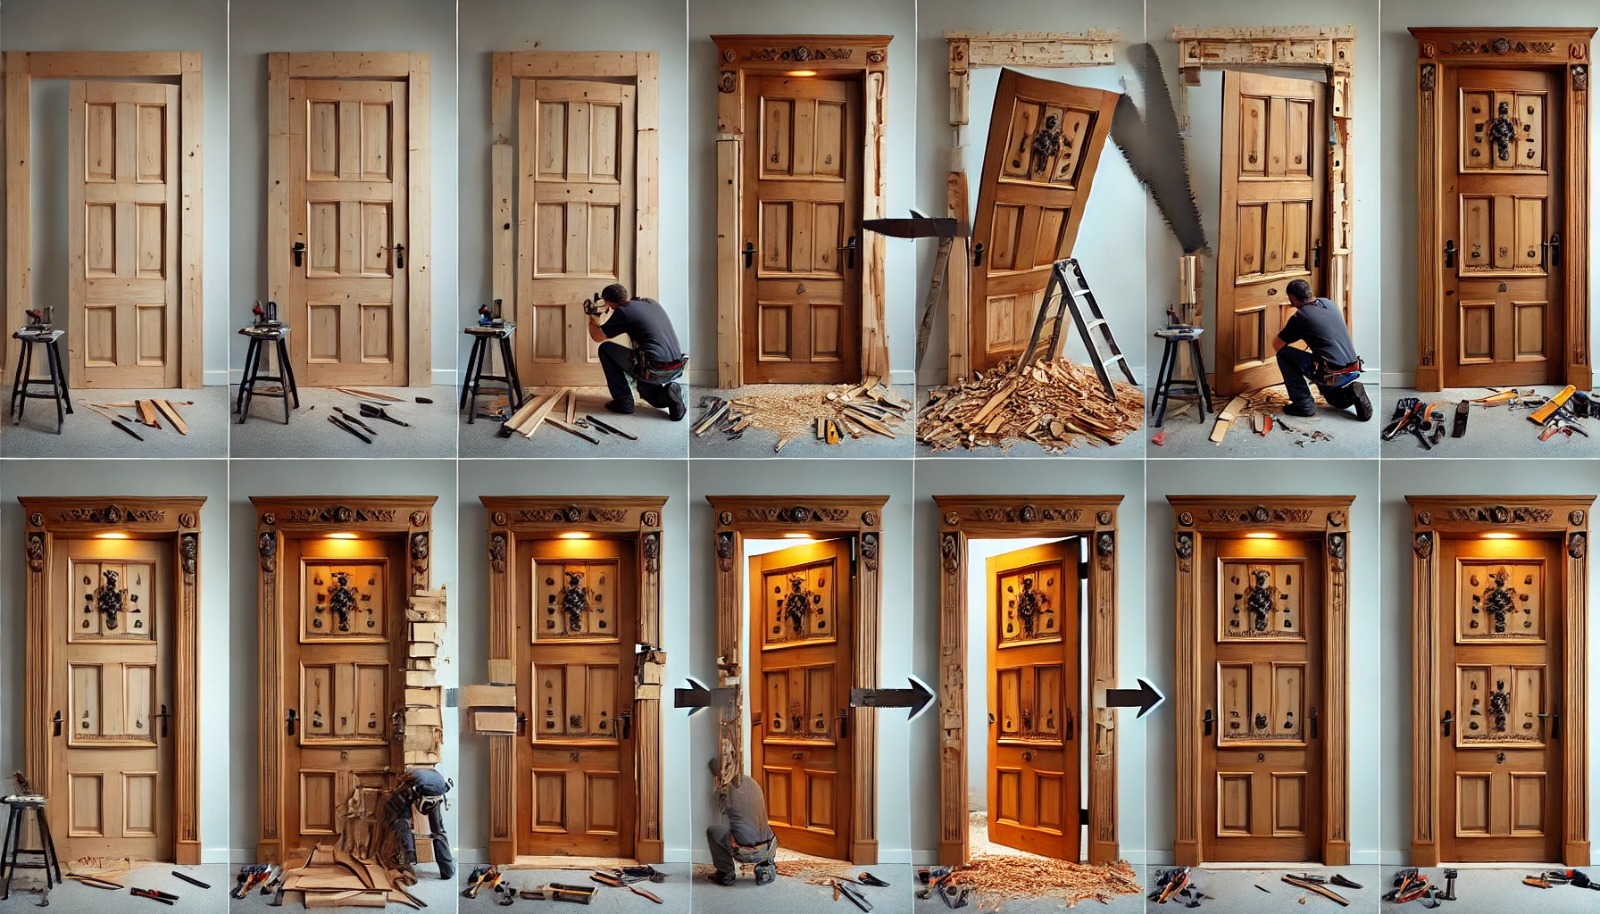
1. Preparing the Door for Modification
- Remove the door from its frame, if pre-hung
- Measure and mark the cutting line, typically just above the door’s midpoint
- Secure the door on sawhorses for stable cutting
- Apply painter’s tape along the cut line to prevent splintering
2. Cutting and Modifying the Door
- Wear safety glasses, a dust mask, and hearing protection
- Carefully cut the door along the marked line using a circular or table saw
- Sand the cut edges for a smooth finish
3. Installing Additional Hinges
- Mark the positions for the new hinges on both halves of the door
- Use a chisel to create shallow recesses for the hinge plates:
- Score around the hinge outline with a utility knife
- Use a sharp chisel to remove wood within the outline, working from the center outward
- Test-fit the hinge and adjust the recess depth as needed
- For a more precise fit, use a router with a hinge mortising bit:
- Set up a router template guide
- Adjust the router depth to match the hinge thickness
- Carefully route out the hinge mortise, moving the router from left to right
- Drill pilot holes for the hinge screws
- Attach the new hinges to both halves of the door
4. Adding Custom Details and Finishing Touches
Now’s your chance to add those designer touches that will make your Dutch door stand out:
- Add a small shelf or ledge to the bottom half for a classic look
- Consider decorative panel options or glass inserts for the top half
- Install weather stripping for improved insulation
- Attach handles, latches, and locks to both halves of the door
With those stylish custom details in place, it’s time to add the finishing touches that will make your Dutch door both beautiful and durable.
5. Sealing and Painting Your Dutch Door
- Apply a wood sealer to protect against moisture
- Choose a paint or stain that complements your design scheme
- Apply multiple thin coats for a professional finish
- Consider using different colors for the top and bottom halves for added visual interest
Advanced Tips and Troubleshooting
- Ensure proper alignment by using shims during installation
- If the door binds, sand down the edges slightly
- For added security, consider installing a dutch door bolt
- To prevent warping, apply finish to all sides of the door, including the top and bottom edges
Safety Measures and Long-Term Maintenance
Safety should always be your top priority:
- Always wear safety glasses, a dust mask, and hearing protection when using power tools
- Work in a well-ventilated area, especially when painting or staining
- Keep your workspace clean to prevent tripping hazards
For long-term maintenance:
- Regularly check and tighten hardware
- Touch up paint or refinish as needed
- Adjust the hinges if the door becomes misaligned
- Lubricate moving parts annually to ensure smooth operation
Now that you know how to keep your Dutch door in top shape, let’s explore how you can integrate this charming feature into your design projects for maximum impact.
Integrating Dutch Doors into Your Design Projects
As a design professional, you can use Dutch doors to:
- Create flexible spaces in open-plan designs
- Add charm to kitchen-to-dining areas for a farmhouse-inspired look
- Improve air circulation in home offices without sacrificing privacy
Present the Dutch door concept to clients by focusing on:
- Increased functionality and flexibility of spaces
- Enhanced visual interest and unique design elements
- Improved natural light and ventilation options
CTA: Looking for custom door solutions to complement your Dutch door design? Explore Paniflex’s range of stylish bifold and sliding doors to create a cohesive look throughout your project.
Conclusion: Elevating Spaces with a Classic Touch
Incorporating a door cut in half into your design projects offers a perfect blend of aesthetics and functionality. By following this guide, you can create stunning Dutch doors that will impress your clients and elevate any space. Remember, the key to a successful Dutch door lies in the details – from material selection to hardware choices.
Don’t be afraid to experiment with different Dutch door designs. Try various paint techniques, unique hardware, or even incorporate stained glass for truly one-of-a-kind creations. The versatility of Dutch doors allows for endless creative possibilities in your design projects.
Are you ready to take your door designs to the next level? Visit Paniflex and discover how our custom door solutions can complement your Dutch door projects and enhance your overall design vision.


