As an interior designer or architect, you know that even the smallest details can significantly impact your projects. Today, we’re focusing on a crucial element of any interior space: doors. Specifically, we’ll guide you through how to install a prehung door, ensuring your next installation is flawless and professional.
Introduction: Understanding Prehung Doors
Before we dive into how to install a prehung door, let’s clarify what it is and why it’s crucial for precise installation. The manufacturer assembles the prehung door as a complete unit, hanging the door slab in its frame with hinges. This pre-assembled unit ensures a perfect fit and alignment, making it an ideal choice for both new construction and renovation projects.
One cannot overstate the importance of properly installing a prehung door. It not only affects the aesthetics of a space but also impacts functionality, energy efficiency, and sound insulation. As design professionals, mastering how to install a prehung door will elevate the quality of your projects and client satisfaction.
Preparation Before Installation
Before you begin the installation process, proper preparation is key:
- Measure the opening dimensions correctly:
- Measure the width at the top, middle, and bottom of the opening.
- Measure the height on both sides and the middle.
- Ensure the opening is 2 inches wider and 2.5 inches taller than the door unit.
- Measure the width at the top, middle, and bottom of the opening.
- Specify the swing direction accurately:
- Determine whether you need a left-hand or right-hand door.
- Stand with your back against the hinges; if the door opens to your right, it’s right-handed, and vice versa.
- Determine whether you need a left-hand or right-hand door.
- Remove existing elements:
- If replacing an old door, remove the existing door, hinge plates, and trim carefully.
- If replacing an old door, remove the existing door, hinge plates, and trim carefully.
- Prepare the rough opening:
- Check and adjust for level, plumb, and square using a level and square tool.
- Address any issues with the framing before proceeding.
- Check and adjust for level, plumb, and square using a level and square tool.
- Final checks:
- Verify the jamb length matches the wall thickness.
- Confirm the door swing direction one last time.
- Test-fit the lockset to ensure it’s compatible with the pre-drilled holes.
- Verify the jamb length matches the wall thickness.
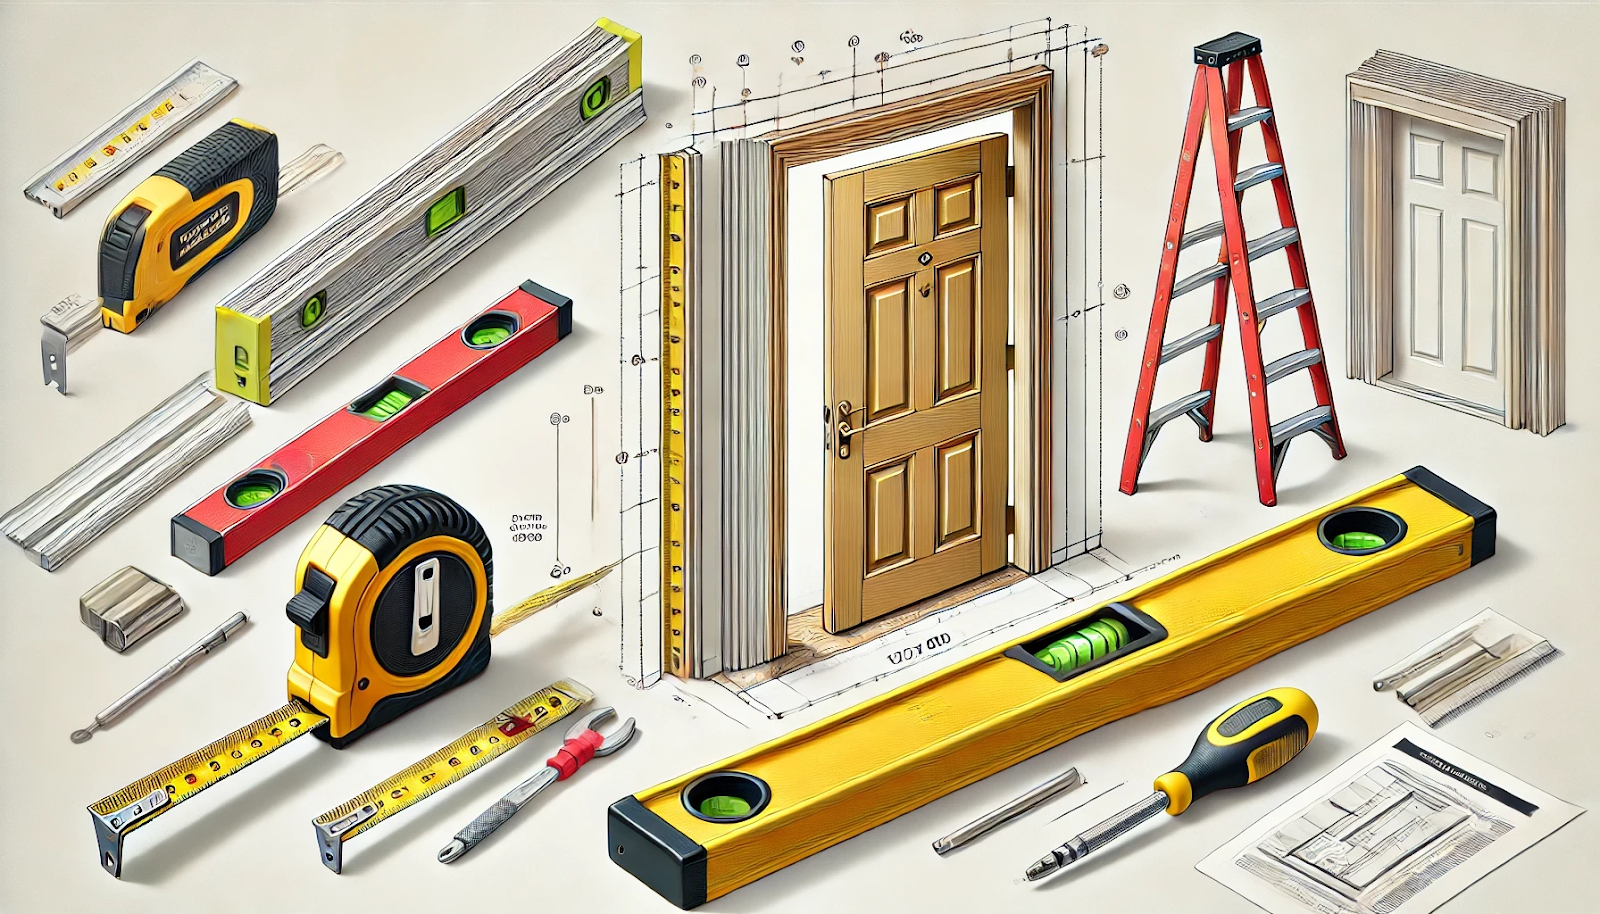
Tools and Materials

Gather all necessary tools and materials before starting:
Tools:
- Level
- Shims
- Hammer
- Screwdriver
- Drill
- Utility knife
- Caulk gun
- Measuring tape
- Pry bar (for removing old door)
- Nailer
Materials:
- Prehung door unit
- 2-inch and 3-inch screws
- Finish nails
- Wood shims
- Construction adhesive
- Drywall spackle
- Caulk
- Paint or stain
- Sanding sponge
Installation Steps
Now, let’s walk through how to install a prehung door step by step:
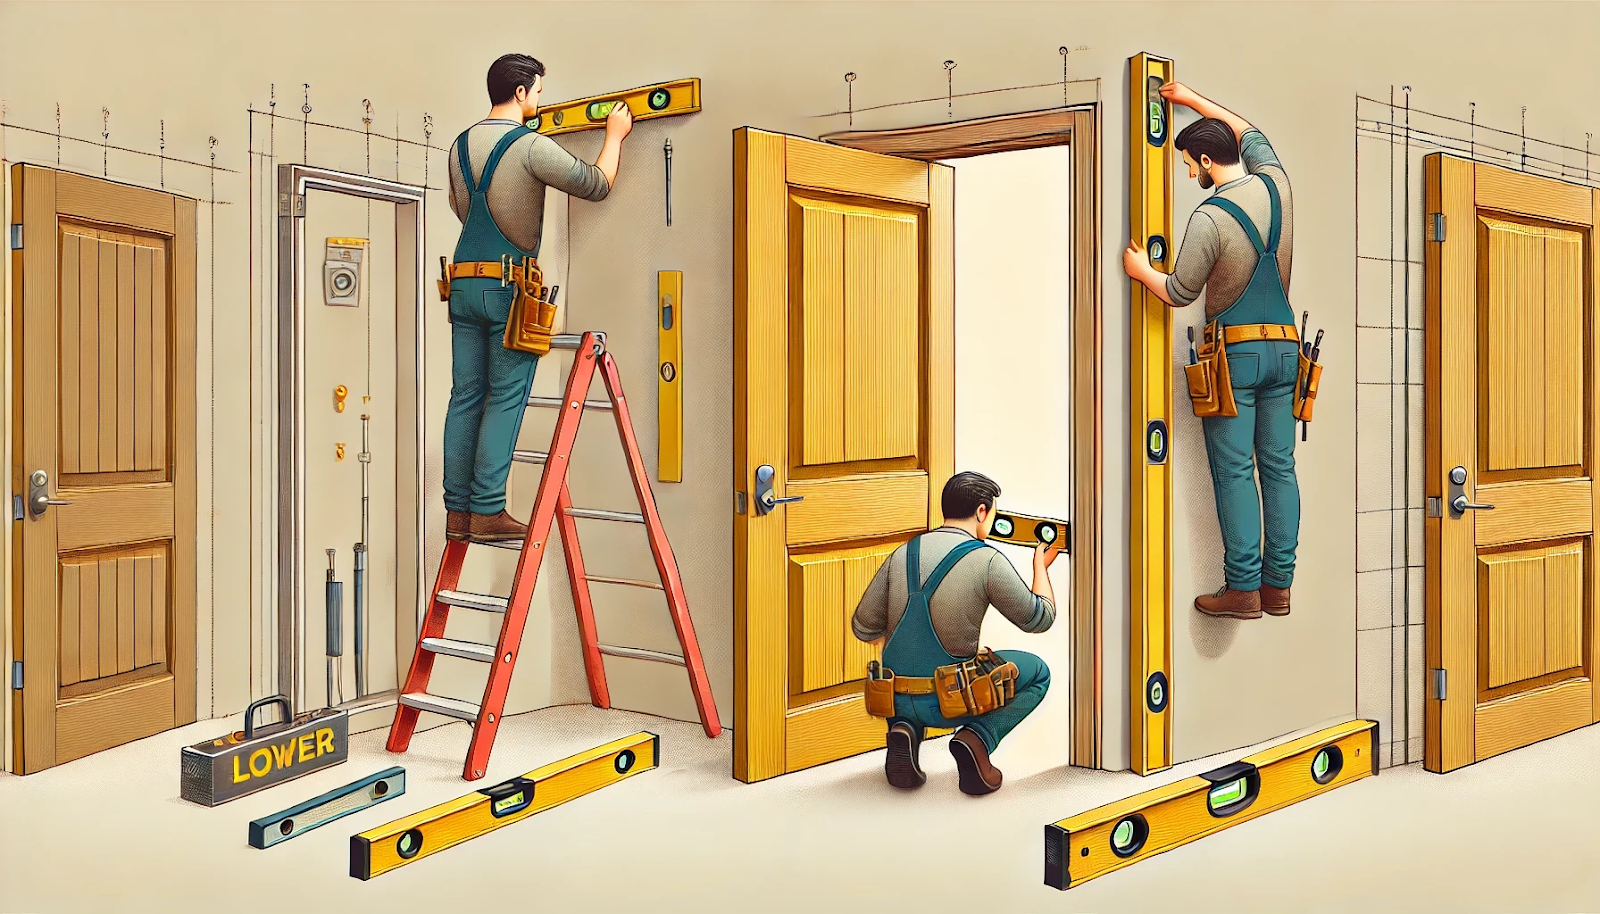
1. Position the Door
You and a helper should lift the prehung door into the opening from the outside. Center the door in the opening to ensure it flushes and opens in the desired direction. When centering, be aware of potential challenges like uneven framing or floor level differences. Use a level to check both vertical and horizontal alignment, adjusting as necessary.
2. Secure and Level
- Place shims above the hinge locations.
- Use your level to ensure the hinge side is perfectly plumb.
- Secure the hinge side with screws through the frame and shims into the studs.
3. Adjust and Secure the Latch Side
- Close the door to check the reveal (gap) around the edges.
- Adjust the latch side with shims until the reveal is even.
- Secure the latch side with screws, just like you did on the hinge side.
4. Install the Hardware
- Install the doorknob and latch mechanism.
- Adjust the strike plate for a smooth close.
- Double-check the alignment of all hardware.
5. Trim Excess Material
- Cut excess shim material flush with the frame using a utility knife.
- Be careful not to damage the frame or wall while trimming.
6. Check Door Operation
- Open and close the door several times to ensure smooth operation.
- Make any necessary adjustments to the hinges or latch.
Finishing Touches

To complete the installation with a professional finish:
- Prepare surfaces:
- Lightly sand the door and frame to ensure smooth paint adhesion.
- Clean all surfaces thoroughly.
- Lightly sand the door and frame to ensure smooth paint adhesion.
- Caulk and fill:
- Apply caulk around the frame for a seamless look.
- Fill any nail holes or imperfections with wood filler.
- Apply caulk around the frame for a seamless look.
- Paint or stain:
- Apply your chosen finish, ensuring even coverage.
- Allow proper drying time between coats.
- Apply your chosen finish, ensuring even coverage.
- Final hardware installation:
- Once the paint is fully dry, reattach any removed hardware or accessories.
Common Mistakes and Adjustments
Be aware of these common issues and how to address them:
- Out-of-plumb walls: Use tapered shims to compensate and ensure the door hangs correctly.
- Non-parallel or out-of-square trimmers: To identify non-parallel trimmers, measure the distance between them at the top, middle, and bottom. If these measurements differ, your trimmers aren’t parallel. Adjust your shimming technique to create a uniform gap, using thicker shims where the gap is larger.
- Incorrect hinge placement: Always measure and mark hinge locations carefully before installation.
- Wrong swing direction: Double-check the swing direction before securing the door to avoid costly mistakes.
Final Steps
Before considering the job complete:
- Recheck the door’s swing and alignment after all adjustments.
- Secure any final trim pieces or decorative elements.
- Conduct a final inspection for smooth operation and appearance.
Now that everything’s perfectly in place let’s talk about when you might want to call in the pros.
Professional Installation Option
While many design professionals can handle prehung door installation, there are times when professional help might be necessary:
- Consider professional installation for complex situations or high-end finishes.
- For resources on finding qualified installers, check with local contractor associations or reputable home improvement stores. You might also consult the National Association of Home Builders (NAHB) directory or HomeAdvisor for vetted professionals in your area.
Now that you’re equipped to install prehung doors like a pro, why not take your designs to the next level? At Paniflex, we offer custom closet doors that can add a unique touch to your projects. From sleek bifold designs to stunning sliding doors, our range complements any interior style.
Alright, it’s time to wrap things up and look at the bigger picture!
Conclusion
Learning how to install a prehung door is a skill that every interior designer and architect should master. By following these steps and being mindful of common pitfalls, you can ensure a smooth, professional installation every time. Remember, attention to detail is key – from initial measurements to the final coat of paint.Want expert advice on incorporating custom doors into your designs? Contact our team at Paniflex. Let’s create spaces that truly open doors to new possibilities!


