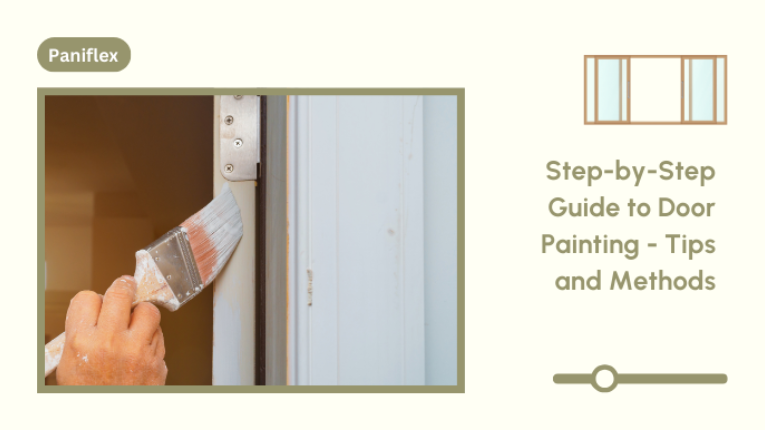
Painting doors effectively is a complex task that requires skill, patience, and the right approach. As an interior designer or architect, you understand that a well-painted door can dramatically impact a home’s overall aesthetics. The complexity lies not just in the application of paint but in choosing the right tools, materials, and techniques to achieve a professional finish. In this guide, we’ll unravel the intricacies of door painting and equip you with the knowledge to transform ordinary doors into stunning design elements.
Preparation for Painting
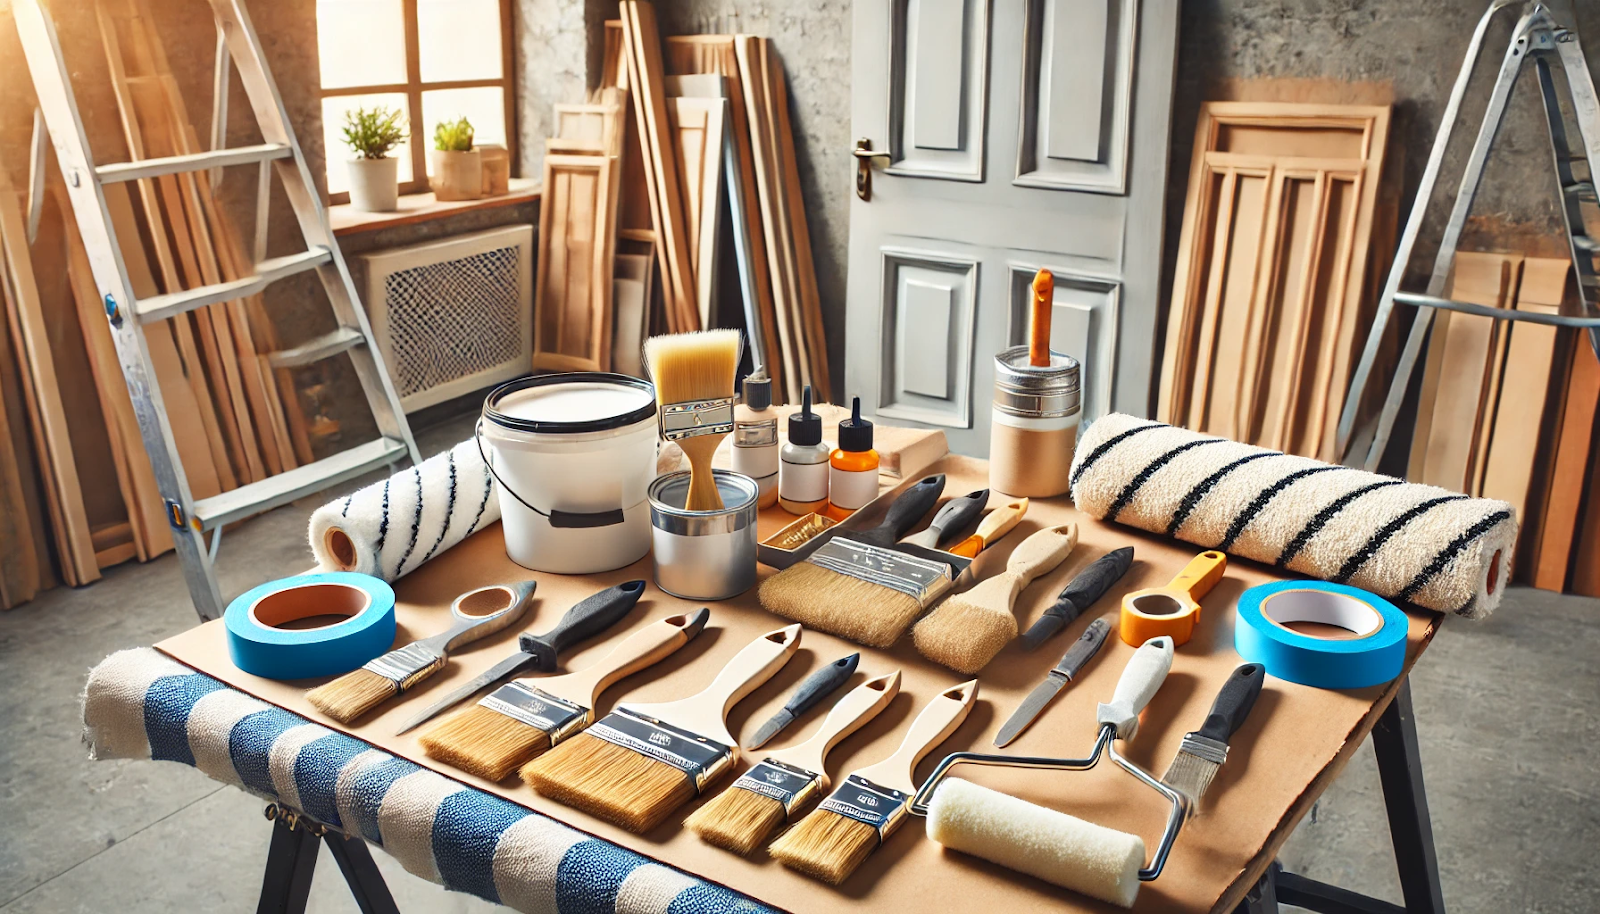
Selecting Necessary Tools and Materials
To ensure a successful door painting project, gather these essential items:
- High-quality brushes (2-inch and 4-inch)
- Foam rollers and tray
- Sandpaper (120-grit and 220-grit)
- Tack cloth
- Painter’s tape
- Drop cloths
- Screwdriver for hardware removal
- Sandable filler
- Primer
- Paint
- Personal protective equipment (gloves, mask, safety glasses)
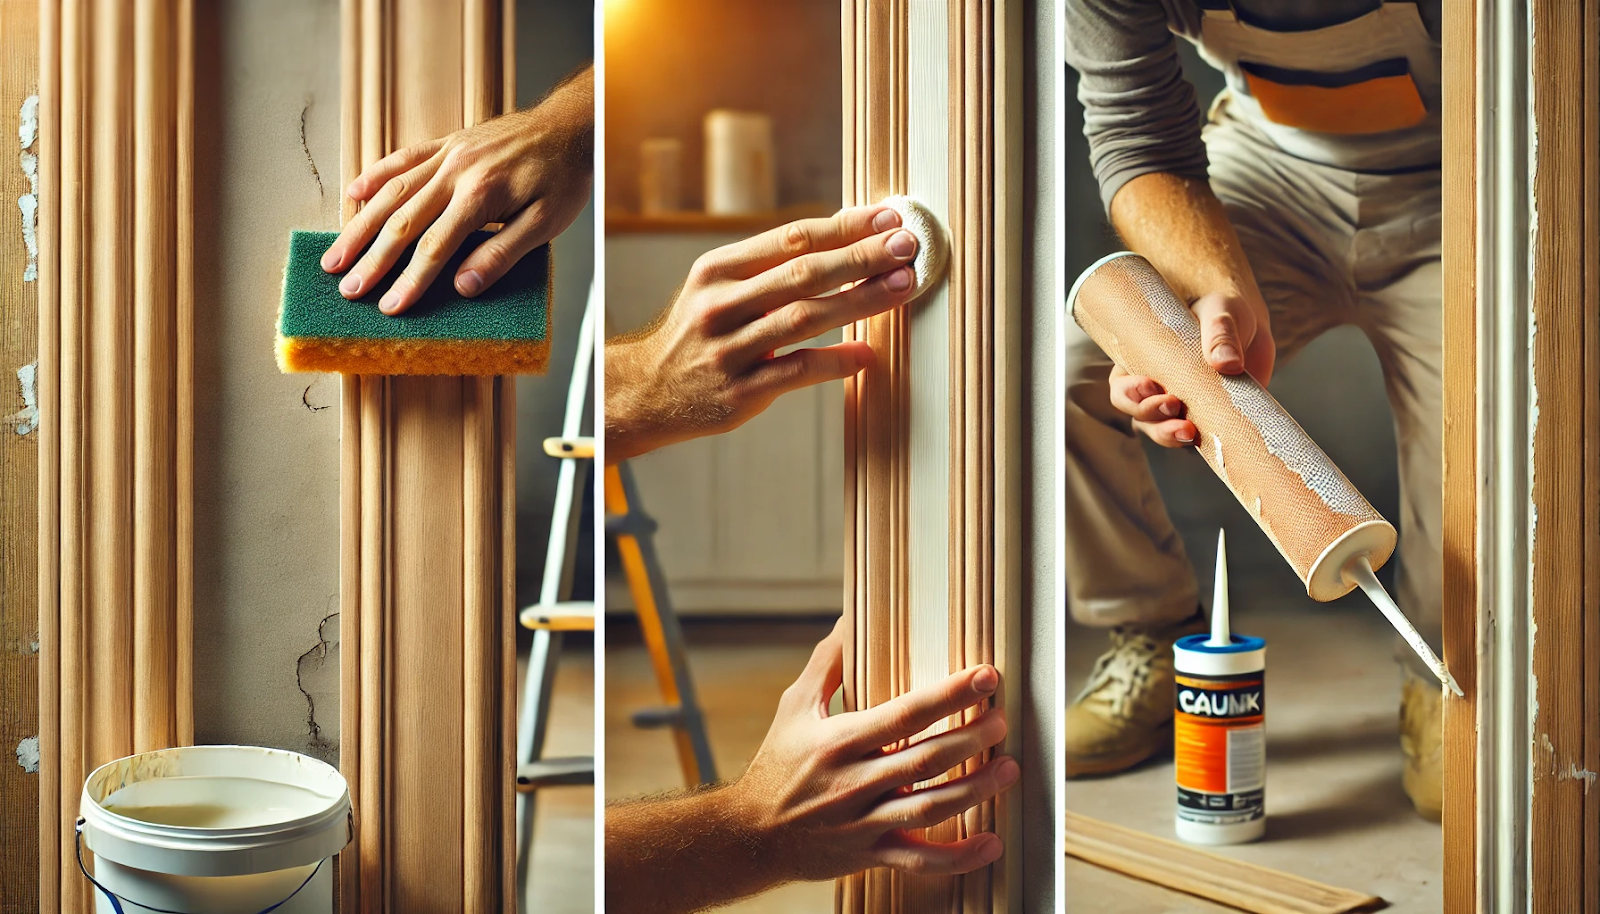
Cleaning and Preparing the Door Surface
- If possible, remove the door from its hinges
- Clean the door thoroughly with a degreasing cleaner
- Use 120-grit sandpaper to sand the entire surface
- Use sandable filler to address imperfections
- Once the filler dries, sand the filled areas smooth with 220-grit sandpaper
- Use a tack cloth to wipe down the door and remove all dust
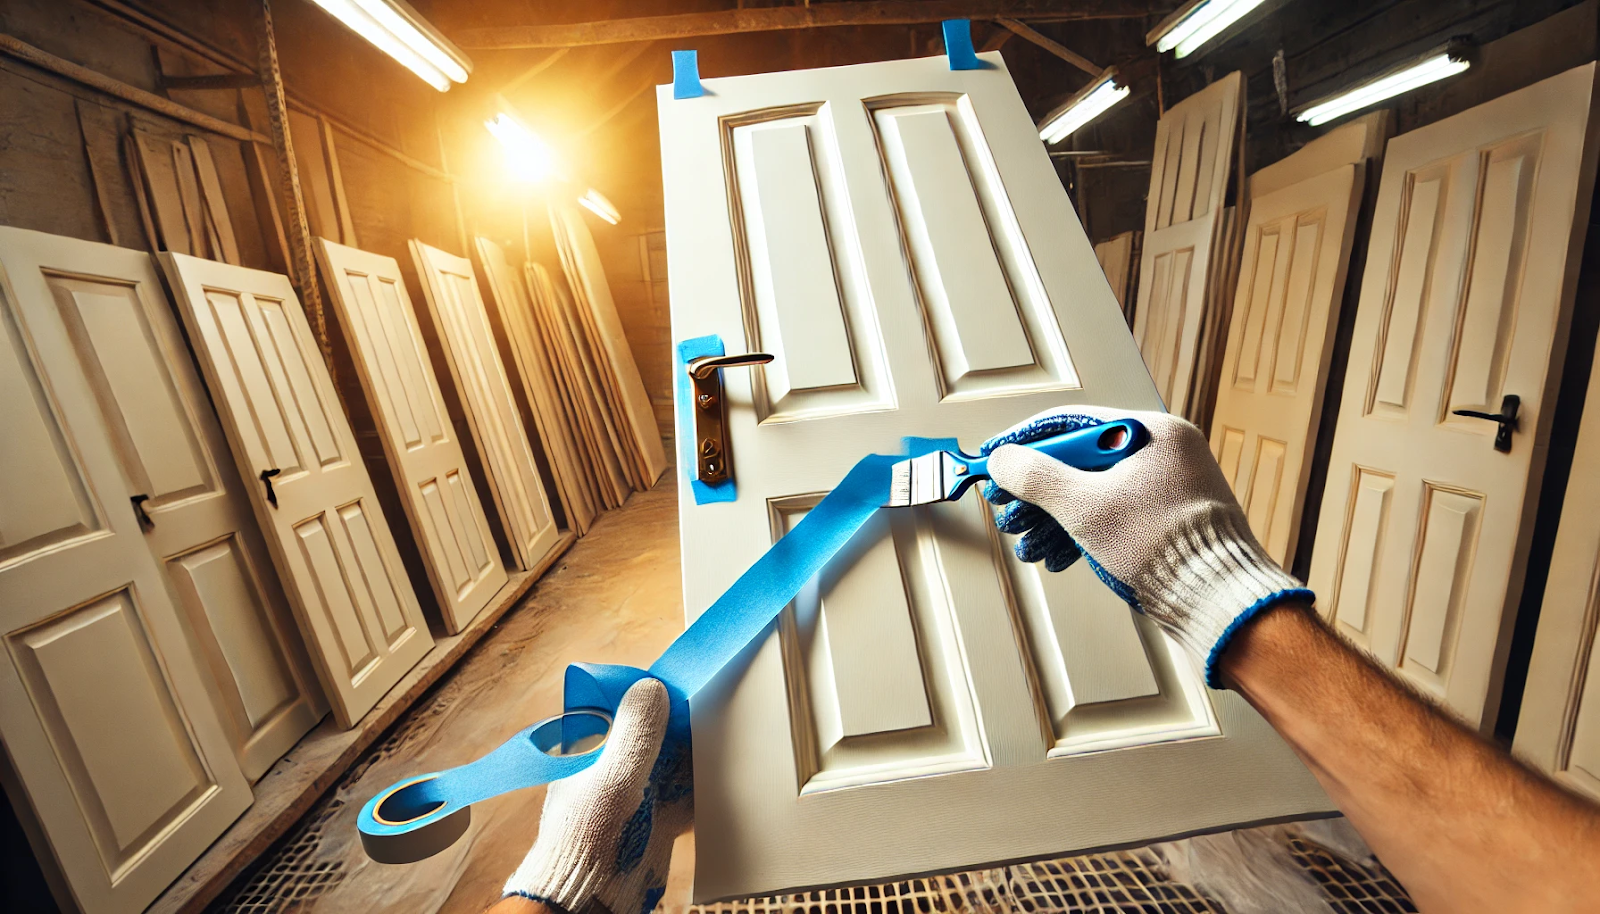
Removing or Protecting Hardware
- If possible, unscrew and remove all hardware
- If you can’t remove all hardware, carefully tape off knobs, hinges, and other fixtures
Now that your door is prepped and ready let’s dive into the exciting world of paint choices.
Choosing the Paint
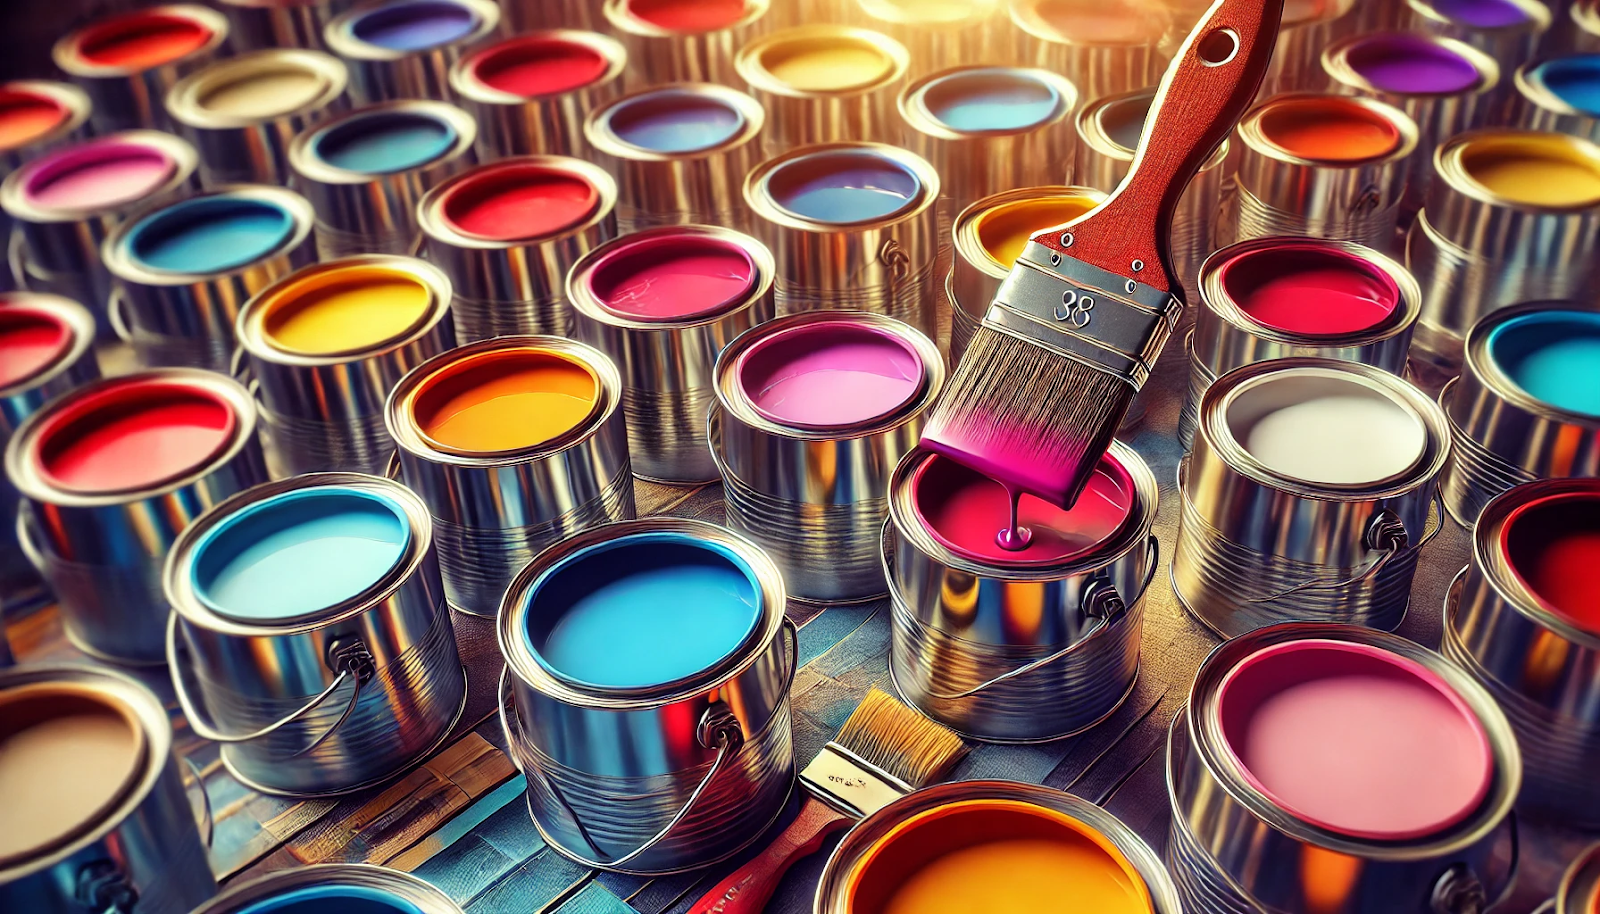
Selecting Paint Sheen and Color
- Satin or semi-gloss finishes are ideal for doors, offering durability and ease of cleaning
- Consider the room’s lighting and overall color scheme when selecting the paint color
- To ensure the desired effect, test paint samples on the door
Implications of Different Paint Types
- Latex paints: Quick-drying, easy cleanup, but may show brush marks
- Oil-based paints: Longer drying time, more durable, smoother finish
- Water-based alkyds: Combine the best of both worlds – durability of oil-based paints with easy cleanup of latex
Benefits of Water-Based Alkyds
- Excellent flow and leveling for a smooth finish
- Resistant to yellowing
- Low VOC content
- Easy water cleanup
Ready to get your hands dirty? Here’s a step-by-step guide to painting perfection.
Painting Steps and Techniques
Detailed Step-by-Step Guide
- Apply primer (if necessary) and allow to dry completely
- Sand lightly with 220-grit sandpaper and wipe clean
- Begin painting with the edges using a 2-inch brush
- For panel doors:
- Paint recessed areas first
- Paint raised panels
- Finish with rails and stiles
- For flat doors:
- Use a foam roller for large surfaces
- Maintain a wet edge to avoid lap marks
- Allow the first coat to dry completely
- Sand lightly and wipe clean
- Apply the second coat following the same order
Techniques for Plain vs. Panel Doors
- Plain doors: Use long, smooth roller strokes for an even finish
- Panel doors: Use a brush for recessed areas and a combination of brush and roller for flat surfaces
Order of Painting Door Components
- Edges
- Recessed areas (for panel doors)
- Raised panels (for panel doors)
- Rails (horizontal pieces)
- Stiles (vertical pieces)
- Large flat surfaces (if applicable)
Alright, with the techniques sorted, let’s talk about priming and painting your door.
Applying Primer and Paint
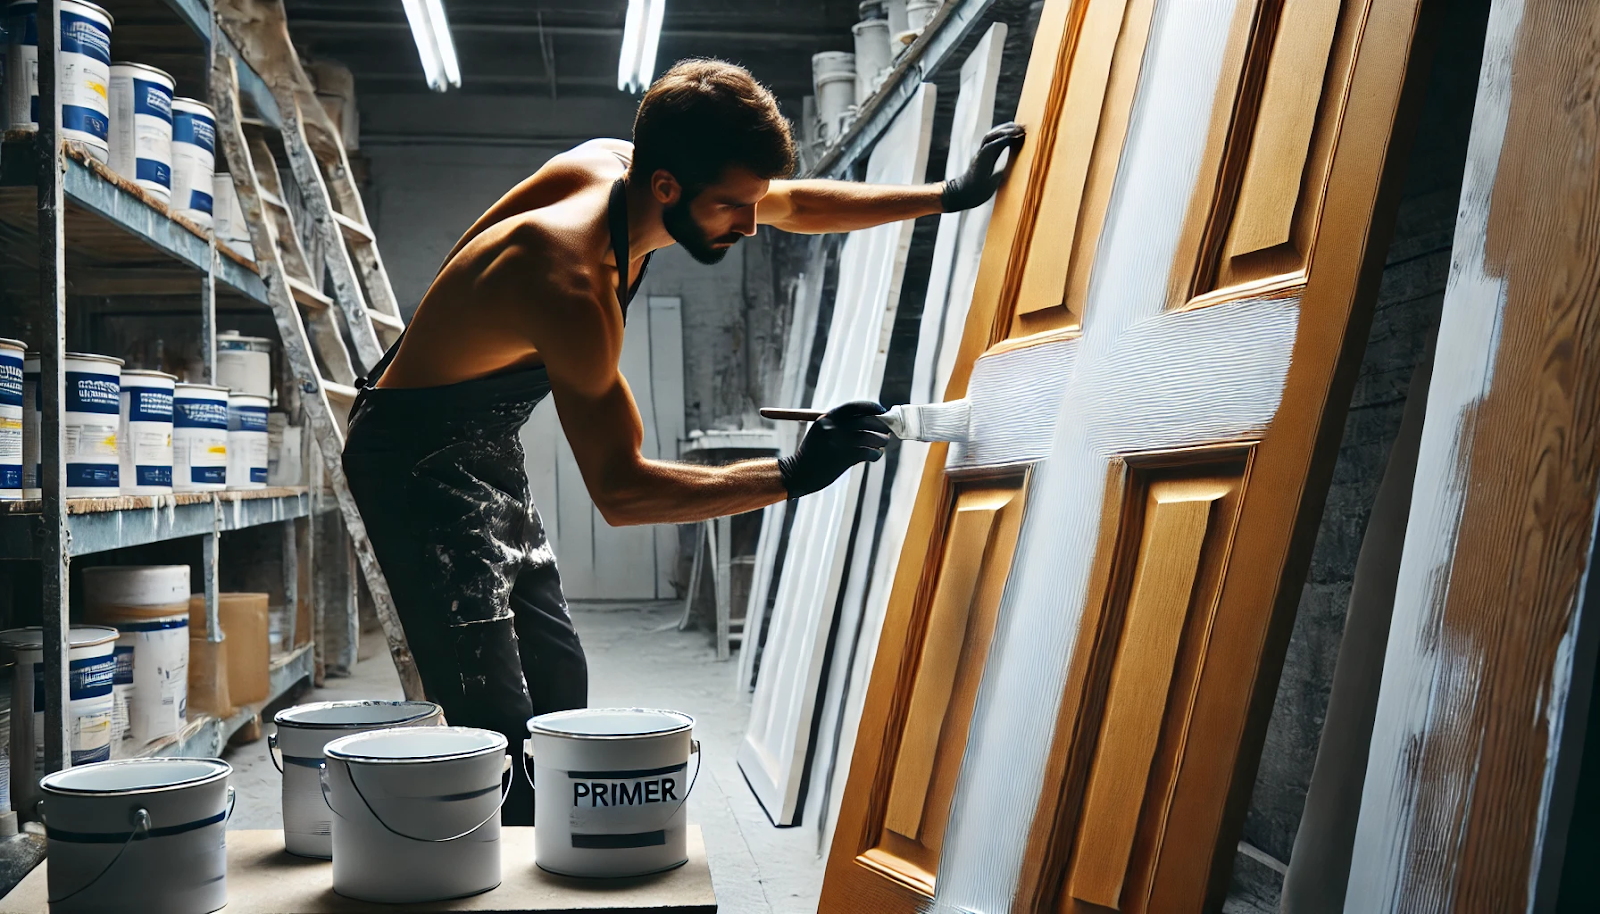
Importance of Primer
- Ensures better paint adhesion
- Provides a uniform base for true color representation
- Seals porous surfaces and covers stains
Applying the First Coat
- If painting the door frame, start with it
- Use long, smooth strokes in the direction of the wood grain
- Work quickly to maintain a wet edge and avoid visible brush strokes
Sanding Between Coats
- Once the first coat is completely dry, lightly sand with 220-grit sandpaper
- This step creates a smoother surface for the second coat and improves adhesion
Applying the Second Coat
- Follow the same order and techniques as the first coat
- The second coat enhances color vibrancy and improves durability
Now, let’s make sure that the finish is smooth as silk.
Achieving a Smooth Finish
Maintaining a Dust-Free Workspace
- Ensure you work in a clean, well-ventilated area
- Remove dust between coats using a tackcloth
Adjusting Humidity and Lighting
- The ideal humidity for painting is between 40-50%
- If necessary, use a dehumidifier
- Ensure good lighting to spot any imperfections or missed spots
Techniques for Avoiding Brush Marks
- Use foam rollers and high-quality brushes
- Apply the paint in thin, even coats
- Consider adding a paint conditioner to slow drying time and allow the paint to level
Using Airless or HVLP Sprayers
- For a flawless, factory-like finish, consider using a paint sprayer
- Airless sprayers are best for larger projects
- HVLP (High Volume Low Pressure) sprayers offer more control and less overspray
You’ve done great so far; let’s wrap things up with some final touches and maintenance tips.
Final Touches and Maintenance
Removing Painter’s Tape and Reattaching Hardware
- Remove the tape while the paint is still slightly wet to avoid peeling
- Wait at least 24 hours before reattaching the hardware
Touching Up
- In good lighting, inspect the door and touch up any missed spots or imperfections
Safety Measures and Lead Warnings
- If working on doors in homes built before 1978, test for lead-based paint
- If necessary, follow EPA guidelines for lead-safe work practices
Long-Term Maintenance
- Clean painted doors regularly with a mild soap solution
- Avoid abrasive cleaners that can damage the finish
- Touch up chips or scratches promptly to prevent further damage
- For high-traffic areas, consider repainting every 3-5 years
By following these comprehensive steps and techniques, you’ll achieve professional-quality results in your door painting projects. Remember, the key to a stunning finish lies in thorough preparation, quality materials, and meticulous application. For custom door solutions that complement your expert painting skills, consider partnering with Paniflex. Their range of customizable doors provides the perfect canvas for your creative vision, allowing you to deliver truly unique and impressive designs to your clients.


