Are you an architect, interior designer, or builder looking to incorporate bi-fold doors’ space-saving elegance into your next project?
Achieving a perfect fit is crucial for these doors’ smooth operation and aesthetic appeal. Inaccurate measurements can lead to installation issues, compromised functionality, and unsatisfactory results.
This comprehensive guide explains the essential aspects of sizing rough openings for bifold doors, ensuring that you have the knowledge and tools to create stunning and functional spaces.
Understanding Nominal and Actual Sizes
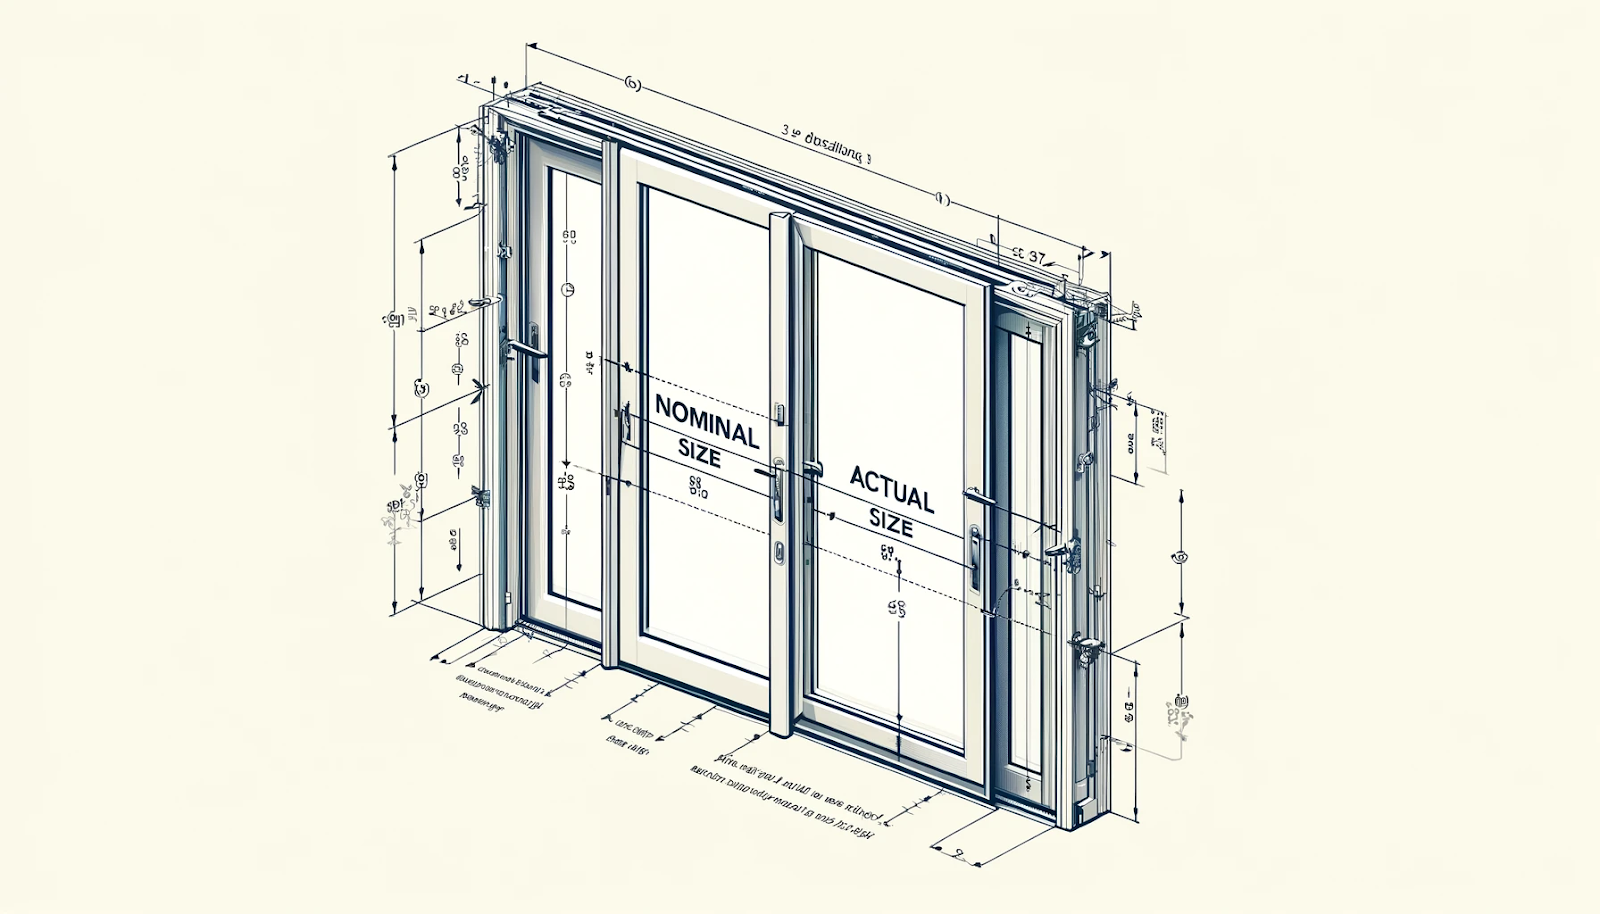
Before diving into the specifics of sizing rough openings, it’s essential to grasp the difference between nominal and actual sizes.
- Nominal sizes are the commonly used measurements that refer to the general dimensions of the door. Manufacturers, suppliers, and professionals use them as a standardized reference point.
- On the other hand, actual sizes are the precise measurements of the door itself. Typically, these dimensions are smaller than the nominal sizes to ensure proper installation and smooth operation within the rough opening.
Ensuring accurate framing dimensions that accommodate the door size can help avoid issues with binding, gaps, or uneven operation. Understanding the significance of these allowances will help you achieve a flawless fit and optimal functionality.
Example:
Nominal Size: 36″ x 80″
Actual Size: 35.5″ x 79.5″
Standard Bifold Door Sizes
Bifold doors come in various standard sizes to suit room layouts and design preferences.
- Standard widths: 18″, 20″, 24″, 28″, 30″, 32″, and 36″
- Cater to single or double-panel configurations.
- Provide flexibility for different room layouts and design preferences.
- Standard heights of 80″ and 96″
- Suitable for most standard ceiling heights
- Offer options for taller ceilings or creating a more dramatic and spacious effect
- Sizing variations for more oversized 4DR doors (48″, 60″, and 72″)
- Accommodate wider openings and expansive spaces.
- Provide a grand and impressive entrance or transition between rooms.
- The practical applications for different sizes (closet, pantry, walk-in closets)
- Smaller widths (18″ or 20″) perfect for compact spaces like closets or pantries
- Larger widths (32″ or 36″) are ideal for creating seamless flow between rooms or opening up to outdoor living areas.
Now, let’s dive into the specifics so you can nail those measurements.
Determining the Perfect Fit
Accurate rough opening measurements are essential to determine the perfect fit for your bifold door.
- How to measure the rough opening for a single bifold door:
- Measure the width at the top, middle, and bottom using the smallest measurement.
- Using the smallest measurement, measure the height at the left, right, and center points.
- Subtract 1/2″ from both width and height measurements for proper clearance.
- Calculating the size for a four-door bi-fold setup:
- Follow the same measuring process as for a single-door
- Ensure the opening is wide enough to accommodate the desired number of panels
- Consider the panel widths and necessary clearances for smooth operation
- Adjusting measurements for larger spaces requiring two bifold doors:
- Measure each opening separately, following the single-door measuring process.
- Verify that both openings are square, level, and plumb
- Allow for any necessary adjustments or custom sizing to ensure a seamless fit
- Troubleshooting common issues:
- Use shims or filler strips to ensure a proper fit if the rough opening is too large.
- If the rough opening is too small, consider trimming the door or enlarging the opening (consult with a professional)
One of the most common is a standard 36″ bifold door. We’ll look deeper into how to measure the same.
Sizing the Rough Opening for a 36″ Bifold Door
When working with a 36″ bifold door, precision is key to ensure a perfect fit and smooth operation. Here’s a simple guide to help you size the rough opening correctly:
- Initial Measurements for 36″ Bifold Doors
- Understand the difference between nominal and actual sizes: 36″ (nominal) vs. 35 1/2″ (actual)
- Determine the optimal opening size for smooth operation
- Measure the space accurately, taking into account any obstructions or irregularities
- Bifold Panel Dimensions for 36″ Doors
- Familiarize yourself with the standard dimensions of a single bifold panel
- Calculate the total width coverage of the bifold door based on the number of panels
- Adjusting for the Rough Opening
- Ensure enough clearance for hardware and movement, typically allowing for a 1/2″ to 3/4″ gap on all sides
- Consider factors such as flooring thickness, trim, and header size when determining the final rough opening dimensions
- Final Check and Considerations
- Review all measurements before proceeding with installation
- Consult the manufacturer’s guidelines for any specific requirements or recommendations related to your chosen 36″ bifold door system
By following these steps and paying close attention to the details, you can ensure that your 36″ bifold door fits perfectly within the rough opening, providing a seamless and functional addition to your space.
Are you feeling confident about measuring? Great! Let’s break it down even further with a step-by-step guide.
Step-by-Step Measurement Guide
Follow these step-by-step guidelines to measure your rough opening for bifold doors accurately.
- Ensuring the opening is level:
- Check the top, bottom, and sides of the opening with a spirit level
- Ensure a level surface for proper door alignment by making necessary adjustments
- Measuring width at three different points:
- At the top, middle, and bottom of the opening, measure the width
- Use the smallest measurement to ensure the door fits properly
- Calculating height in three locations:
- At the left, right, and center points of the opening, measure the height
- Use the smallest measurement to accommodate any unevenness
- Subtracting a half-inch from width and height for clearance:
- From the final width and height measurements, subtract 1/2″
- This allowance ensures the door has enough clearance to operate smoothly without binding or rubbing
- Determining panel folding direction based on space and preference:
- Consider the room’s available space and intended use
- Decide the best folding configuration for your needs, whether inward or outward
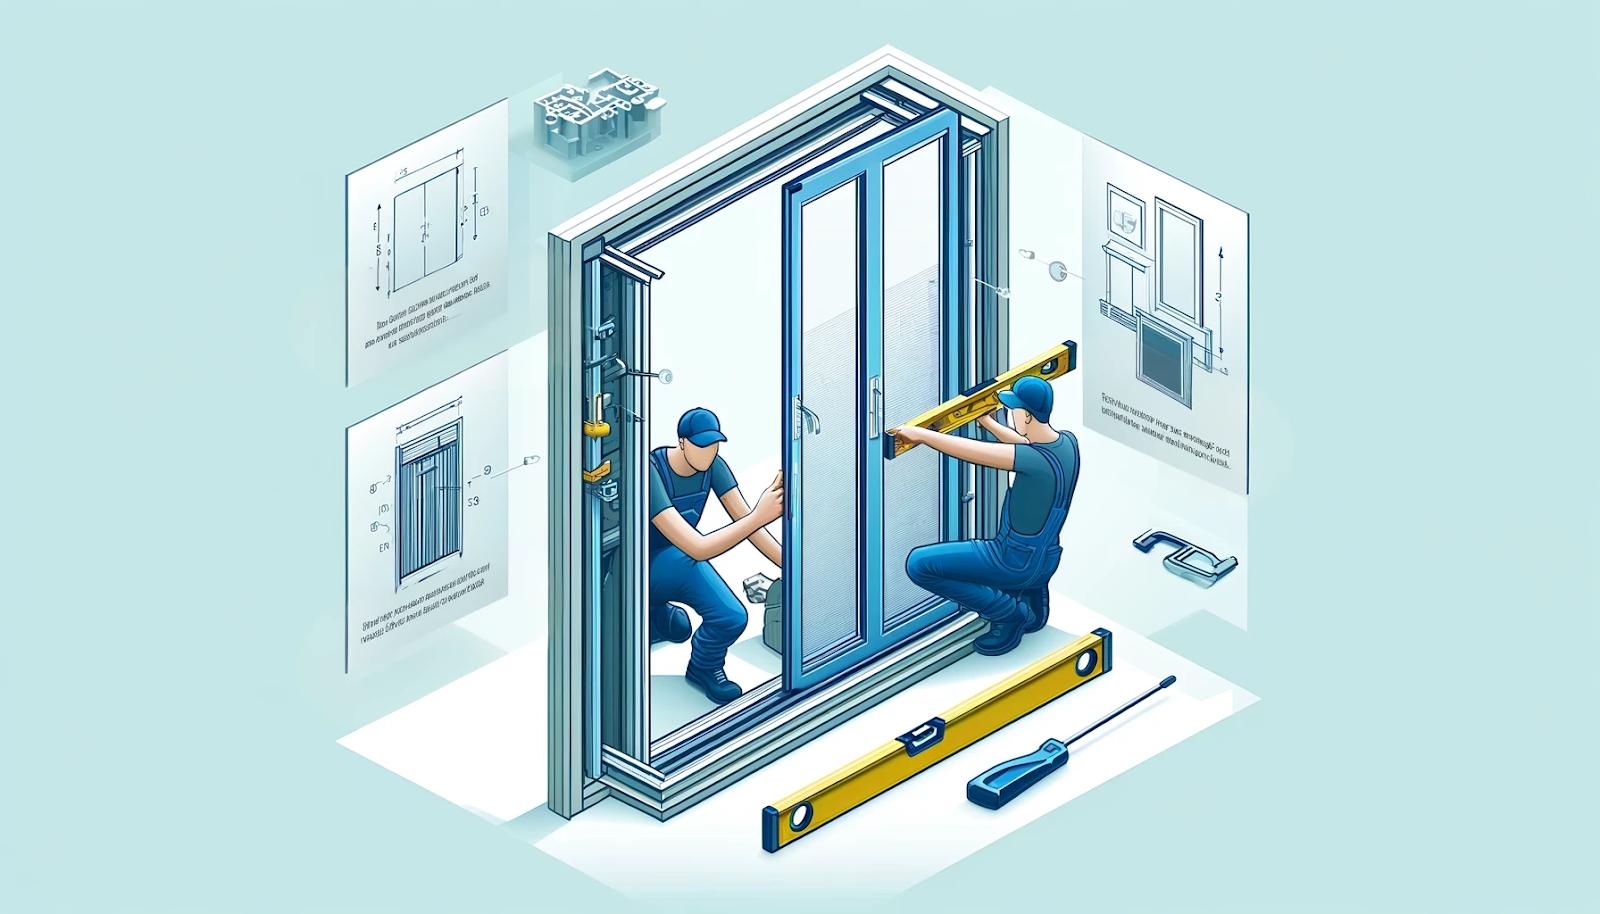
Guide to Measuring Bifold Door Rough Openings
You’re practically a pro now, but let’s not stop there. Understanding the configurations is next on the agenda.
Bifold Door Configurations:
Bifold doors offer a range of configurations to suit various spaces and design requirements.
- Two-panel configuration and its simplicity
- It is ideal for smaller openings or spaces with limited swing clearance
- It provides a clean and minimalist look
- Three-panel variations for different needs
- Allows for a combination of fixed and folding panels
- Offers versatility in terms of function and design
- Four-panel setups, including the French configuration
- Perfect for medium to large openings, balancing functionality and aesthetics
- French configuration creates a symmetrical and elegant appearance.
- Options for five and six-panel doors
- Suitable for expansive openings, providing maximum flexibility and unobstructed views
- Allows for various folding configurations to suit specific design requirements
- Choosing the sliding direction and access leaf in multi-panel doors
- Determine the most practical and convenient sliding direction based on room layout.
- Select the access leaf location for ease of use and traffic flow.
Selecting the correct configuration:
- Opt for two or three-panel configurations for smaller spaces or areas requiring minimal obstruction.
- Medium to large openings benefit from four-panel setups, which offer a balance of functionality and aesthetic appeal
- Expansive spaces or those designed to maximize views should consider five or six-panel configurations.
Considering all these configurations, it’s time to discuss the installation tips for a flawless finish.
Installation Tips for Optimal Fit:
Pay close attention to the manufacturer’s instructions for accurate sizing and installation to ensure a successful installation. Follow the manufacturer’s guidelines closely to ensure proper fit and operation. Pay attention to specific requirements or recommendations for your chosen bifold door system.
- The role of the manufacturer’s instructions for accurate sizing and installation
- Follow the manufacturer’s guidelines closely to ensure proper fit and operation.
- Pay attention to specific requirements or recommendations for your chosen bifold door system.
- Essential considerations for smooth and aesthetically pleasing installation
- Make sure the rough opening is square, level, and plumb
- Check the floor or ceiling for any obstructions or unevenness
- To achieve optimal functionality and appearance, allow for necessary adjustments and clearances
- Common installation mistakes to avoid
- Failing to check the rough opening for level and square before installation
- Neglecting to make necessary adjustments for flooring or threshold variations
- Overlooking the importance of proper shimming and fastening techniques
And there you have it! You’re all set to tackle your bifold door project with confidence.
But, if you’re feeling a bit daunted, remember we’re here to help.
Final Thoughts
Sizing rough openings for bifold doors requires precision, attention to detail, and a thorough understanding of the factors involved.
By familiarizing yourself with nominal and actual sizes, standard door dimensions, and the step-by-step measurement process, you can ensure a seamless installation that maximizes your space’s beauty and functionality.
Take action:
- Consult with professionals for complex installations or custom sizing requirements
- Utilize manufacturer resources and guides for specific bifold door systems
Whether you’re working on a project in Long Island, Queens, Brooklyn, Manhattan, Bronx, Staten Island, New Jersey, or Connecticut, our Paniflex team is here to help you achieve the perfect fit for your bifold doors.
Our precision manufacturing and customisation expertise allows us to create tailored solutions that meet your specifications. Contact us today to discuss your project requirements and discover how our custom bifold doors can elevate your space.


