Are you looking to transform your living space with a touch of elegance and functionality? Installing mirror closet doors is a fantastic way to achieve both. Not only do they reflect light and create the illusion of a larger room, but they also provide a practical solution for concealing clutter. In this guide, we’ll walk you through the step-by-step process of installing mirror closet doors, ensuring a seamless and stunning result. Whether you’re an interior designer seeking to impress clients or an architect looking for innovative space-saving solutions, Paniflex has you covered.
Benefits of Sliding Mirrored Closet Doors
Before we dive into the installation process, let’s explore the advantages of choosing sliding mirrored closet doors:
- Space-saving: Sliding doors eliminate the need for swing space, making them perfect for smaller rooms or tight spaces.
- Multi-purpose: Mirrored doors serve as a full-length mirror, reflecting light to brighten the room and providing a convenient spot to check your outfit before heading out.
- Clutter concealment: Keep your closet organized and out of sight with the help of mirrored doors, creating a clean and tidy appearance.
Now that you’re familiar with the benefits, let’s gather the necessary tools and materials to get started on this exciting DIY project.
Tools and Materials Needed
To complete your mirrored closet door installation, gather the following tools and materials:
- Screwdriver
- Tape measure
- Drill with bits
- Hacksaw
- Pre-sized sliding closet doors from Paniflex
- Installation hardware (provided by Paniflex)
With your tools and materials ready, it’s time to move on to the preparation steps.
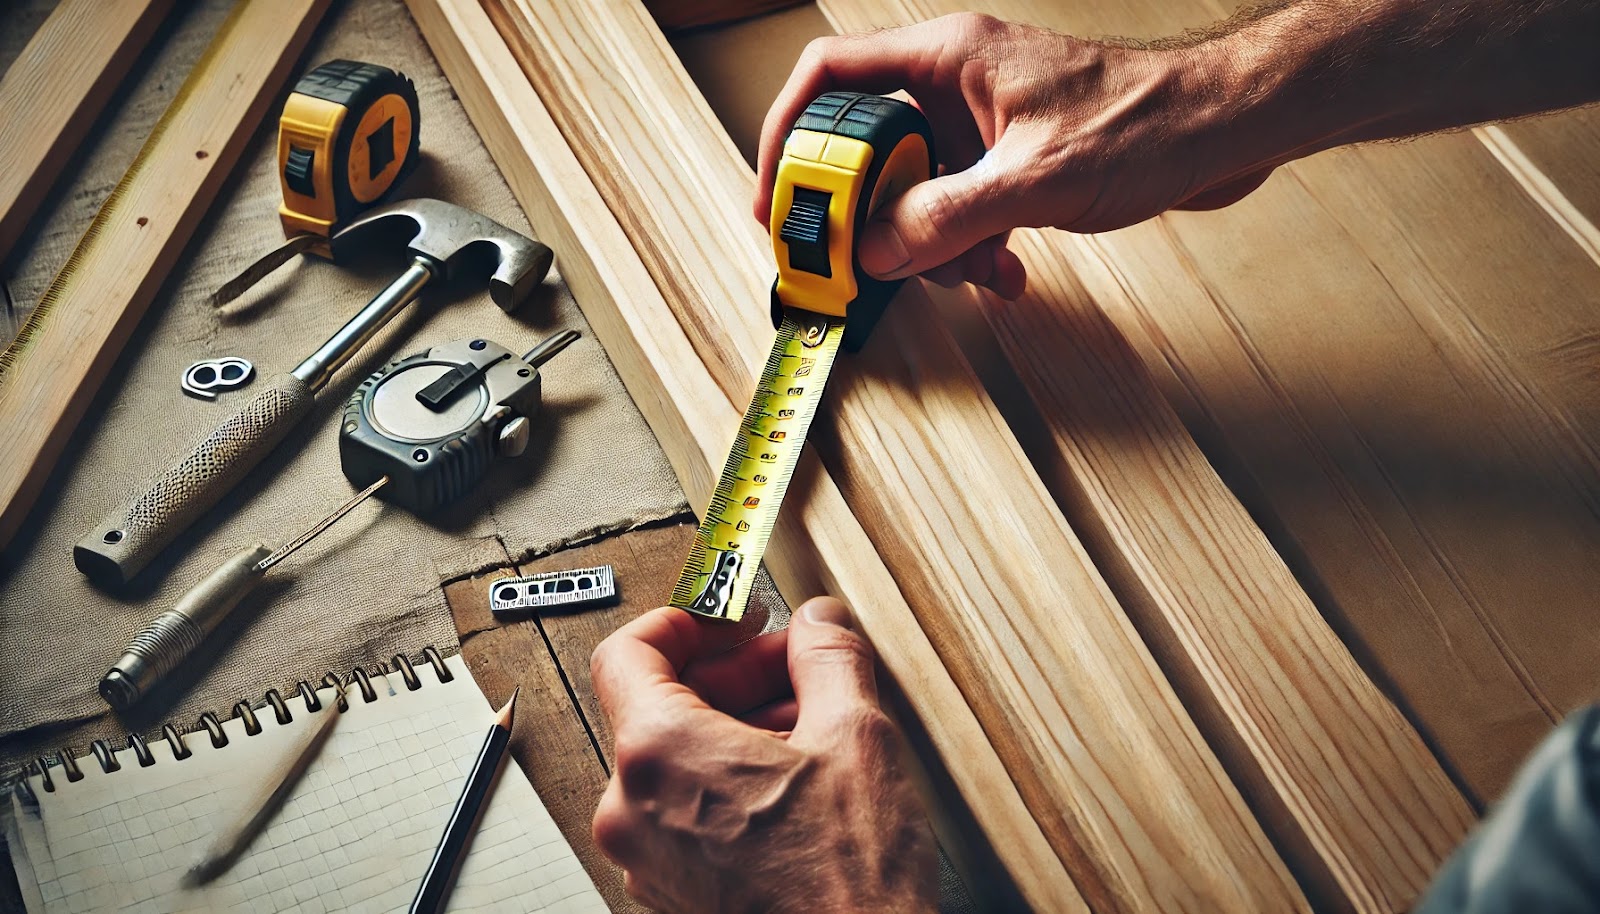
Preparation Steps
- Measure your door frame carefully before placing your order with Paniflex. Our team pre-sizes your doors to fit perfectly.
- Upon receiving your Paniflex sliding closet doors, verify that the packaging includes all parts and hardware.
Now that you’ve completed the preparation steps, let’s focus on measuring and installing the tracks.
Measuring and Installing the Tracks

- Double-check the distance between the walls of your doorframe to confirm the measurements. If you’re looking to install sliding closet doors, it’s important to have the correct dimensions. As mentioned in this Reddit thread, for a 91.5′ by 82′ area, mention the nominal size as 90 x 80 when ordering. This helps procure a door set that fits perfectly.
- If necessary, cut the tracks with a hacksaw to achieve the perfect fit. Now that you’ve got the tracks sorted, let’s nail down the best way to secure them based on your floor type!
Also Read: Guide to Standard Residential Interior Door Sizes
Securing Tracks Based on Floor Type
Depending on your floor type, follow these guidelines for securing the tracks:
- Carpet: Use screws for wood subfloors or plastic anchors for concrete subfloors.
- Concrete: Pre-drill holes using a masonry drill bit and insert anchors before attaching the tracks with screws.
- Wood: Utilize the provided screws to secure the tracks directly to the floor. With tracks firmly in place, it’s time to bring in the stars of the show—the mirror panels!
It’s essential to ensure that the track is securely fitted, especially if the flooring underneath has changed from carpet to a new surface like hardwood. As discussed in this Reddit thread, without a bottom track, doors might swing and detach from the top, leading to potential damage or accidents.
With the tracks secured, you’re ready to move on to the exciting part—installing the mirror panels.
Installation of Mirror Panels
- Begin by installing the rear (inside) panel, aligning the panel wheels with the tracks.
- Adjust the wheels to ensure smooth sliding motion.
- Repeat the process for the front panel, ensuring proper alignment and smooth operation. Almost there! Let’s make sure everything is running like a dream with a few final adjustments.
For a visual guide on installing mirrored closet doors, check out this helpful YouTube video.
Also Read: How to Install and Replace Closet Doors
Now that the mirror panels are installed, it’s time to fine-tune the doors for optimal performance.
Adjusting and Checking Operation
- Fine-tune the door wheels to achieve optimal alignment and smooth gliding.
- Slide the doors back and forth to test them, checking for any obstructions or issues. You’re now ready to enjoy your stunning new mirrored closet doors!
If you’re looking for a straightforward approach to swapping mirrored closet doors with wood bypass sliding doors, this Reddit thread offers helpful advice. Remember, it’s a DIY project that requires basic tools and perhaps an extra pair of hands.
With your mirrored closet doors installed and functioning flawlessly, let’s wrap up this guide with a few final thoughts.
Conclusion

By following this DIY guide on how to install mirror closet doors, you can elevate your space with a touch of sophistication and functionality. Paniflex’s premium sliding mirrored doors offer a space-saving solution that reflects light, conceals clutter, and provides a convenient wardrobe mirror. As an interior designer or architect, incorporating mirrored closet doors into your projects will undoubtedly impress your clients and showcase your expertise in creating stunning, multi-purpose spaces.
If you’re considering purchasing mirrored closet doors, this Reddit user’s experience with Home Depot’s product might be helpful.
Should you encounter any challenges during the installation process or require custom solutions, don’t hesitate to reach out to Paniflex’s dedicated support team for assistance. Embrace the transformative power of mirrored closet doors and create spaces that inspire and delight with Paniflex.


