Are you looking to elevate your interior design by creating a unique, energy-efficient building door? As an interior designer or architect, you understand the importance of customizing spaces to fit your clients’ needs and style preferences. In this article, we’ll guide you through the process of constructing a custom interior building door with an insulated glass panel, allowing you to offer a one-of-a-kind solution for your projects.
Materials and Tools Required

Before diving into the construction process, gather the following necessary materials and tools:
- Lumber Selection and Specifications: Choose high-quality, straight-grained lumber free from defects. Popular choices include oak, maple, and cherry. Determine the required dimensions based on the door’s design and size.
- Insulated Glass Panel Options: Consider factors such as thickness, glass type, spacer material, and gas fill to select an insulated glass panel for desired performance and aesthetics.
- Tools and Equipment: Essential items include a table saw, miter saw, router, drill, orbital sander, clamps, measuring tools, and various hand tools. Specialized tools for working with glass may also be required.
- Safety Gear and Precautions: Prioritize safety by wearing appropriate PPE, ensuring a clean and well-lit work area, and following manufacturer’s instructions for power tools and glass handling.
Got everything ready to roll up your sleeves? Let’s dive into designing the door!
Designing the Door

Develop a clear design for your custom interior building door by going through the following check-list:
- Choosing a Style and Design: Collaborate with clients to understand their preferences and the desired aesthetic. Explore various door styles and consider factors such as functionality, privacy, and light transmission.
- Measurements and Layout: Measure the door opening accurately, including width, height, and depth. Use these measurements to create a detailed layout, considering the glass panel placement, rails, stiles, and additional features.
- Creating a Detailed Sketch or Blueprint: Use drafting software or hand-drawn sketches to develop a visual representation of the door, including proportions, joinery details, glass panel specifications, dimensions, materials, and special instructions.
Now that you’ve got the blueprint, it’s time to transform that sketch into reality by prepping the lumber!
Preparing the Lumber
Prepare the lumber components for your custom building door by going through below step-by-step process:
- Cutting Lumber to Size: Use your measurements and blueprint to cut the lumber components to the required sizes. Use a table saw or miter saw for precise, clean cuts.
- Planing and Sanding: Use a thickness planer and jointer to plane the lumber components and an orbital sander for sanding to achieve a smooth, even surface.
- Creating Joinery for Frame: Select a suitable joinery technique (e.g., mortise and tenon, dowels, or biscuits) and use a router, drill, or specialized jigs to create the necessary cuts and holes. Ensure snug fit and proper alignment.
With your pieces precision-cut and smooth as silk, let’s get down to assembling the door frame!
Constructing the Door Frame
Assemble the door frame by putting together the below guidelines:
- Assembling the Frame Components: Lay out the rails and stiles, ensuring correct joint alignment. Apply wood glue to joinery surfaces, bring components together, and clamp for even pressure while the glue dries.
- Securing Joints with Wood Glue and Fasteners: Use mechanical fasteners such as dowels, screws, or nails to reinforce joints. Pre-drill pilot holes and countersink fasteners for a smooth finish.
- Ensuring Square and Level Frame: Regularly check for square and level alignment using a carpenter’s square and level. Make adjustments as needed before the glue fully dries.
Also Read: Start to Finish Guide: Installing a New Interior Door Frame
Frame ready and steady? Awesome! Let’s add that all-important insulated glass panel.
Incorporating the Insulated Glass Panel
Follow the steps below to add the insulated glass panel to your custom building door.
- Preparing the Frame for Glass Installation: Make a rabbeted edge or groove in the frame to accommodate the glass panel, ensuring precise measurements for a secure fit.
- Inserting and Securing the Insulated Glass Panel: Carefully place the glass panel into the prepared frame, using glazing tape or silicone sealant for a weathertight seal. Use glazing points or clips to secure the panel in place.
- Applying Glazing Bead or Caulk: Around the perimeter of the glass panel, install glazing bead or apply caulk for a finished, polished appearance. Smooth out any excess material and allow for proper drying time.
The glass is snugly in place, so let’s add the finishing touches to make your door shine!
Finishing Touches
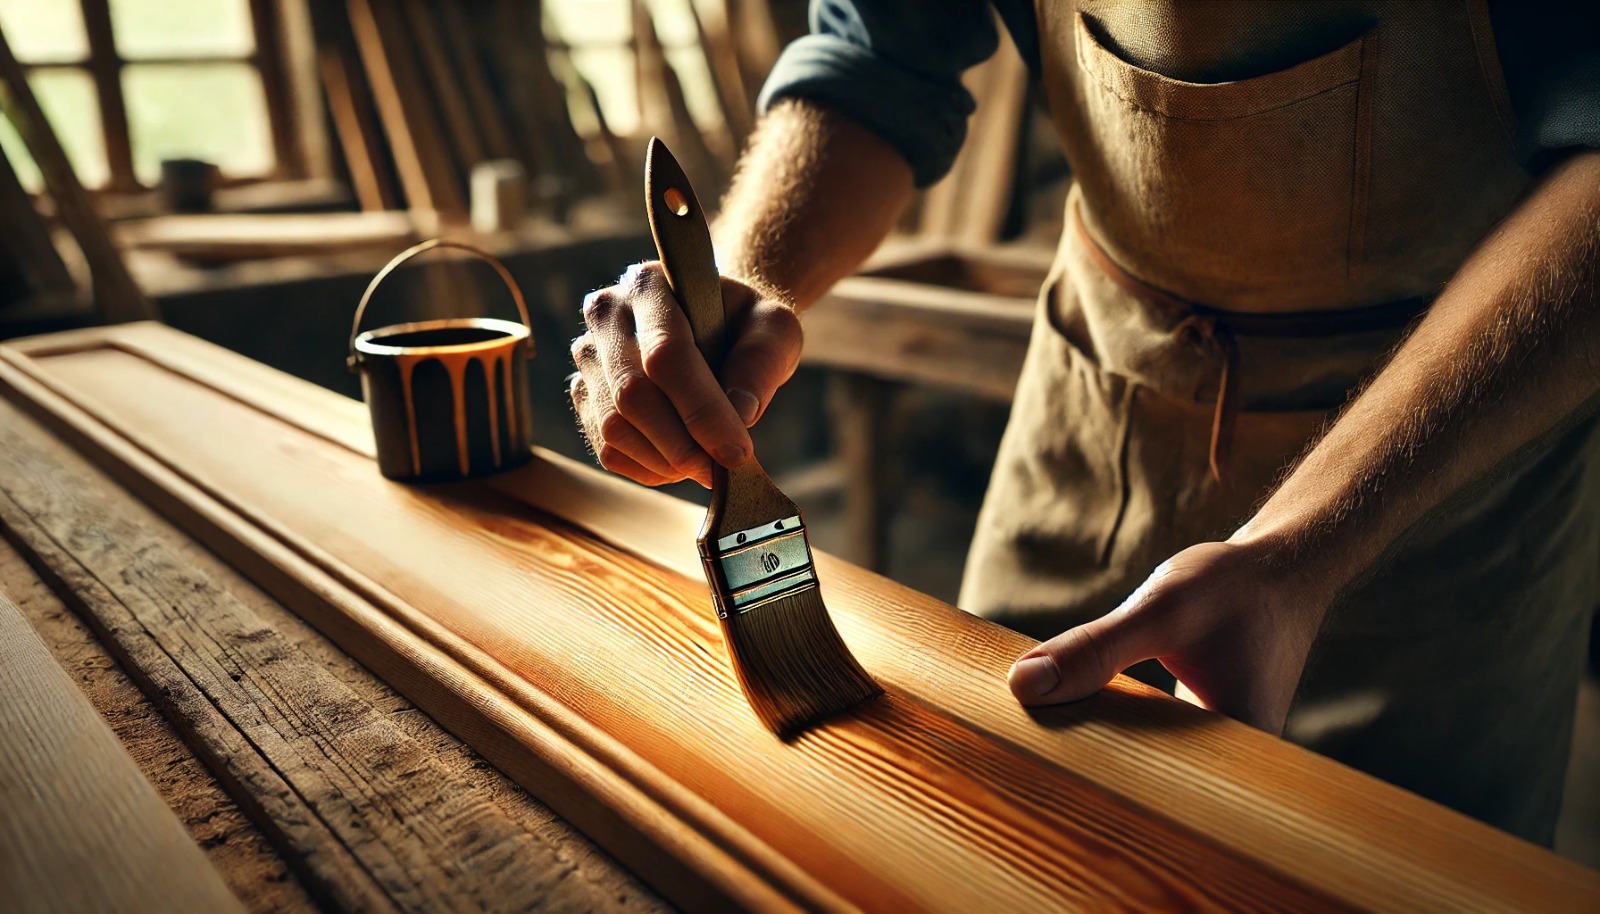
Give your custom interior building door the perfect finishing touches by doing the following:
- Sanding the Entire Door: Use progressively finer grits to sand the entire door, including the frame and any exposed wood surfaces, for a smooth, even finish.
- Applying Paint or Stain: Follow the manufacturer’s instructions for application and drying times to apply the desired paint or stain color. Consider the client’s preferences and the overall design scheme.
- Adding Protective Finish: Use a clear protective finish, such as polyurethane or varnish, to enhance durability and resistance to wear and tear. Follow the manufacturer’s guidelines for best results.
Your door looks fantastic! Time to select some stylish hardware to complete the look.
Installing Hardware
Select and install appropriate hardware for your custom building door in the following ways:
- Choosing Appropriate Door Hardware: Choose hardware that complements the door’s style and functionality, such as hinges, handles, locks, and door stops. Evaluate the finish, material, and durability to choose the hardware.
- Installing Hinges and Handles: Measure and mark the placement of hinges and handles on the door and frame accurately. Pre-drill pilot holes and securely attach the hardware using screws or bolts.
- Ensuring Proper Alignment and Functionality: Test for smooth operation and proper alignment of the hardware. Make any necessary adjustments to ensure the door opens, closes, and latches correctly.
Also Read: Expert Guide: Door Hardware Installation for Modern Design Professionals
Hardware is spot-on! Let’s get this masterpiece hung for the grand reveal in the final installation.
Final Installation
Install your custom interior building door by taking down the following criteria:
- Hanging the Door in the Frame: Carefully align the door with the frame and secure the hinges. Ensure the door is plumb and level, making adjustments as needed for a perfect fit.
- Adjustments and Fine-Tuning: Test the door’s operation, checking for smooth opening and closing. Make any necessary adjustments to the hinges, strike plate, or door stops for optimal functionality.
- Ensuring a Snug Fit and Operation: Ensure the door fits snugly within the frame, with even gaps and no binding or rubbing. Double-check the operation of the hardware and make final tweaks as required.
At Paniflex, we specialize in creating custom closet doors that perfectly fit your clients’ needs and style preferences. Our team of experts can guide you through the process of designing and constructing a custom interior building door with an insulated glass panel, ensuring a high-quality, energy-efficient solution for your projects. Contact us today to learn more about how we can help you bring your creative vision to life.


