Have you ever stood in a beautifully designed room only to be let down by a poorly hung door? As an interior designer or architect, you know that even minor details can make or break a project. Knowing how to hang a door might seem straightforward, but it requires precision and skill to ensure flawless functionality and aesthetics.
This comprehensive guide will walk you through the steps for hanging a door easily, helping you achieve that perfect finish every time. Whether you’re working with Paniflex’s custom closet or standard interior doors, the techniques discussed in this blog post will elevate your installation process and impress your clients.
Are you ready to master the art of door hanging? Let’s dive in!
Essential Tools and Materials

Before you begin your door-hanging project, you must gather all the necessary tools and materials. This preparation ensures a smooth installation process and helps you avoid unnecessary delays.
Here’s what you should have on hand:
- Door and frame
- Tape measure
- Level (4-foot or 6-foot)
- Pencil
- Drill and drill bits
- Screwdriver
- Chisel set (various sizes)
- Mallet or hammer
- Wood shims
- Screws
- Hinges (if not pre-installed)
- Combination square
- Marking gauge
- Plane (smoothing and power)
- Door holder or assistant
Watch this helpful video, How to Hang a Door in Minutes, for a visual guide on essential tools. It offers a quick overview of the tools you’ll need and how to use them efficiently.
Now that you’re ready, it’s time to start the installation process!
10 Steps for Hanging a Door Easily
This section will guide you through each crucial step, from initial measurements to final adjustments. As an interior designer or architect, your attention to detail will shine through in this meticulous process.
Remember, the perfectly hung door you create will function smoothly and contribute to the space’s overall aesthetics.
Time to begin with your first step.
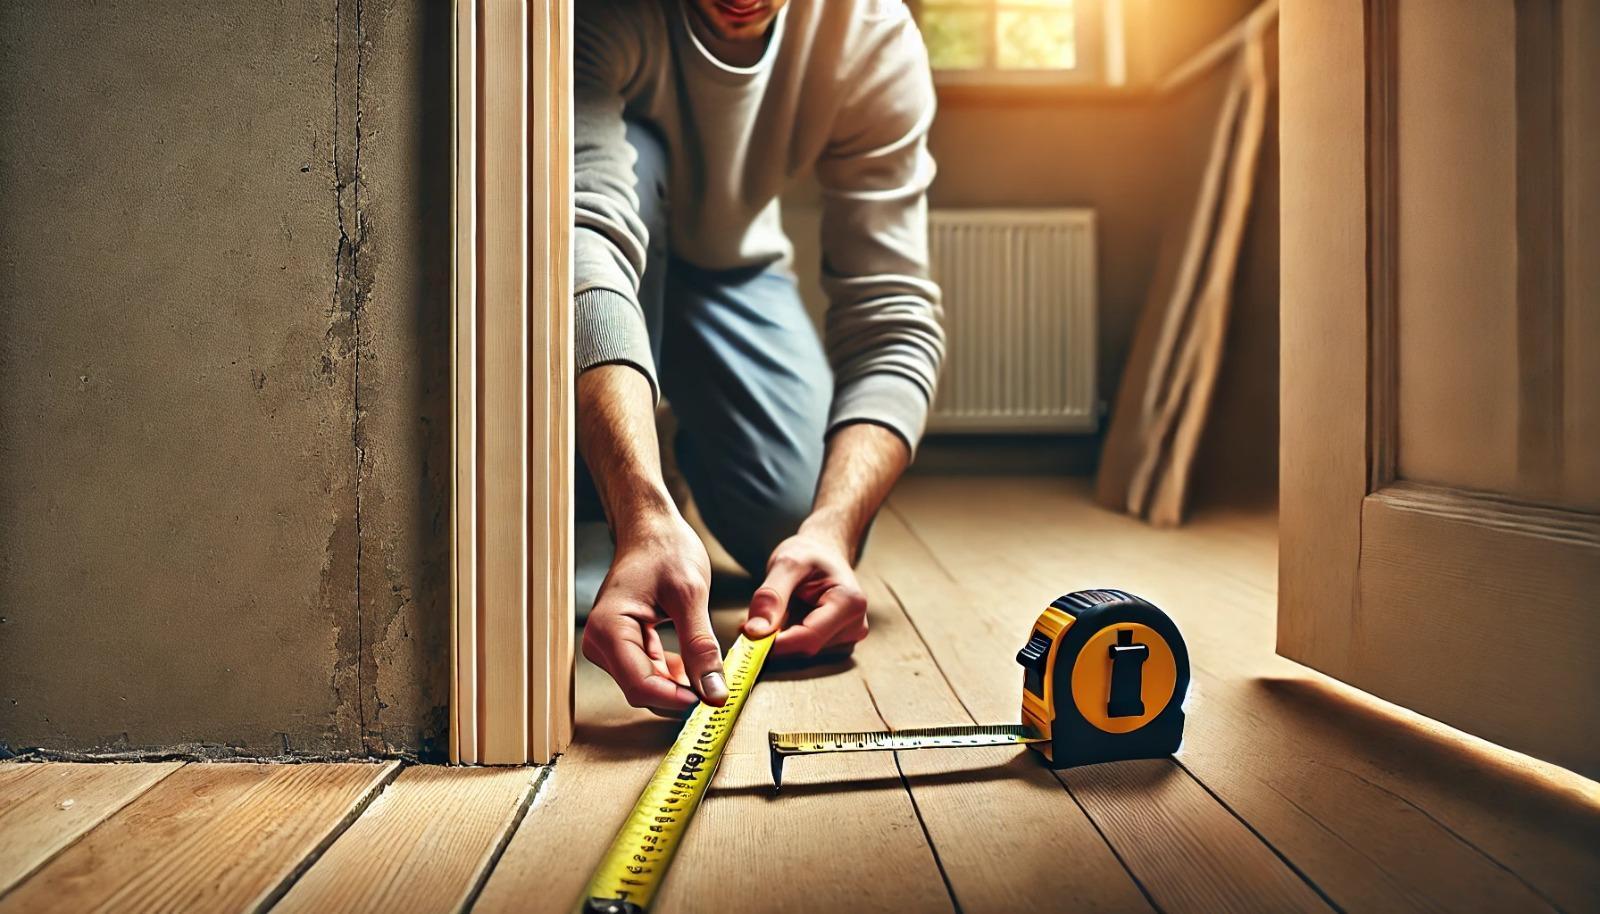
- Initial Inspection and Door Measurements
Start by thoroughly inspecting the door and frame for the following details:
- Measure the width and height of the door’s opening at multiple points to ensure an accurate fit.
- Ensure the minimum clear width is 32 inches for standard doors.
- Check that the door opening height is at least 80 inches.
- Remove the door casing to expose the rough opening and detect any irregularities.
As one Reddit user pointed out, “Starting with the hinge side and ensuring everything is plumb and square before moving to the latch side is crucial.” This advice from a home improvement discussion highlights the importance of a solid foundation for your door installation.
With your measurements in hand, it’s time for you to move on to orienting the door correctly.
- Door Orientation
It’s crucial to ensure proper orientation before hanging the door. Follow the steps below and implement them one by one.
- Determine the door swing direction (left-hand or right-hand swing).
- Ensure the correct side of the door is facing towards you.
- Consider the location of light switches and fixtures to ensure the door doesn’t obstruct them when open.
- Utilize visual aids if necessary to confirm proper orientation and swing direction.
Also Read: Determining Door Swing: Left Hand Vs. Right-Hand Tips and Tricks for Designers
Now that you know how your door will swing, it’s time to prepare the frame.
- Prepare Door Frame / Lining
Preparing the door frame is a critical step in ensuring a smooth installation. Here’s what you need to do:
- Use a 4-foot or 6-foot level to check the frame’s vertical and horizontal components. Ensure the jambs are plumb and the head is level.
- Please address any issues using shims or by adjusting the frame itself. For both plumb and level, aim for a maximum deviation of 1/16 inch over 4 feet.
- Clean and smooth the frame thoroughly, removing any debris. Pay special attention to the hinge mortises and strike plate area.
- Sand the frame, starting with 120-grit sandpaper and finishing with 220-grit for a smooth surface.
- Exterior doors should be rebated at the bottom to accommodate weatherstripping if necessary. The standard rebate depth is typically 1/2 inch, but verify this with your specific weatherstripping requirements.
- Check the frame’s squareness by measuring diagonally from corner to corner. For a properly squared frame, both measurements should be within 1/8 inch of each other.
- Please verify that the rough opening is approximately 2 inches wider and 2 1/2 inches taller than the door to allow for proper shimming and adjustment.
- For metal frames, ensure that the provided anchors are securely fastened to the wall structure. If necessary, check for any loose joints in wood frames and reinforce them with wood glue and finishing nails.
- If the frame has a split jamb design, ensure that both halves align ideally and that the interlocking joint is tight and even along its entire length.
Also Read: Interior and Exterior Door Rough Opening Sizes and Charts
Is your frame in shape? Then, move on to marking the door.
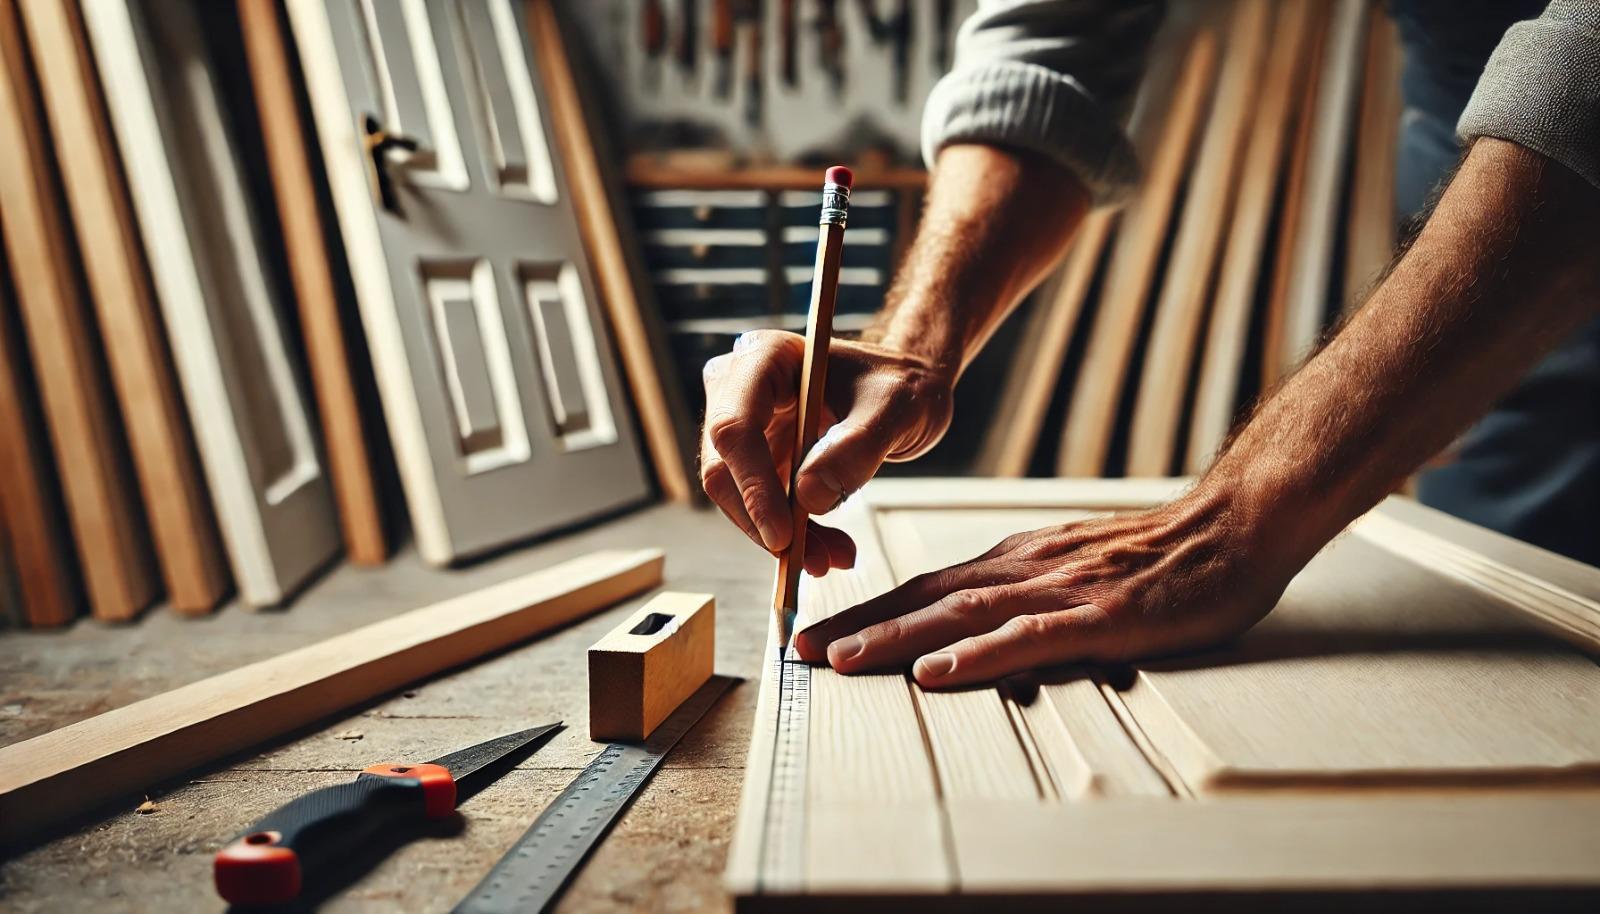
- Markup Using The Door
Accurate marking is critical to a well-fitted door. Measurements make the final product; the pointers below will help you mark correctly.
- Align the lock block on the handle side of the door.
- Use a wedge to set a 2-3mm gap at the top of the door.
- Account for flooring gaps at the bottom when marking the door.
- Use the door itself to mark accurately and ensure proper fitting.
- Use temporary door stops or off-cuts of timber to keep the door stable while marking.
For an expert’s perspective on marking and fitting doors, this video from a professional carpenter offers valuable insights and techniques.
Markings in place? It’s time to tackle the hinges.
- Marking and Installing Hinges
Don’t want creaking sounds, do you? Properly installed hinges are essential for a smoothly operating door. Here’s how to mark and install them:
- Measure accurately from the top and bottom to mark hinge positions. Typically, place the top hinge 4.5 inches from the top and the bottom hinge 9 inches from the bottom.
- Add a third hinge evenly between the top and bottom for heavy or fire-rated doors.
- Use a chisel to make 45° cuts at intervals and remove excess material before fitting hinges.
- Secure the hinges to the door first, then to the frame.
- Use a drill to create pilot holes before driving in the screws to prevent splitting.
- Check that the screws are tight but not over-tightened, which could strip the wood.
With your hinges secured, we’re ready for the main event.
- Hang the Door
Here’s where the steps for quickly hanging a door come into play. Ensure you carry out the following steps:
- Lift the door into place with help from an assistant or by using a door jack.
- Insert the hinge pins, starting from the top.
- Check the door’s operation – does it swing freely without binding?
A Reddit discussion on door installation suggests a crucial tip on hanging a door: “Dry-fitting the door into the frame and shimming from top to bottom while ensuring it remains square and level.”
This method can help you achieve a perfect fit before final installation.
Feeling good about the fit? Time to make those final tweaks!
- Make Adjustments
Few doors hang perfectly on the first try, so a further thorough examination is needed. Below are a few steps to ensure your door is in perfect condition.
- Adjust the hinges by loosening the screws and repositioning slightly.
- Add or remove shims behind the hinges for a better fit.
- Use a plane to trim the edges of the door if there’s rubbing against the frame.
Now that your door hangs smoothly, it is time to address any height issues.
- Trim The Bottom Of The Door
If the door doesn’t clear the floor or carpet, ensure that you tick the below checklist.
- Mark the amount that needs trimming, ensuring it’s even across the bottom.
- Use a plane to trim the bottom of the door, ensuring proper clearance.
- Apply a leading edge to facilitate smooth opening and closing.
- Sand the newly cut edge for a smooth finish.
Also Read: Simple Methods to Trim the Bottom of a Door
With the door fitting perfectly, add the outer pieces.
- Install the Door Handle and Latch
Once the door hangs correctly, it is vital to ensure the below details are in place.
- Mark and drill holes for the door handle and latch mechanism.
- Install these components, ensuring they align perfectly with the strike plate on the frame.
For a detailed guide on correctly hanging a door, including how to screw into the door jamb and ensure proper leveling, this tutorial provides excellent visual instructions on how to hang a door.
Also Read: Expert Guide: Door Hardware Installation for Modern Design Professionals
Finally, your hardware is in place. Let’s get to those final touches.
- Final Checks and Finishing Touches
- Open and close the door multiple times to ensure smooth operation.
- Check for any gaps or misalignments and make final adjustments.
- If you work with unfinished doors, now’s the time to paint or stain.
A user in a carpentry forum recommends “starting from the hinge side when leveling the bottom of the door, ensuring the margin between the door and frame is even, aiming for about a 1/8″ gap.” This tip can help you achieve a professional finish.
It’s all about the little details that make it perfect. Go through some pro tips for making your work spotless.
Tips for Professional Results
What sets apart a sound door installation from a great one? It’s all in the details. Whether you’re a seasoned pro or just getting started, there’s always something to learn. These insider tips will help you achieve that wow-worthy, professional finish. Let’s dive in.
- Always measure twice before cutting or drilling.
- Use a vacuum to clean up wood shavings as you work for a neater process.
- When working with Paniflex’s custom closet doors, refer to our installation guides for the best results.
- Consider using a door holder or temporary doorstops to stabilize the door while marking hinge positions.
Safety should always be your top priority, so review some essential precautions.
Safety Tips
Did you know that it is highly recommended that you wear safety glasses, gloves, and a dust mask when handling heavy doors and power tools? But that’s not all. Here are some other crucial safety tips to protect you while you hang and install doors.
- Enlist help when lifting heavy doors to prevent injury.
- Keep your workspace clear of clutter to reduce tripping hazards.
- Ensure proper ventilation when using paints or finishes.
- Use power tools according to manufacturer instructions and maintain them regularly.
Despite following the best safety practices, unexpected issues can arise. That’s why troubleshooting is essential. Let’s explore some common problems and how to address them.
Troubleshooting Common Issues
Let’s go through some simple troubleshooting for common door-hanging problems.
- The door doesn’t latch properly? Adjust the strike plate or reposition the latch.
- Door swings open or close on their own? The frame may not be plumb; adjust using shims.
- Gaps are uneven? Reposition the door within the frame using shims behind the hinges.
Following the above steps for hanging a door efficiently ensures a professional finish that enhances your overall design. Remember, practice makes perfect, and each door installation is an opportunity to refine your technique.
Conclusion
Mastering the steps on how to hang a door is a valuable skill for any interior designer or architect. It allows you to maintain control over every aspect of your project, ensuring that even the functional elements contribute to your overall design vision.
Whether installing Paniflex’s custom closet or standard interior doors, the techniques discussed in this blog will help you achieve flawless results.
Want to take your door installations to the next level? Explore Paniflex’s range of custom closet doors for your next project.
Our precision-crafted doors are designed with professionals like you in mind, offering the perfect blend of form and function. Visit our website to discover how our doors can elevate your designs and simplify your installation process.


