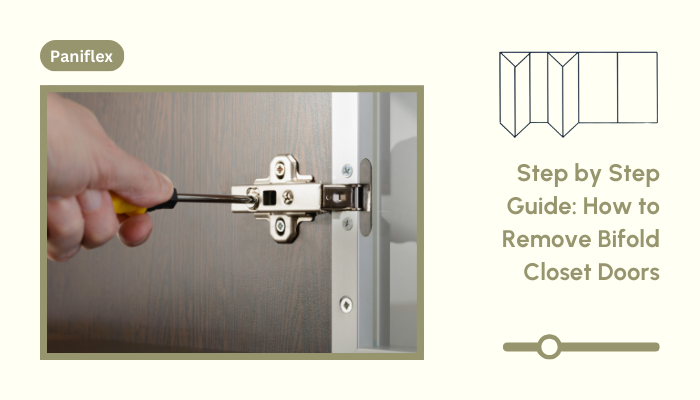
As an interior designer or architect, you know that minor details can make the most significant impact. Folding closet doors are often overlooked but can significantly influence a room’s aesthetics and functionality. Whether you’re updating a client’s space or preparing for a Paniflex custom door installation, knowing how to remove folding closet doors is essential. This guide will walk you through the process, ensuring you can confidently tackle this task in any project.
Assess the Door’s Mechanism
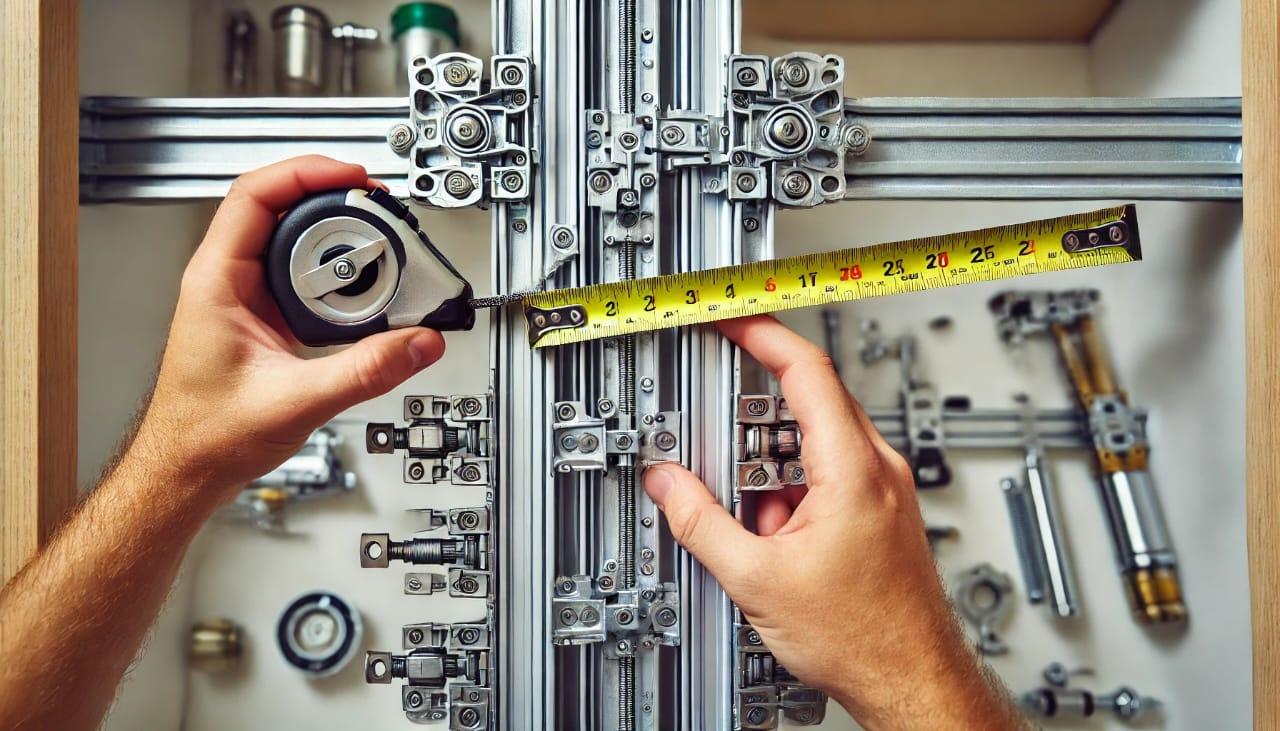
Before diving in, take a moment to analyze the door’s construction:
- Examine the upper hinges for spring-loading: Look for small metal springs or tension mechanisms that assist indoor movement.
- Measure the gap between track flanges: Use a tape measure to determine the width between the upper track’s flanges. This information may be useful when selecting replacement doors.
- Inspect the hinge hardware for screws or bolts: Note the type and size of fasteners used, as this will help you prepare the right tools for removal.
Understanding the door’s mechanism will streamline the removal process and help you plan for potential replacements; now that you’ve got a clear picture, let’s move on to the first hands-on step.
Ready to get your hands dirty? Let’s dive in!
Unscrew Necessary Components
It’s time to get your tools ready:
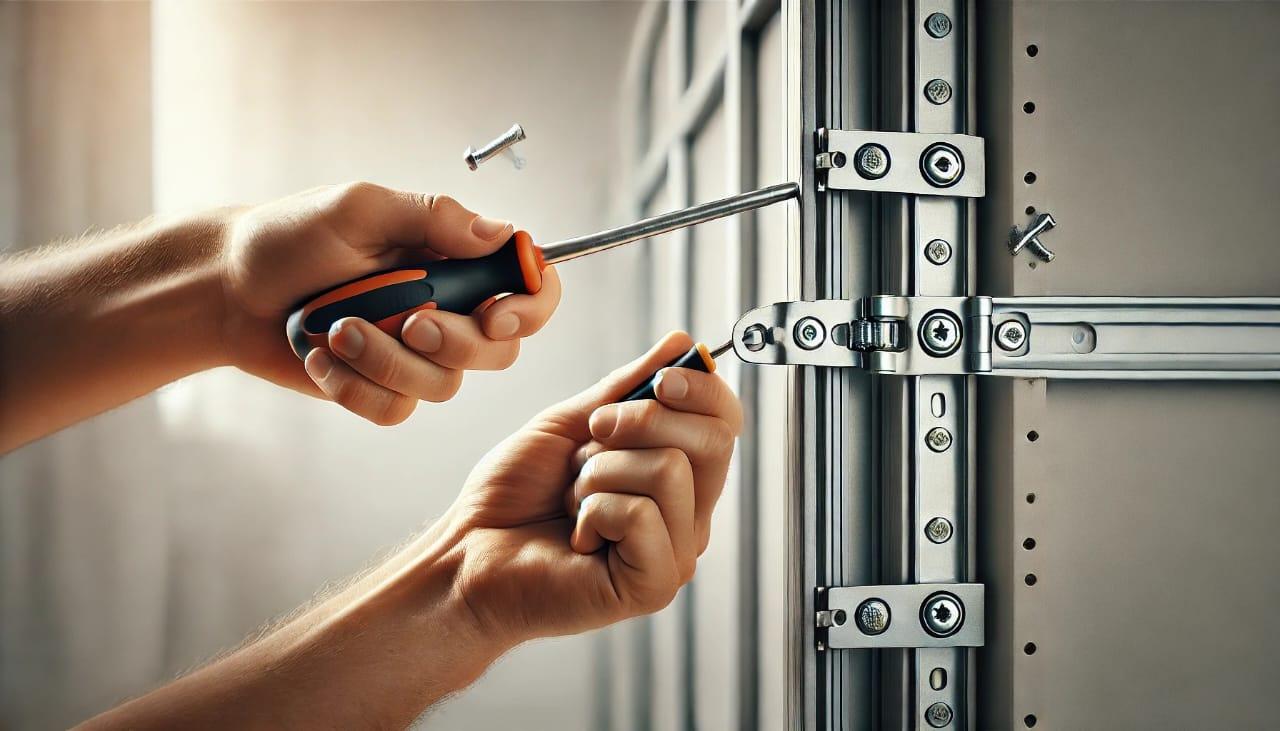
- Remove the door’s metal plate: This is typically located at the top of the door and may require a screwdriver or Allen wrench to detach.
- Detach the mechanism of the bottom clip: Look for a small clip or bracket at the bottom of the door that helps guide its movement. Unscrew or unclip this component.
- Unscrew the single top screw by the track: This screw often secures the door to the upper track. Remove it carefully, supporting the door to prevent it from falling.
Pro tip: Keep all hardware organized for easy reassembly or to guide your selection of new Paniflex door components. We can now focus on the trickier upper mechanism with loosened essential components.
Got those screws out? Great, now let’s tackle the upper part!
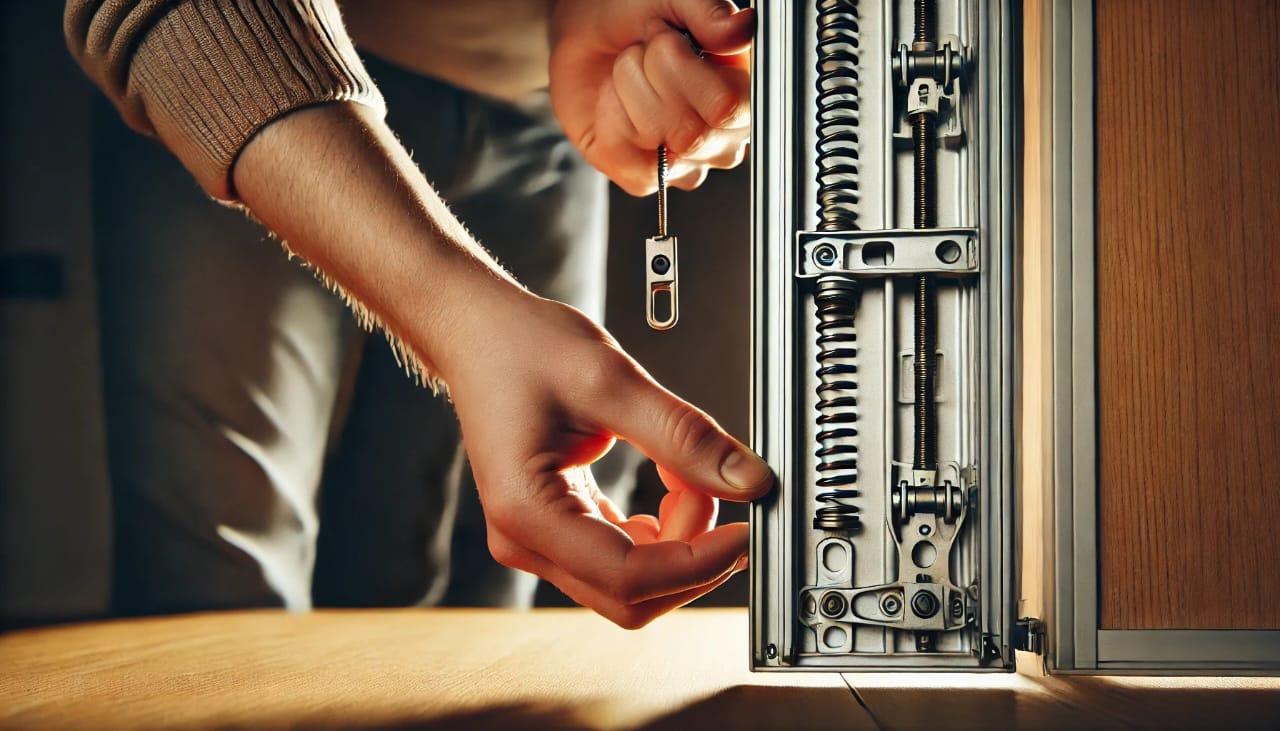
Release the Upper Mechanism
This step requires precision:
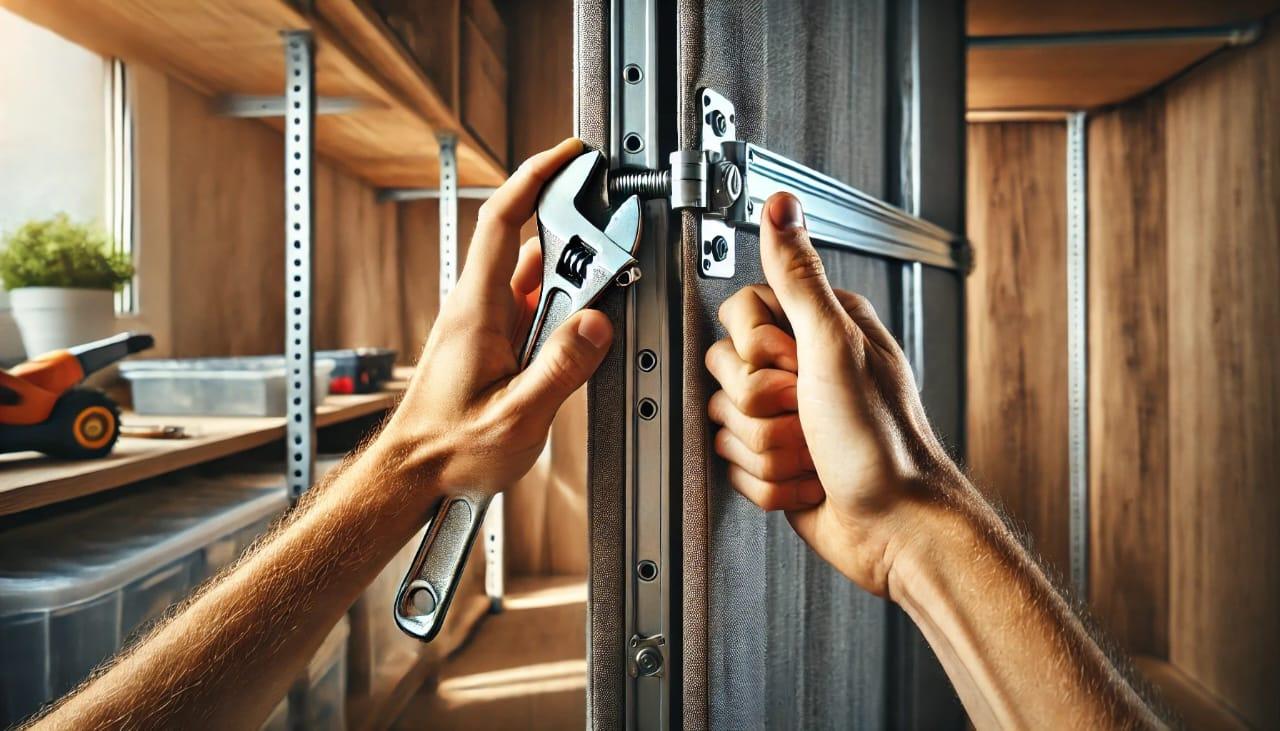
- Locate and remove the upper bolt. This bolt is usually found near the top of the door and may require a specific wrench size.
- Gently push or tap in the track to dislodge the door: Apply light pressure to the door, moving it along the track to free it from any remaining connections.
- Inspect the plastic guide and remove it if necessary: This guide helps the door slide smoothly. If it’s damaged or worn, consider replacing it during reinstallation.
Feeling confident? Good, let’s move to the bottom.
Remove the Bottom Pin
Careful maneuvering is critical here:
- Depress the spring in the bottom of the door: Look for a small spring-loaded pin at the door’s base. Press it inward to release the door from the bottom track.
- Lift to release the bottom pin: While keeping the spring depressed, gently lift the door to disengage the bottom pin from its housing.
- Pull the bottom of the door out of the guide. Once the pin is free, carefully angle the bottom away from the track.
Alright, we’ve got the basics—now for the tricky ones.
Handle Difficult Doors
Some doors may present challenges:
- Check if a specific position (fully open or closed) is required: Some doors may only be released when fully extended or wholly folded.
- Apply moderate force to lift without damage: If the door seems stuck, lift it slightly while moving it along the track. Be careful not to bend or warp the door.
- Use tools like flat-head screwdrivers if necessary: Gently insert a flat-head screwdriver between tight components to create space for removal, but be cautious not to scratch surfaces.
Paniflex doors are designed for easy installation and removal, potentially saving you time on future projects. So, you’ve tackled the tricky ones, but what about those doors that won’t budge?
Handled the nuances? Let’s address those stubborn doors that don’t want to give up.
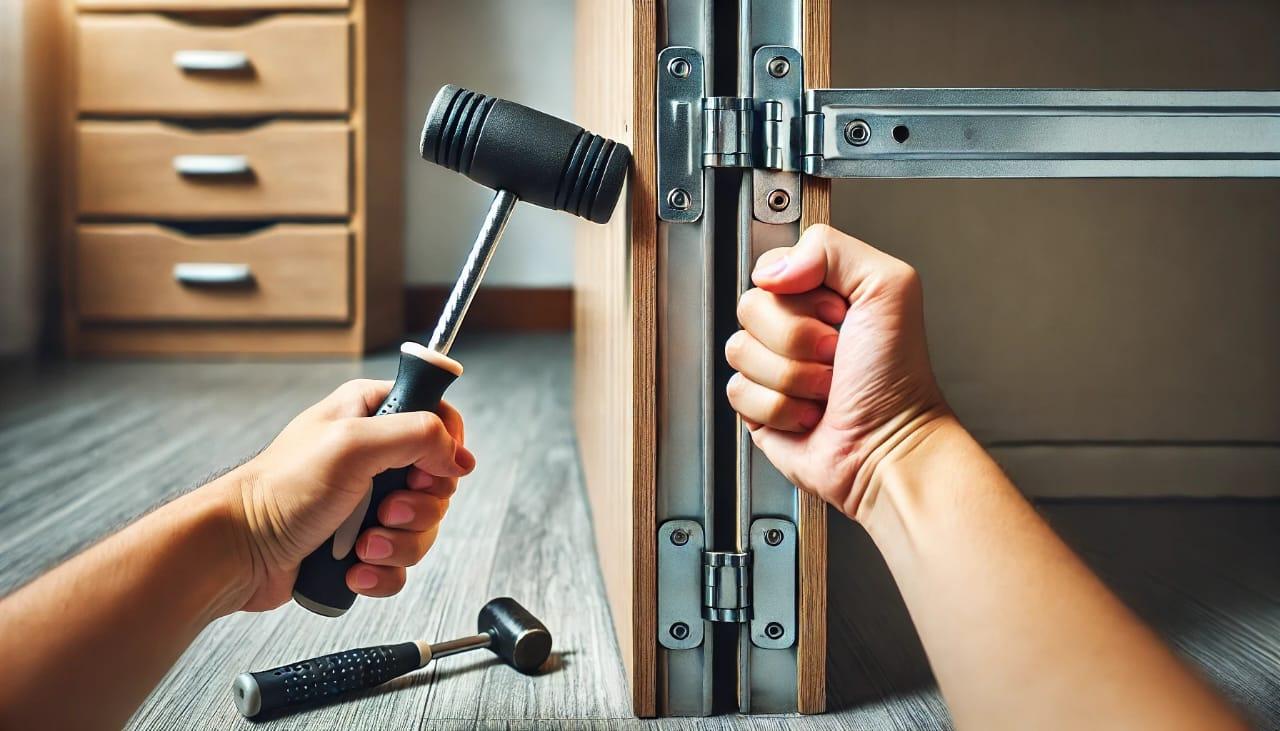
Dealing with Stuck or Non-Spring Loaded Doors
For particularly troublesome doors:
- Determine if the bottom guide needs unscrewing: Some older models may have a bottom guide that’s screwed into place. Remove these screws to free the door.
- Check for broken or overly tight parts: Inspect all components for damage or excessive wear that might be causing the door to stick.
- Use appropriate tools to release stubborn components: Consider penetrating oil on rusty parts or gently tying stuck mechanisms loose with a rubber mallet.
Almost done! Let’s finish up with some final checks.
Final Steps and Troubleshooting
As you complete the removal:
- Verify that you have correctly detached all components: Double-check that no screws, pins, or clips remain attached to the door or frame.
- Carefully remove the door without forcing it: Angle the door out of the opening, ensuring it doesn’t catch on any remaining hardware or trim.
- Double-check for leftover parts in the track and mechanism: Inspect the tracks and surrounding area for any small parts that may have fallen during removal.
Conclusion
Mastering how to remove folding closet doors is a valuable skill for any interior design professional. Following this guide, you can efficiently remove old doors, paving the way for stunning upgrades that elevate your clients’ spaces.
When reinstalling, ensure the door is aligned with the track for smooth operation. Regular lubrication of hinges and cleaning of tracks can prolong the life of your doors, providing long-lasting satisfaction for your clients.
Ready to transform your next project with custom closet solutions? Explore Paniflex’s range of designer-friendly bifold and sliding doors. Our precision-engineered doors offer seamless integration and endless customization options. Contact Paniflex today to request a consultation and discover how our doors can enhance your design vision.


