Imagine transforming a cramped bedroom into a spacious oasis or turning a cluttered closet into an open, stylish workspace. As an interior designer or architect, you know that sometimes, the key to unlocking a room’s potential lies in removing those sliding closet doors. But how do you tackle this task efficiently and professionally? Whether you’re refreshing a dated space or embarking on a full renovation, mastering the art of removing sliding closet doors is an essential skill in your design toolkit. Let’s dive into the process, ensuring you can approach your next project with confidence and finesse, impressing clients with your expertise and attention to detail.
Tools Needed

To remove sliding closet doors, you’ll need:
- Flathead screwdriver
- Phillips-head screwdriver
- Optional: power drill
Having these tools ready will make the process smoother and more efficient. While manual screwdrivers work well, a power drill can significantly speed up the process, especially when dealing with multiple doors or stubborn screws. Charge your power drill and gather the correct bits before starting.
Prepare to Remove the Doors
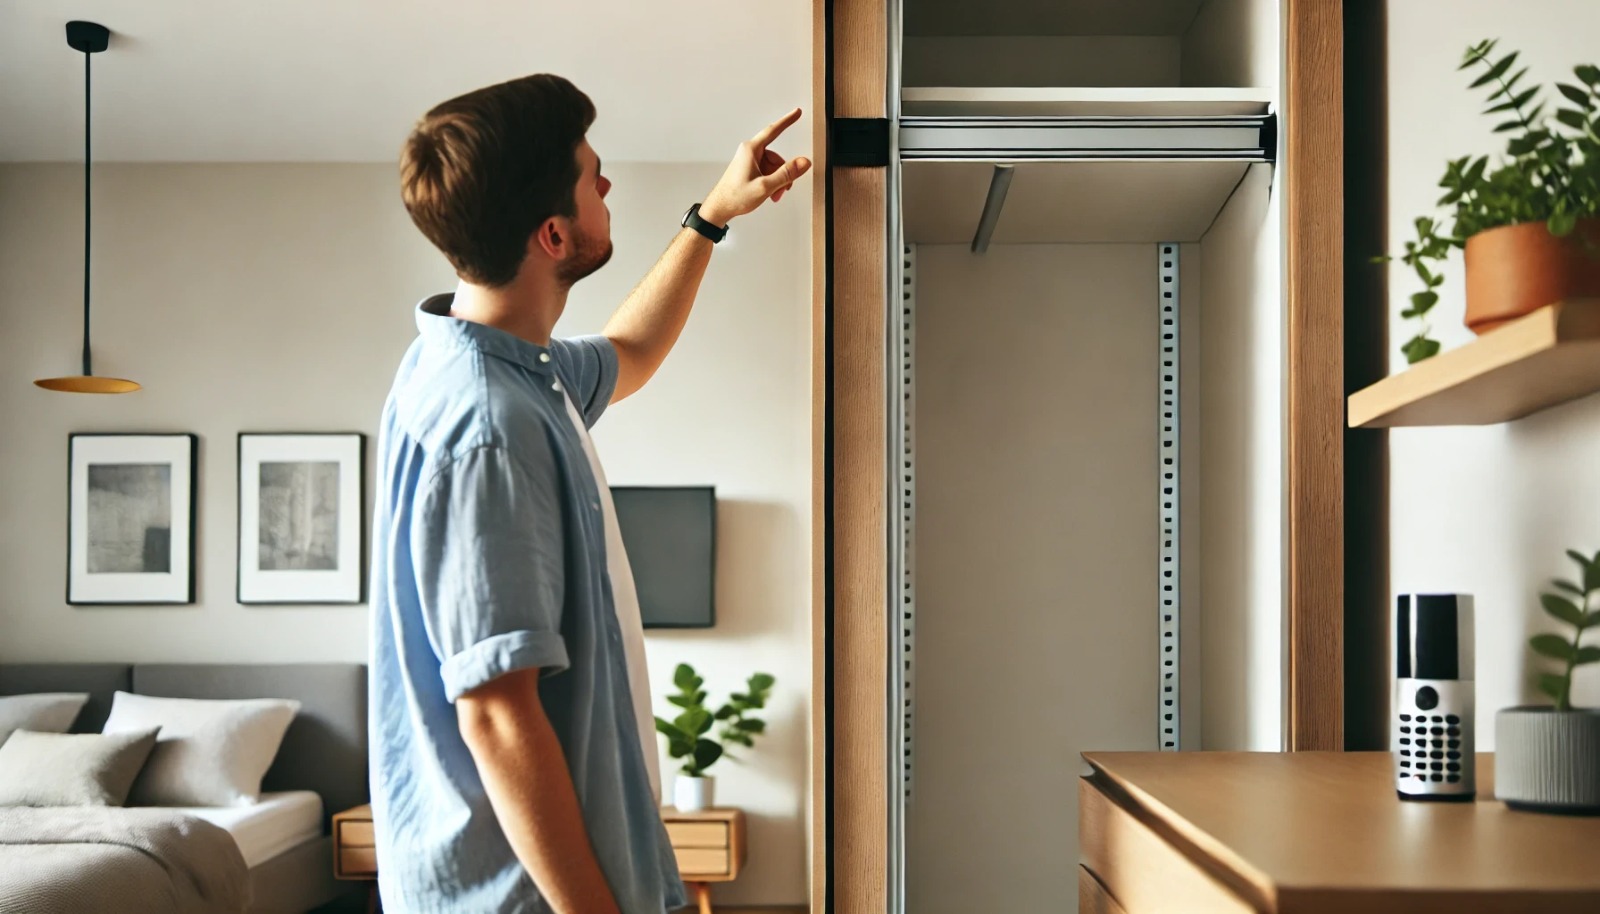
Before you start:
- Open the closet doors fully to access all parts easily.
- Inspect for brackets at the top and bottom of the doors. Look for any signs of damage or wear that might complicate removal.
- Determine whether you need a Phillips or flathead screwdriver for the job. Most modern installations use Phillips head screws, but older systems might require a flathead.
This initial assessment is crucial for understanding how to remove sliding closet doors safely and effectively. It can help you plan your approach and anticipate any potential challenges. First, clear the area around the closet, ensuring you have ample space to work, and then safely set aside the removed doors.
Also Read: Interior and Exterior Door Rough Opening Sizes and Charts
Ready to roll up your sleeves? Let’s get those top brackets loose!
Loosen the Top Brackets
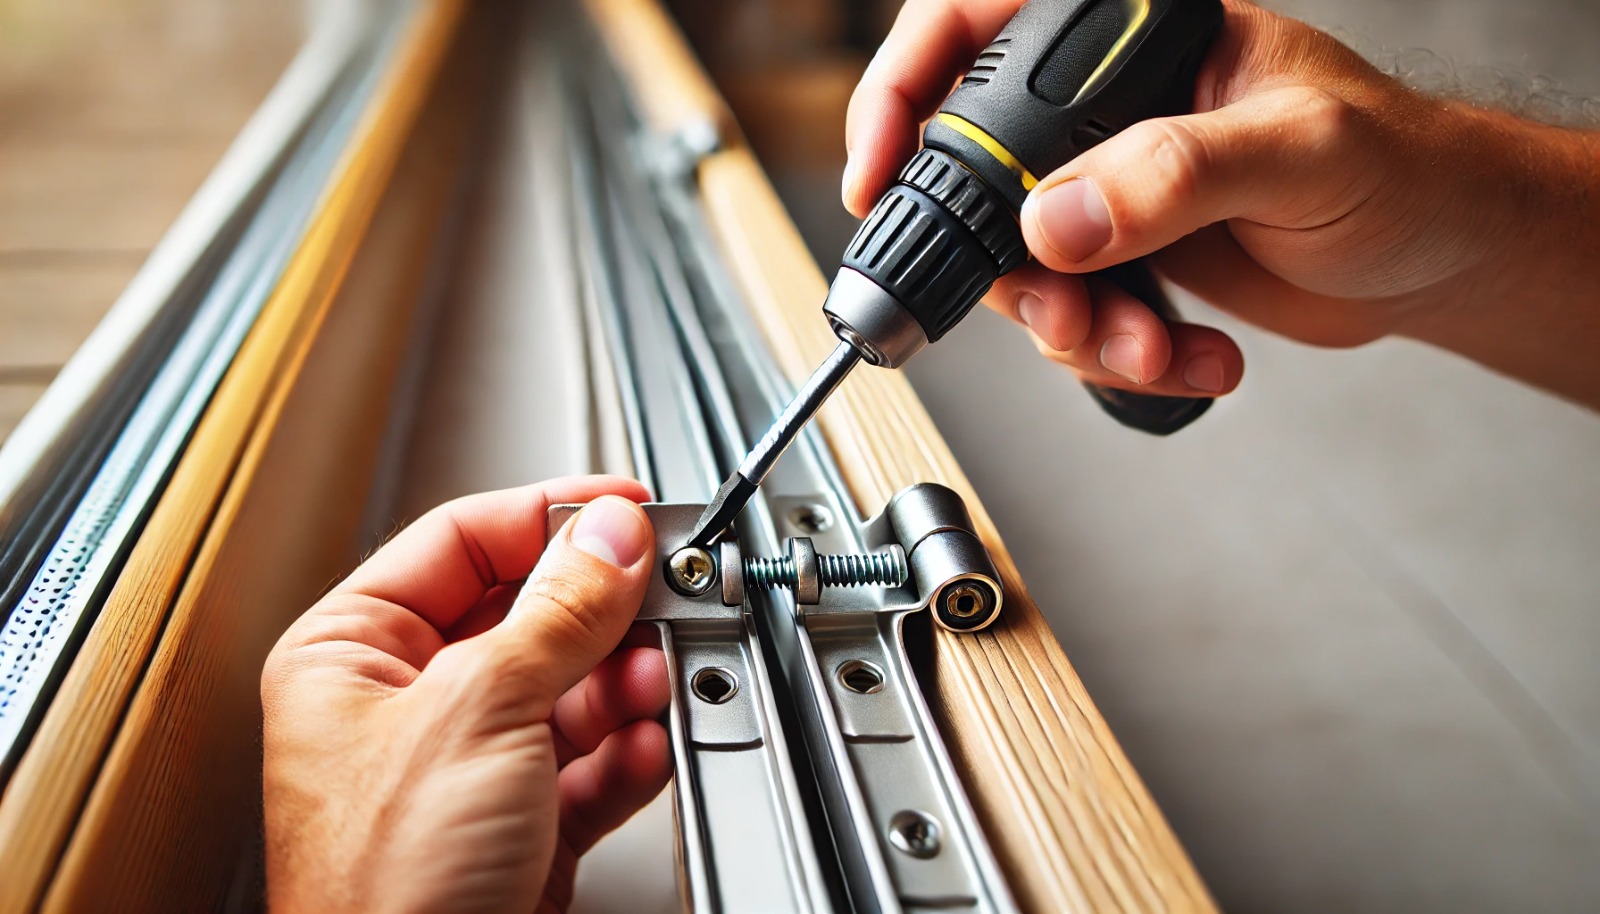
Now, focus on the top brackets:
- Use the appropriate screwdriver to loosen each screw on the top brackets. If using a power drill, start on a low torque setting to avoid stripping the screws.
- Necessary: Don’t remove the screws altogether to prevent the door from falling. Loosen them just enough that the bracket can slide or move slightly.
This step prepares the doors for safe removal without damaging the track or wheels. Be patient and methodical, especially if dealing with older or painted-over hardware. If a screw is particularly stubborn, apply a small amount of penetrating oil and let it sit for a few minutes before trying again.
With the top brackets sufficiently loosened, it’s time to remove the doors carefully.
Remove the Doors
With the brackets loosened, you’re ready to remove the doors:
- Grip the door firmly on both sides. Sliding closet doors can be heavy, especially if mirrored, so maintain a stable stance.
- Lift it straight up about an inch to clear the bottom track. This may require some strength, so be prepared.
- If the wheels at the top fall off, don’t worry—this is normal. Pull the bottom of the door toward you to obliterate it.
- Repeat this process for each door, carefully setting them aside safely.
Mind your surroundings and ask for assistance with larger or heavier doors if necessary. When a door seems stuck, look for obstructions in the track or verify that the top bracket is sufficiently loosened before applying more force.
Also Read: How to Install and Replace Closet Doors
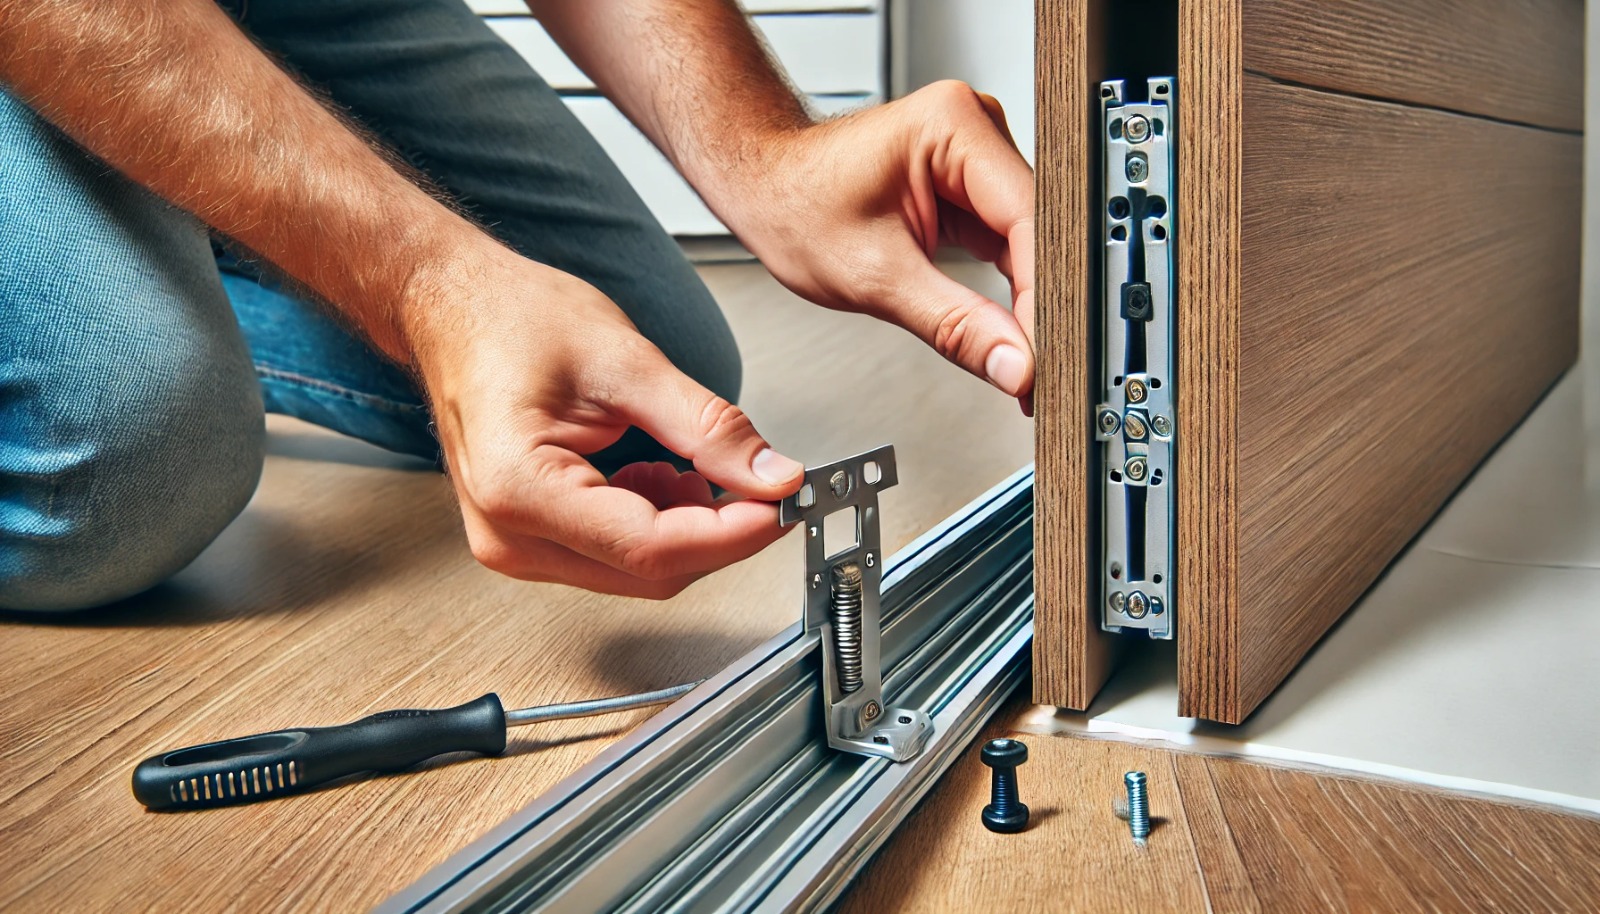
Check for Bottom Brackets
After removing the doors:
- Inspect the bottom track for any visible screws or brackets.
- If brackets are at the bottom, unscrew them to remove the door from the track fully.
- Some systems have guide pins or small brackets to keep the door aligned. Remove these as well.
This step thoroughly removes all door components, preparing the space for your design plans. Take this opportunity to clean the bottom track area, which can help you spot any missed hardware.
Also Read: Common Door Materials and Their Purpose
Now that we’ve tackled the bottom brackets, the next step is to remove the tracks.
Remove the Tracks

To complete the process:
- Use a screwdriver to unscrew and thoroughly remove the screws from the top and bottom tracks. Start with the top track, as it’s usually easier to access.
- After unscrewing, pull the tracks lightly to remove them. If a track seems stuck, check for hidden fasteners or adhesive.
- Remove the bottom track carefully, as it may be more firmly attached. Watch out for any wiring or baseboard heating elements near the floor.
When tracks are integrated into the closet frame or seem impossibly stuck, consult with your client about potential frame removal or alternatives. Always prioritize preserving the surrounding structure unless explicitly planning for more extensive renovations.
There are just a few finishing touches left! Let’s ensure everything is spotless and ready for the next phase of your project.
Final Adjustments and Clean-Up
Follow these final steps to wrap up the job:
- Remove any remaining door parts, such as bottom brackets or rollers, to ensure a clean removal.
- Inspect the opening for damage to the walls or floor that the tracks may have hidden. Identify areas that might need repair or touch-up paint.
- Safely store or dispose of all components. Organize all parts (screws, brackets, etc.) in labeled bags if the client wants to keep the doors.
- Clean the area thoroughly, vacuuming or sweeping up any debris from the removal process.
Finally, measure the cleared opening for future reference. These measurements can help in planning new closet systems or doors. If possible, conduct a brief walkthrough with your client to discuss any findings or recommendations for the space.
Conclusion
Following these steps ensures a safe and efficient removal of sliding closet doors. By mastering this process, you can prepare spaces for transformation, opening up numerous possibilities for closet redesigns or alternative storage solutions. Your attention to detail throughout this process will set the stage for the project’s next phase, whether installing new doors or reimagining the space entirely.
Are you looking to elevate your closet designs even further? Consider exploring Paniflex’s custom closet door solutions. Their range of bifold and sliding doors can add a touch of elegance to any space, perfectly complementing your design vision. Visit Paniflex’s website to discover how their customizable options can enhance your next project and provide innovative solutions for your clients’ storage needs.
Combining your expertise in removing old doors with Paniflex’s cutting-edge designs can offer your clients a transformative closet experience. Remember, the end of one door is just the beginning of new design possibilities!


