Before diving into the details of how to reframe a door, it’s essential to understand why this skill is vital for design professionals:
- Aesthetic Impact: A well-installed frame complements the overall design scheme
- Functionality: Ensures smooth door operation and proper closure
- Energy Efficiency: Contributes to better insulation and temperature control
- Durability: Properly installed frames last longer and maintain their appearance
Replacing a door frame involves several key steps, starting from removing the old frame to installing and finishing the new one. Let’s explore each phase in detail.
Tools Required for Door Frame Replacement

To successfully reframe a door, gather the following tools:
- Screwdriver and power drill
- Safety goggles
- Crowbar
- Spirit level and plumb line
- Chisel
- Screws and hacksaw
- Emulsion
- Hammer and nails
- Spare wood
- Sealant
- New door frame kit
- Mortar
- DPC (Damp Proof Course) strips
Pro tip: For a seamless look that will impress your clients, consider Paniflex’s custom door solutions. Their range of styles and finishes can complement any design scheme you work with.
Before You Start: Preparation Is Key
Before you reframe a door, doing proper preparation is crucial:
- Measure and Purchase: Accurately measure the existing frame and purchase a new one, allowing for extra space (about 10cm).
- Remove Old Door and Frame:
- Remove the door by taking off the hinge pins
- Remove trim or architrave carefully
- Remove the door hardware and any fixings that hold the frame
- Prepare the Rough Opening:
- Thoroughly clean the opening
- Smoothen any rough edges or surfaces
Now that we’ve got the basics down, let’s dive into the detailed steps for reframing an internal door.
Steps for Replacing an Internal Door Frame
Follow these steps to master how to reframe a door for interior spaces:
1. Apply DPC Strips
Start by applying Damp Proof Course strips to the underside of the rough opening. This crucial step prevents moisture penetration, ensuring the longevity of your installation.
2. Install the New Frame
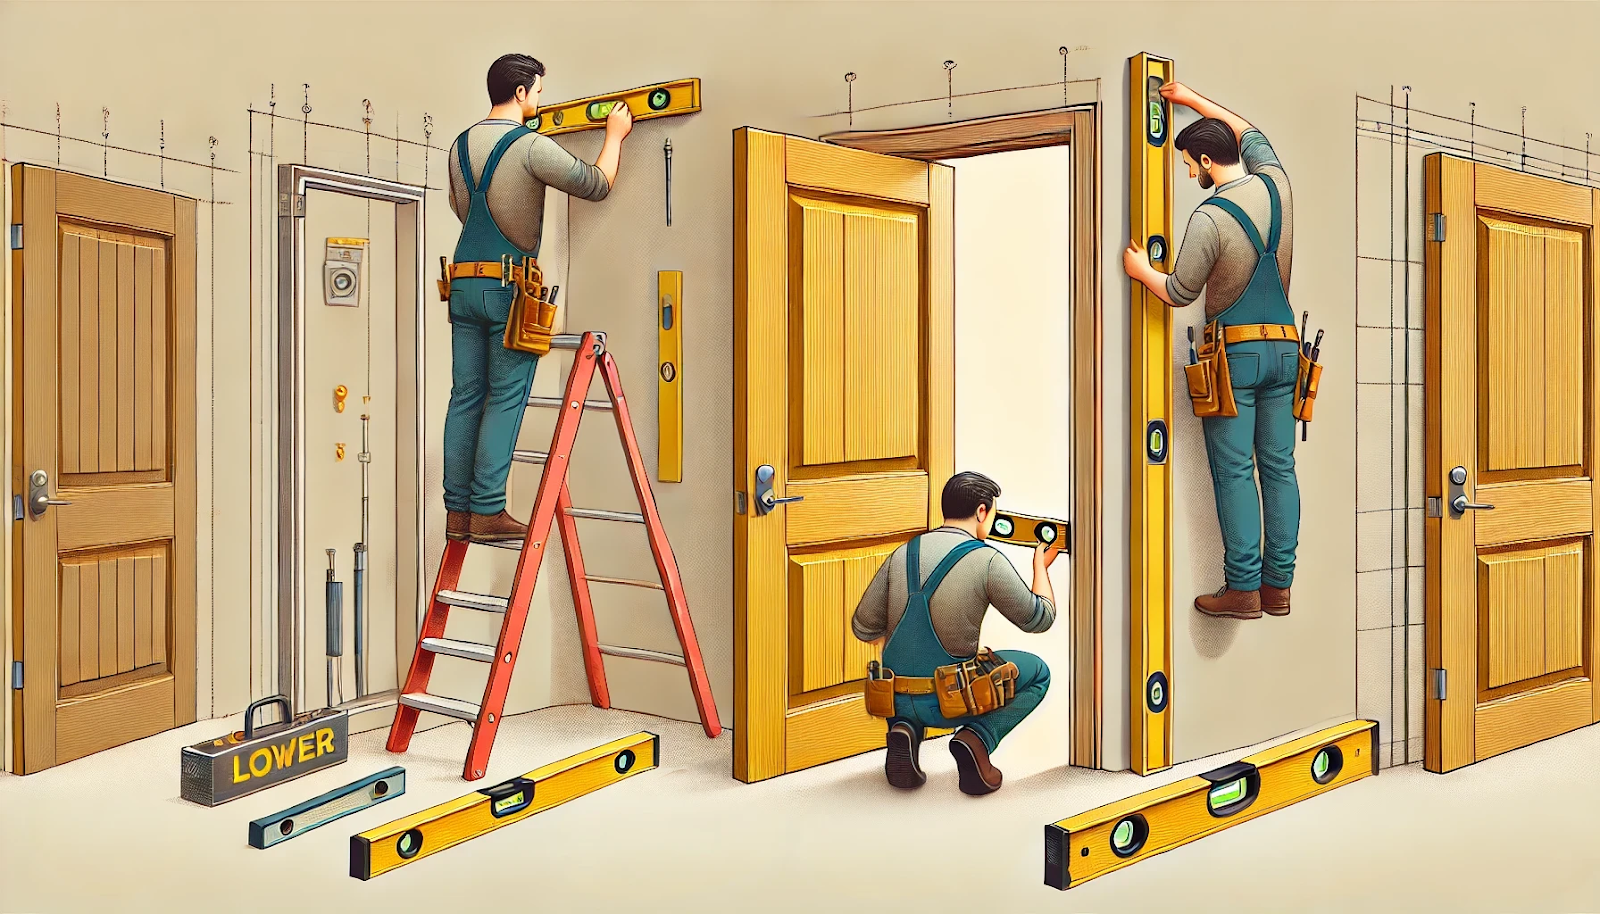
Position the new frame in the opening, using wooden supports to hold it in place. Use a spirit level and plumb line to ensure it’s perfectly straight and centered.
3. Secure the Frame
Drill three evenly spaced holes into each jamb and then secure the frame with screws.
4. Fill Gaps
Fill any gaps between the frame and the wall carefully using mortar, plaster, or a specific door sealant.
5. Caulk the Edges
Once the filler has been set, apply caulk around the outer edge of the frame for a smooth, professional finish.
6. Finish the Frame
Paint or varnish the frame so it matches your design scheme. This step is crucial for both aesthetics and protection of the wood.
7. Install the Door
Fit the door into the new frame, ensuring it operates smoothly and fits correctly.
With the internal door frame securely in place, let’s address the nuances of external door frames.
Replacing External Door Frames
When it comes to how to reframe a door for exterior use, consider these additional points:
- Use Pre-hung Door Kits: These are often the best choice for external frames, offering better weatherproofing.
- Secure and Insulate: Keep securing the frame against dampness and leaks.
- Final Adjustments: Apply spray foam insulation between the frame and the wall to enhance energy efficiency.
Explore Paniflex’s range of exterior door solutions for options that combine style with superior weather resistance.
Using these tips, you can ensure your exterior doors stand the test of time. But what about common concerns? Let’s tackle some FAQs.
Replacing a Door Frame: FAQ
- How difficult is it to replace a door frame?
It’s a medium to difficult task, best suited for those with some DIY experience. - What’s the difference between a door jamb and a frame?
The frame is the entire structure, while jambs are the vertical sides and top of the frame. - Can you replace just a door frame without replacing the door?
Yes, as long as the new frame fits your existing door. - When should you replace a door frame?
Replace when you notice rot, or damage or if the door no longer fits properly. - Is this a DIY job or should I hire a professional?
While DIY is possible, consider hiring a professional for complex installations or if you lack experience. - What’s the cost range for replacing door frames?
Internal frames typically cost $120-$230, while external frames range from $130-$400.
Conclusion: Mastering the Art of Door Reframing
Learning how to reframe a door is an invaluable skill for interior designers and architects. By following this comprehensive guide, you can enhance both the aesthetics and functionality of your spaces. Remember, the key steps include proper preparation, precise installation, and careful finishing.
For those looking to elevate their designs further, consider partnering with Paniflex for custom door solutions. Their expertise in creating bespoke doors can add that extra touch of elegance to your projects.Ready to transform your entryways? Contact Paniflex today to explore how their custom door solutions can enhance your next design project.


