Attention architects, builders, and construction professionals! Are you looking to elevate your projects with expertly installed exterior doors that maximize energy efficiency, security, and aesthetic appeal? As a professional in the industry, you understand the importance of precise and reliable installation techniques that meet the highest standards of quality.
In this comprehensive guide, we’ll walk you through the step-by-step process of installing a prehung exterior door, providing you with the knowledge and tips to ensure a flawless result every time. Whether you’re working on a residential or commercial project, this guide will empower you to deliver exceptional results that showcase your expertise and attention to detail.
So, let’s dive in and explore the world of professional exterior door installation together. Get ready to take your projects to the next level and provide your clients with entrances that seamlessly blend form and function.
Benefits of Installing a Prehung Exterior Door
Before diving into the installation process, let’s explore the advantages of choosing a prehung exterior door:
- Enhanced energy efficiency with weatherstripping and a tight fit
- Increased home security with a sturdy, well-fitting door
- Improved curb appeal and aesthetic value
- It is a more straightforward installation compared to slab doors
Now that we’ve seen the why let’s dive into the how and get our hands dirty with step one.
Step 1: Prepare for the Installation

To begin your prehung exterior door installation, follow these preparation steps:
- Remove the old door: You should carefully remove the existing door, including any attached hardware.
- Remove fasteners and interior trim: To avoid damage, remove any remaining fasteners and carefully remove the interior trim, if present.
- Gather tools and materials: Make sure you have all the necessary tools and materials, including the prehung exterior door, drip cap or Z-flashing, high-quality exterior-grade sealant, shims, level, hammer, drill, screwdriver, tape measure, caulking gun, safety glasses, work gloves, finish nails, and utility knife.
Step 2: Measure and Prepare the Door Opening
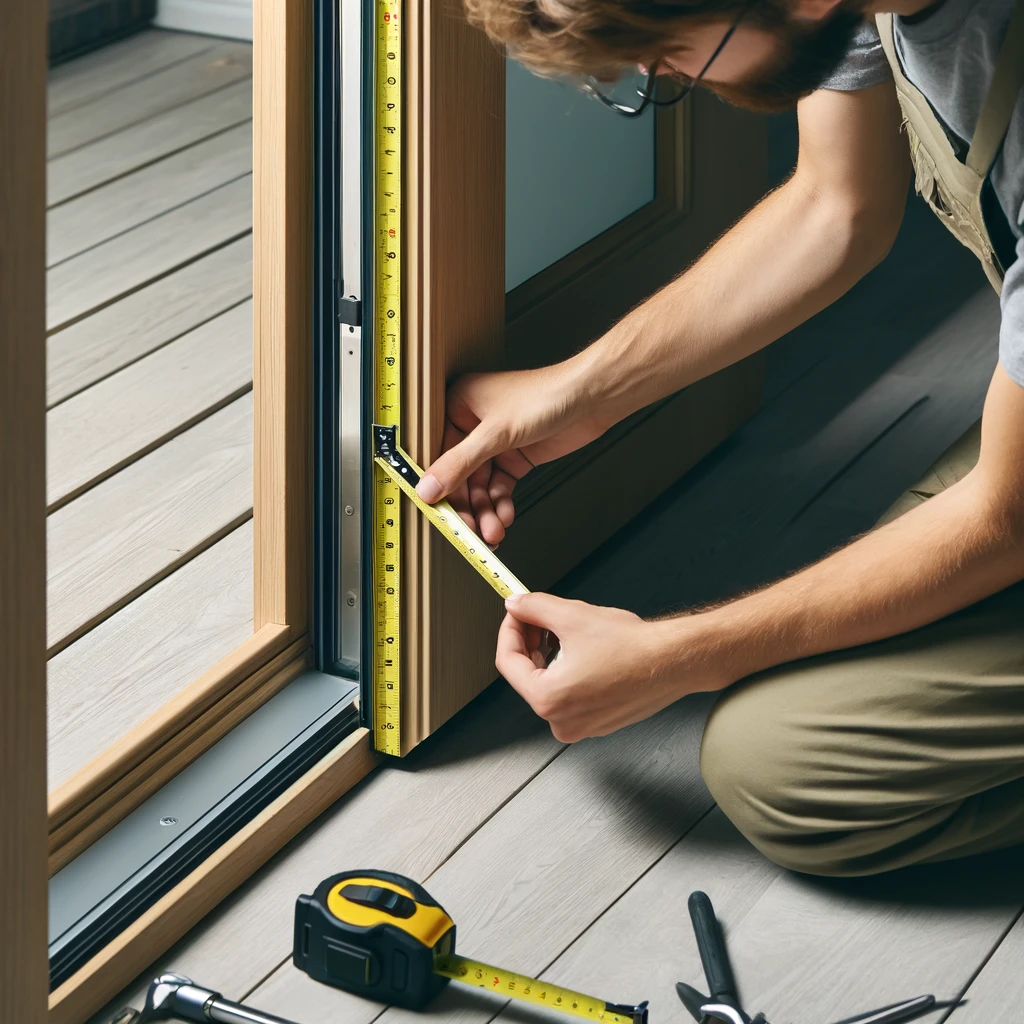
Accurate measurements are crucial when hanging an exterior door. Here’s how to measure and prepare the opening:
- Measure the height, width, and jamb width of the opening at multiple points, noting the smallest dimensions.
- Tips for handling heavy doors during measurement:
- You should enlist a partner to help measure and move the prehung door.
- Use proper lifting techniques, such as bending at the knees and keeping the back straight.
- Utilize moving equipment, such as a dolly, if available.
- Take breaks as needed to avoid strain and prevent injuries.
Step 3: Flash and Caulk the Opening
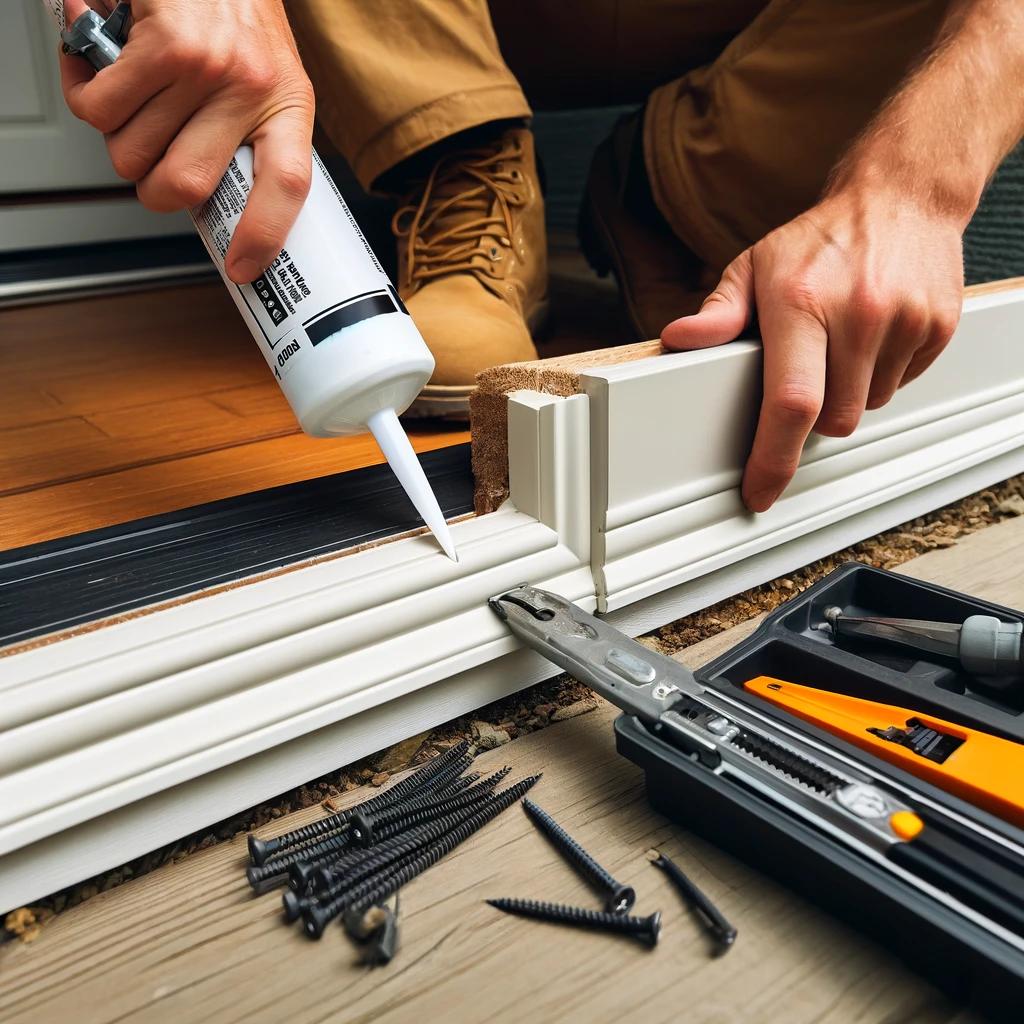
To ensure your exterior door is weatherproof:
- You should position the drip cap or Z-flashing above the opening, extending past the sides and sliding up behind the housewrap or building paper.
- You should run a continuous bead of high-quality, exterior-grade sealant along the exposed framing, including the bottom sill and sides where the exterior trim will meet the wall.
Step 4: Set the Door in Place

Now it’s time to install the prehung exterior door:
- You should tilt the door into the opening from the bottom, ensuring it is centered and plumb. Adjust as needed for a proper fit.
- You should check the threshold for level and adjust using shims if necessary.
- Once positioned, you should secure the door with temporary screws near the top hinge.
Have you got the door set? Perfect! Let’s secure the frame next to ensure it stays that way.
Step 5: Secure the Door Frame
To ensure your exterior prehung door installation is sturdy:
- You should use appropriate screws for your wall material to attach the door frame to the opening, starting near the hinges.
- You should place shims between the frame and opening to keep the door plumb and level.
- For masonry installations:
- You should use a hammer drill and masonry bits to predrill screw holes.
- When working with masonry, you should follow the manufacturer’s recommendations for appropriate fasteners and techniques.
- You should consider using masonry anchors or concrete screws for a secure installation.
Step 6: Make Final Adjustments

With your prehung exterior door installation nearly complete:
- You should inspect the door jamb for necessary adjustments to ensure smooth operation and an even seal.
- You should install anchor screws through the jamb into the framing near the strike plate and hinges.
- You should place shims behind the strike plate area on the lock side to ensure secure latching.
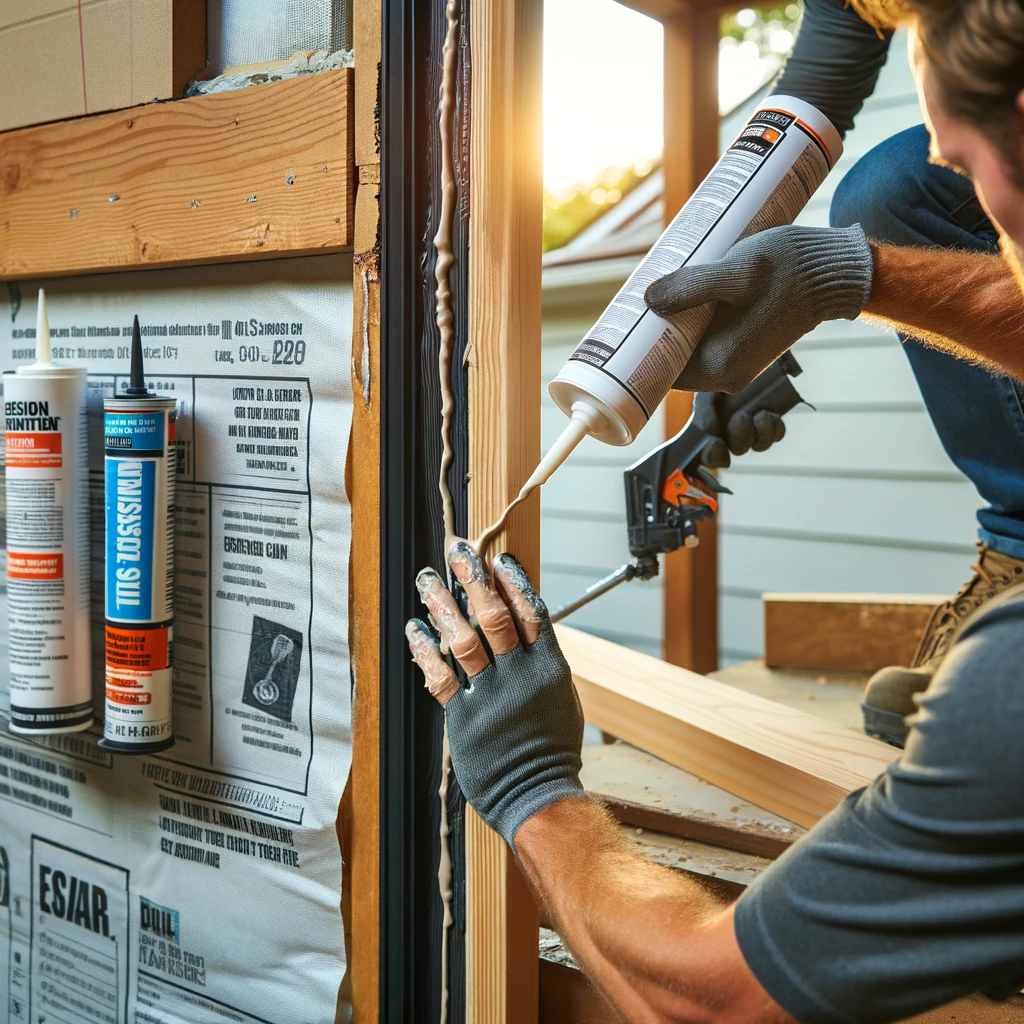
Step 7: Add the Finishing Touches

To complete your exterior door installation:
- You should apply exterior-grade caulk along the gap where the exterior trim meets the siding.
- You should secure the exterior molding using finished nails or screws.
- Using a sharp utility knife, you should cut any protruding shims flush with the door frame.
- You should check for gaps around the door frame and apply additional caulk to create a weather-tight seal.
- Adjust the threshold to ensure a tight seal against the bottom of the door:
- You should check for any gaps between the threshold and the door bottom.
- You should use a screwdriver to adjust the threshold height until it firmly contacts the door bottom.
- You should test the seal by closing the door and checking for light or air leaks.
Now that your door looks like a million bucks let’s add the bling—time for the hardware!
Step 8: Install the Hardware

The final step in installing an exterior door is adding the hardware:
- Install the doorknob:
- You should insert the latch bolt into the edge bore of the door.
- You should attach the exterior and interior knobs/handles, securing them with the provided screws.
- You should test the knob for smooth operation.
- Install additional hardware, such as a deadbolt:
- You should measure and mark the position of the deadbolt on the door and frame.
- You should drill holes for the deadbolt following the manufacturer’s instructions.
- You should insert the deadbolt and secure it with the provided screws.
- You should test the deadbolt for proper functioning.
- Install the strike plate:
- You should position the strike plate on the door frame, aligning it with the latch bolt and deadbolt.
- You should mark the screw holes and chisel out a mortise if needed for a flush fit.
- You should secure the strike plate with the provided screws.
- Avoid common pitfalls:
- You should ensure proper alignment of the latch bolt and deadbolt with their respective strike plates.
- You should not overtighten the screws, as this can damage the hardware or the door.
- You should always test the lock and knob for smooth operation before considering the installation complete.
Boom! You did it. Let’s step back and admire our handiwork, shall we? Welcome to the finish line.
Step 9: Enjoy Your New Door

Congratulations on completing your exterior door installation journey! You can now enjoy the numerous benefits of a properly installed prehung exterior door, including:
- Improved energy efficiency, helping to reduce heating and cooling costs
- Enhanced home security, providing a sturdy barrier against potential intruders
- Increased curb appeal, boosting your home’s aesthetic value and resale potential
By following this comprehensive, step-by-step guide and paying close attention to detail, you can achieve professional-looking results and enjoy the advantages of a properly installed prehung exterior door for years to come.
Remember, if you encounter any challenges during your prehung exterior door installation, don’t hesitate to consult with a professional installer or contact the door manufacturer for guidance. With patience, preparation, and the right tools, you can confidently tackle this project and transform your home’s entrance.


