
Are you tired of wrestling with stubborn, ill-fitting HVAC closet doors? You know the frustration of inheriting these challenging spaces as an interior designer or architect. But fear not! This comprehensive guide will transform your approach to contractor furnace closet doors, turning headaches into opportunities for innovative design.
Understanding the Issue with HVAC Closet Doors
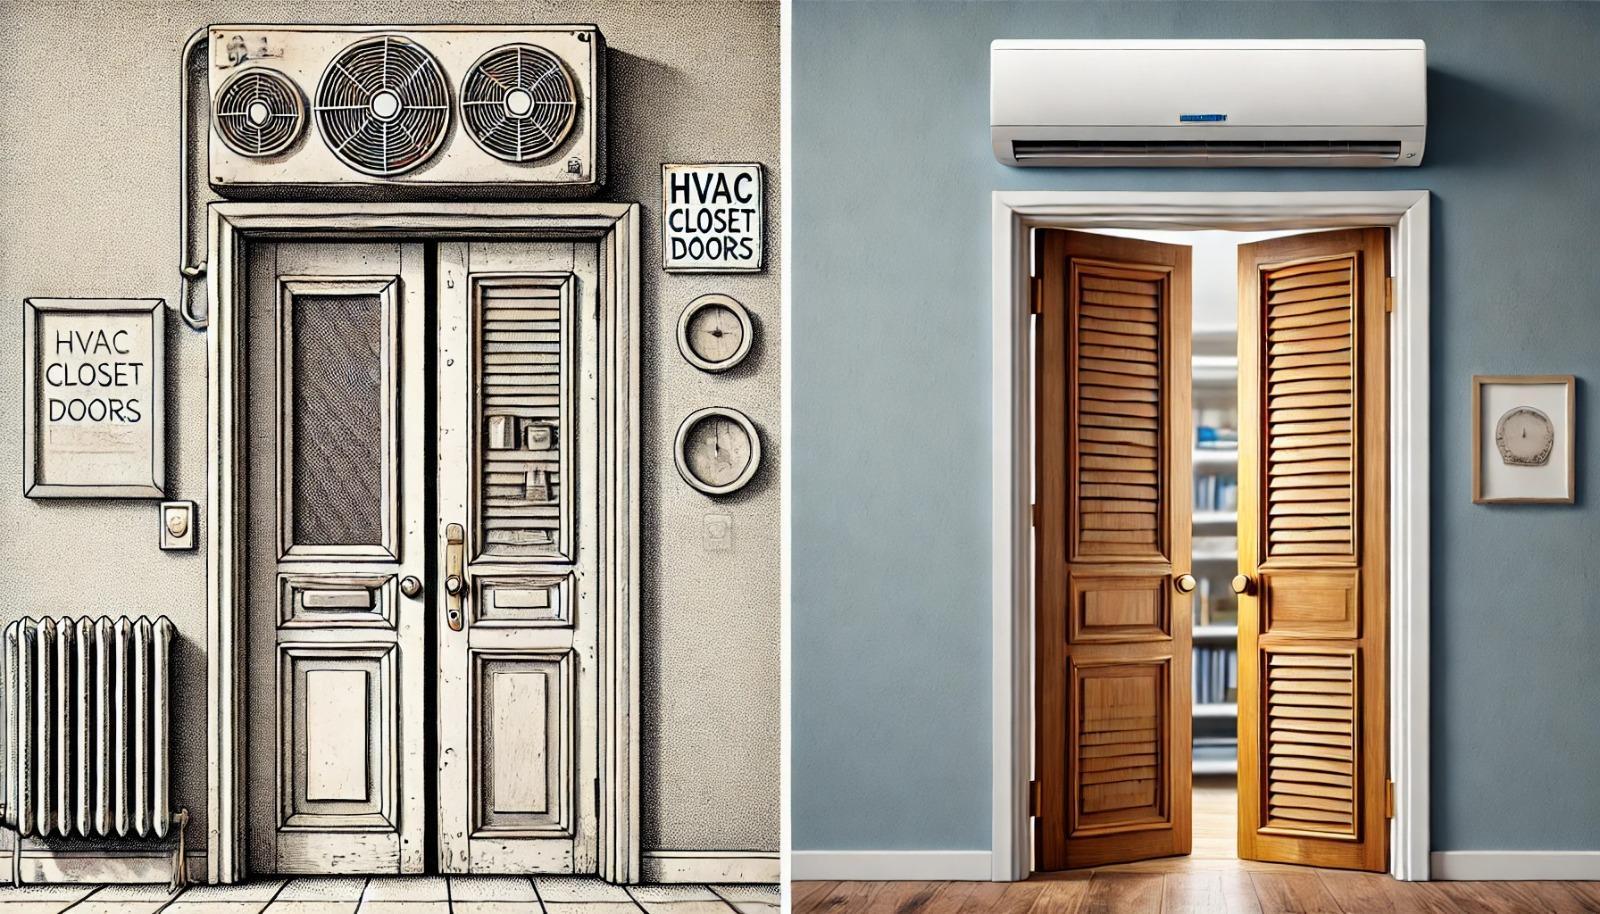
Let’s face it: older homes often come with quirky features, and HVAC closets are no exception. These inherited oddities can throw a wrench in your sleek design plans. But before we dive into solutions, let’s unpack the problem.
Inheritance from Previous House Owners
Imagine walking into a home and finding an HVAC closet that looks like it is from another era. That’s often the reality, with features including:
- Custom-built doors that defy modern standards
- Materials that make your design sensibilities cringe
- Modifications by previous owners that leave you scratching your head
- Odd sizes that make you question if anyone ever used a measuring tape
Description of Current HVAC Closet Setup
Picture this: you open an HVAC closet and find a space with a mind of its own. Typical setups might include:
- Spaces so narrow or oddly shaped, you wonder if they were designed for Tetris pieces, not doors
- A lack of proper ventilation that requires doors with built-in vents or louvres
- Clearance is so tight that you’d think the HVAC unit was on a diet
- Framing that makes you question if building codes were more like guidelines in the past
Also Read: DIY Ideas for Replacing HVAC and AC Closet Doors
Great. Now that we’ve addressed the unique challenges of non-standard HVAC closet doors, let’s explore some practical solutions to make these doors fit seamlessly.
Non-standard Size Causing Replacement Difficulties
When replacing these doors, you can fit a square peg in a round hole. The challenges are real:
- Off-the-shelf doors that laugh at your attempts to make them fit
- Hardware that seems to have been designed for a completely different door
- Energy efficiency is taking a hit because nothing quite seals right
- Aesthetic nightmares as these doors stick out like sore thumbs
Challenges in Finding a Standard-Size Door
Finding a standard-sized door for these closets? It’s like searching for a unicorn. You’re up against:
- A market that seems to have forgotten these sizes exist
- The eternal battle between metric and imperial measurements
- Thickness requirements that make you feel like Goldilocks – this one’s too thin, this one’s too thick
- The need for specialized features that turn your simple door search into a treasure hunt
With the challenges of dealing with non-standard sizes clear, it’s time to explore custom solutions that balance functionality and aesthetics.
Current Door Dimensions and Challenges

Having understood the issue and current setups, let’s focus on the detailed measurements and intricacies of successful customization.
Measuring Door Frame Dimensions
Precision is your best friend here. When tackling contractor furnace closet door issues, follow these steps:
- Measure the width at the top, middle, and bottom of the frame
- Measure the height on both sides and the centre
- Check for any irregularities in the frame shape
- Measure the depth of the frame and any protruding hardware
Also Read: Interior and Exterior Door Rough Opening Sizes and Charts
Challenges Associated with Different Dimensions
Each non-standard dimension throws a new curveball:
- Custom solutions that make your budget weep
- Structural modifications that turn a simple door replacement into a construction project
- The aesthetic challenge of making this door play nice with others
- A tug-of-war between building codes and energy efficiency standards
You can significantly reduce replacement difficulties by tackling these common obstacles with well-measured precision.
Case Example: Approximately 30×66.5 Inches Door Frame
Let’s zoom in on a real head-scratcher: a door frame measuring approximately 30×66.5 inches. This site presents unique challenges:
- It stands taller than a standard interior door (80 inches) but remains shorter than many custom options
- The 30-inch width teases you by being close to standard but still demands customization
- Standard hinges and hardware play hard to get, refusing to align properly
Similar puzzles include:
- 28×70 inches: Too narrow for off-the-shelf options, demanding a custom width
- 32×62 inches: A height that seems to exist in a dimension of its own
Now, let’s move forward to solution proposals that fit your specific dimensions.
Solution Proposal for Custom-sized Door
Measured correctly and facing the challenges head-on, it’s time to consider your material options for a durable and aesthetically pleasing door.
Replacing the Door with One Without Slats
Ditching those slats or louvres can be a game-changer:
- Boost energy efficiency by plugging those air leaks
- Achieve a sleeker, modern look that doesn’t scream, “I’m an HVAC closet!”
- Say goodbye to dust traps and hello to easier cleaning
- Enjoy the sound of silence with better insulation
But remember, ventilation is critical. Consider these alternatives:
- Install a separate vent near the ceiling for a stealth approach
- Use a louvred transom above a solid door for the best of both worlds
- Get creative with a hidden vent system within the door frame
Seeking Advice and Shared Experiences
Don’t go it alone! Tap into the collective wisdom of your peers:
- Professional organizations:
- American Institute of Architects (AIA): Where great minds think alike
- American Society of Interior Designers (ASID): Your tribe for all things design
- National Association of Home Builders (NAHB): Building solutions, one door at a time
- Online communities:
- Houzz.com forums: Where designers dish on their latest hacks
- Reddit’s r/HomeImprovement: A goldmine of DIY wisdom
- LinkedIn groups: Network your way to the perfect solution
- Social media:
- Instagram hashtags like #HVACdesign or #CustomDoors: Visual inspiration at your fingertips
- Facebook groups: Join the conversation and share your triumphs
Considering Various Materials and Methods
It’s time to play matchmaker with materials and your project needs:
- Solid wood:
- Pros: Classic charm, endless customization options
- Cons: Might make your wallet weep, prone to mood swings in humidity
- MDF (Medium-Density Fiberboard):
- Pros: Budget-friendly, stable as a rock, takes paint like a champ
- Cons: Not the toughest kid on the block, allergic to moisture
- Metal:
- Pros: Tough as nails, sleek modern looks, laughs in the face of fire
- Cons: Can be a budget-buster, might require tools you didn’t know existed
- Composite materials:
- Pros: Steady Eddie stability, moisture-resistant, Mother Nature approves
- Cons: Limited in the looks department, might lack that premium feel
Also Read: Common Door Materials and Their Purpose
After discussing various ways to construct a custom door, let’s look into some alternative solutions that have been effective for other professionals in the field.
KenKen’s Method for Custom Doors

Roll up your sleeves – it’s DIY time! This method is your ticket to a custom door without breaking the bank.
- Purchase a prefab indoor door unit
- Cut the door down to size
- Reinforce the door structure
Details of Door Construction
Typical hollow core doors are like a sandwich:
- A 4-board outer frame of pine or similar softwood forms the crust
- A honeycomb or lattice interior structure adds the filling
- Thin wood veneer or MDF panels on each side create the perfect outer layer
Also Read: Start to Finish Guide: Installing a New Interior Door Frame
Gluing Process for Reinforcement
- Carefully remove one side panel using a utility knife
- Add wood strips inside the frame for support:
- Use 1×2 inch pine strips to add wood inside the frame for support
- Place strips every 6-8 inches for added strength
- Generously apply wood glue:
- Use a high-quality wood glue like Titebond III
- Spread evenly with a putty knife
- Clamp and allow to dry for 24 hours:
- Ensure even pressure using bar clamps or heavy weights
- Wipe away any excess glue immediately
Frame Adjustment to Fit New Door
- Trim the existing frame to fit the new door size:
- Make rough cuts using a reciprocating saw
- Fine-tune with a hand plane or sander
- Add shims if necessary for a perfect fit:
- Choose cedar shims for their stability and resistance to moisture
- Place shims at hinge points and strike plate locations
- Install new weatherstripping for energy efficiency:
- Choose silicone or foam weatherstripping for durability
- Ensure a tight seal all around the door
Example Project and Cost
For a 30×66.5 inch door:
- Prefab hollow core door (36×80 inches): $50-$100
- Wood for reinforcement: $15-$25
- Glue and sandpaper: $10-$15
- New hinges and hardware: $20-$40
- Total cost: $95-$180 (excluding tools)
Time investment: 4-6 hours for an experienced DIYer, spread over two days to allow for glue drying
Also Read: How Much Do Custom Closet Doors Cost?
Alternative Custom Solutions by Fixer1234

Using a Solid Sheet of Thick, Furniture-grade Plywood
- Select 3/4 inch thick plywood for stability and insulation
- Choose a grade like Baltic Birch or Maple for a smooth finish
- Consider using two layers of 3/8 inch plywood for added strength
Process:
- Cut plywood to size using a circular saw with a fine-toothed blade
- Sand edges smooth with progressively finer grits (120, 180, 220)
- Apply edge banding or thin wood strips to cover exposed plywood edges
Staining or Painting for Finish
- Sand the plywood thoroughly, starting with 120 grit and finishing with 220 grit
- Apply wood conditioner for even stain absorption:
- Use a lint-free cloth to apply conditioner
- Allow to dry for 15-30 minutes before straining
- Choose a stain that complements the room’s decor:
- Oil-based stains for deeper penetration
- Water-based stains for easier cleanup and faster drying
- Apply stain with a brush or cloth, following wood grain
- Finish with multiple coats of clear polyurethane:
- Apply 3-4 thin coats, sanding lightly between each (320 grit)
- Use a foam brush for a smooth finish
Also Read: Step-by-Step Guide to Door Painting – Tips and Methods
Adding Frame for Door Appearance
- Use 1×2 or 1×3 lumber to create a frame:
- Pine for budget options
- Hardwoods like oak or maple for durability
- Mitre the corners for a professional look:
- Use a mitre saw set to 45 degrees for precise cuts
- Apply wood glue to mitred joints for added strength
- Attach with wood glue and finish nails:
- Use 18-gauge brad nails for a nearly invisible finish
- Fill nail holes with wood filler that matches your stain or paint
Using Window Shutters as an Alternative
- Source plantation shutters or vintage wooden shutters:
- Check salvage yards or online marketplaces for unique options
- Consider PVC shutters for moisture-resistant applications
- Adjust the size to fit your contractor furnace closet door opening:
- Trim shutters to size using a table saw or circular saw
- Reinforce cut edges with wood strips if necessary
- Consider painting or staining to match your design scheme:
- Sand lightly before painting to ensure good adhesion
- Use a primer designed for the shutter material (wood or PVC)
Raised Panel Designs
- Create a frame from solid wood:
- Use 1×4 lumber for the outer frame
- 1×2 lumber for interior dividers
- Cut panels from MDF or plywood:
- 1/4 inch thick for small panels
- 1/2 inch thick for larger panels
- Route decorative edges on the panels:
- Use a panel raising bit for a traditional look
- Or a round-over bit for a more straightforward profile
- Assemble using wood glue and pocket screws:
- Use a pocket hole jig for hidden joinery
- Clamp thoroughly while the glue dries
Custom Sizing Possibilities
With these methods, you can create doors of any size, including challenging dimensions like:
- 28×72 inches: Use the plywood method, adding a decorative frame
- 34×64 inches: Ideal for the raised panel design, adjusting panel sizes as needed
- 31×69 inches: Perfect for repurposed shutters, combining two pairs side-by-side
Jim Stewart’s Simplified Fix
Sometimes, you need a quick win. Enter Jim Stewart’s method – the fast and furious of door fixes.
Detailed steps:
- Measure and cut thin plywood to cover existing louvres:
- Use 1/4 inch plywood for a flush finish
- Cut slightly oversized and trim to fit
- Attach plywood using wood glue and brad nails:
- Apply glue around the edges and in a grid pattern in the centre
- Use 5/8 inch brad nails every 6 inches around the perimeter
- Use paintable caulk to seal edges:
- Choose a high-quality, flexible caulk
- Smooth with a wet finger for a professional finish
- Paint to match the existing door colour:
- Sand lightly before painting
- Use a mini foam roller for a smooth finish
Pros:
- Quick and inexpensive (under $50 for materials)
- Minimal skills required
- Can be completed in 2-3 hours
Cons:
- It may not be as durable as other solutions
- Potentially less aesthetically pleasing
- It doesn’t address underlying issues with door fit or insulation
Now that we’ve evaluated some expert tips and DIY methods let’s conclude with recommendations for budget, time frame, and desired outcome.
Conclusion
Tackling contractor furnace closet door challenges is like solving a puzzle – each piece must fit just right.
Jim Stewart’s method might be your go-to for a quick, budget-friendly solution. Are you looking for a more polished look? KenKen’s approach or Fixer1234’s alternatives offer excellent results with some elbow grease. Each method balances functionality, aesthetics, and practicality in its unique way.
For those seeking a professional, hassle-free solution, consider partnering with experts like Paniflex. Their custom doors ensure a perfect fit and seamless integration with your design vision, addressing all the key factors mentioned above.
Remember, the ideal contractor furnace closet door solution isn’t just about fitting the space – it’s about enhancing the overall design while maintaining functionality. Armed with these various approaches and a keen eye for detail, you’re now ready to tackle any HVAC closet door challenge that comes your way. Your clients will thank you, and those once-troublesome doors will become showcases of your problem-solving prowess.Ready to transform those pesky HVAC closet doors into design triumphs? Explore Paniflex’s custom door options and elevate your next project to new heights of form and function.


