As an interior designer or architect, you understand the importance of properly installed doors in creating functional and visually appealing spaces. Whether you’re working on a residential or commercial project, mastering the art of new door installation is crucial. In this comprehensive guide, we’ll walk you through the process step-by-step, focusing on the unique needs and considerations of design professionals.
Discover how Paniflex’s custom closet doors can elevate your projects and simplify the installation process. So, are you ready to take your door installation skills to the next level?
Understanding the Basics of Door Installation
Proper door installation is essential for both aesthetics and functionality. A well-installed door ensures smooth operation, privacy, and energy efficiency. For interior designers and architects, getting the installation right is critical to maintaining your professional reputation and ensuring client satisfaction.
According to the U.S. Department of Energy, sealing air leaks on a drafty house can save you up to 20% on heating and cooling, making energy-efficient doors a valuable investment. By prioritizing correct new door installation, you not only enhance the overall look and feel of a space but also contribute to its long-term comfort and sustainability.
Now that we know why proper installation is crucial, let’s explore the tools and materials you’ll need to get the job done right.
Tools and Materials Needed for the Installation
To tackle a new door installation project, you’ll need the following tools and materials:
- Tape measure: Essential for accurate measurements of the door frame and rough opening.
- Level: Ensures the door frame is level and plumb during installation.
- Carpenter’s square: Helps check that the door is square with the frame.
- Hammer: Used for removing old doors, frames, and trim, as well as for driving nails.
- Cordless drill: Streamlines the process of driving screws and making necessary adjustments.
- Screwdriver set: Assists in installing hinges, doorknobs, and other hardware.
- Chisel: Handy for making minor adjustments to the door frame or removing old hardware.
- Utility knife: Useful for cutting shims, trimming weatherstripping, and scoring paint or caulk.
- Shims: Thin wedges used to ensure the door frame is level and plumb during installation.
- Nails and screws: Secure the door frame and hinges in place.
- Caulk and caulking gun: Create a watertight seal around the door frame to prevent drafts and improve energy efficiency.
- Weatherstripping and door sweep: Additional components that help seal gaps and improve insulation.
Pro Tip: Invest in quality tools to ensure precise measurements and a smoother installation process for your new door installation. Check out this helpful video for a quick tutorial on interior door installation.
With your tools and materials ready, it’s essential to prioritize safety throughout the installation process.
Safety Precautions During Door Installation
Always prioritize safety when working on your new door installation with the following:
- Wear protective eyewear: Shield your eyes from dust, debris, and potential projectiles when removing old doors or cutting materials.
- Use gloves: Protect your hands from splinters, sharp edges, and heavy lifting during the installation process.
- Use caution when handling sharp tools: Exercise care when using chisels, utility knives, and saws to avoid injuries.
- Ensure the work area is well-lit: Adequate lighting helps prevent accidents and ensures precision during installation.
- Remove tripping hazards: Keep the work area clear of obstacles, cords, and debris to minimize the risk of falls or accidents.
Now that we’ve covered the basics, let’s dive into the preparation phase of your door installation project.
Preparing for the Door Installation
Ready to dive deeper? Let’s lace up our boots and get ready for some hands-on preparation!
First up, let’s talk about selecting the perfect door for your new door installation.
Choosing the Right Type of Door
When selecting a door for your new door installation, consider factors such as style, material, and function. Paniflex offers a wide range of custom closet doors, including bifold and sliding options, allowing you to find the perfect fit for your client’s needs and design aesthetic.
According to research by IBISWorld, wood doors dominate the industry due to their aesthetic appeal and the trend of using sustainable materials. However, don’t overlook the benefits of alternative materials like fiberglass and steel, which offer superior insulation and durability. Take the time to discuss your client’s preferences, budget, and the overall design scheme to make an informed decision.
Also Read: How to Choose the Right Standard Screen Door Size
Once you’ve chosen your door, it’s time to focus on accurate measurements to ensure a seamless fit.
Measuring the Door Frame Correctly

Accurate measurements are crucial for your new door installation. Measure the door frame’s width at the top, middle, and bottom, and use the smallest measurement to ensure a snug fit. For the height, measure from the floor to the top of the frame. Don’t forget to account for any flooring materials that may affect the door’s clearance.
Check out this helpful video from The Home Depot on measuring for a new prehung interior door. Remember to measure twice and cut once to avoid costly mistakes. If you’re unsure about your measurements, consider consulting with a colleague or a professional installer to double-check your work.
With the old door and frame out of the way, it’s time to set up the new frame for success.
Removing the Old Door and Frame
Carefully remove the existing door and frame, taking note of any damage or irregularities in the surrounding wall. This is an opportune time to address any necessary repairs before installing the new door. Start by removing the door from its hinges and then carefully prying off the trim and frame.
Use a pry bar or a flathead screwdriver to gently loosen the frame from the wall, being cautious not to damage the drywall or surrounding surfaces. Inspect the rough opening for any signs of rot, mold, or structural issues that may need to be addressed before proceeding with the new door installation.
With the old door and frame out of the way, it’s time to set up the new frame for success.
Also Read: How to Install and Replace Closet Doors
Setting Up the Door Frame
Now that we’ve prepped and primed, it’s time to bring that door frame to life.
Inspecting the Door Frame for Damage
Thoroughly inspect the door frame for signs of rot, warping, or misalignment. Address any issues before proceeding with the installation to ensure a proper fit and smooth operation. As one Reddit user pointed out, opting for a pre-hung door can help mitigate potential mishaps and ease the process for beginners.
However, if you’re working with a custom door or a unique frame, take the time to carefully assess the condition of the frame and make any necessary repairs or adjustments. This may involve filling cracks, sanding down rough spots, or reinforcing weak points to ensure a sturdy foundation for your new door.
Once you’ve addressed any frame issues, it’s time to prepare it for the new door.
Preparing the Door Frame for the New Door
Clean the door frame and remove any old caulk or debris. Make any necessary repairs or adjustments to ensure the frame is level, plumb, and square. Use a level to check the top, bottom, and sides of the frame, making adjustments as needed. If the frame is out of square, use shims to make minor corrections until it is perfectly aligned.
Take care to remove any excess shims or debris that may interfere with the door’s operation. Once the frame is prepped and ready, you can move on to the next step of the installation process.
To ensure your door hangs perfectly, let’s talk about the importance of shim placement.
Shim Placement for Proper Alignment
Use shims to ensure the door frame is level and plumb. Place shims at the hinges and strike plate locations, as well as at the top and bottom of the frame. Adjust the shims until the frame is perfectly aligned. The key to successful shim placement is to work slowly and methodically, checking for level and plumb at each step.
Start by placing shims at the bottom of the frame, ensuring that it is level and flush with the floor. Then, move on to the sides of the frame, using shims to make minor adjustments until the frame is plumb. Finally, check the top of the frame for level and make any necessary adjustments. Remember to use a level and a carpenter’s square to ensure accuracy throughout the process.
With your frame prepped and shimmed, it’s time for the moment you’ve been waiting for—installing the new door!
Installing the New Door
With the frame ready to go, let’s hang that new door and see it in action.
Aligning the New Door with the Frame
Carefully align the new door with the frame, ensuring it is level and plumb. Use a carpenter’s square to check that the door is square with the frame. As mentioned in this Reddit thread, proper preparation, tools, and techniques are vital to avoid common frustrations in door installation.
Take your time to make sure the door is perfectly positioned before securing it in place. If you’re working with a pre-hung door, this process may be more straightforward, as the door is already mounted to the frame. However, if you’re installing a slab door, you’ll need to be extra careful to ensure proper alignment and avoid any gaps or unevenness.
Now that your door is aligned, it’s time to secure it in place with the hinges.
Securing the Door with Hinges
Secure the door with hinges, making sure they are properly aligned and securely fastened. Use a cordless drill to drive the screws into place. Experienced Reddit users advise utilizing pre-hung doors and modern tools to simplify and speed up the installation process.
When attaching the hinges, start with the top hinge and work your way down, ensuring that each hinge is level and flush with the door and frame. Use a carpenter’s square to check for proper alignment and make any necessary adjustments before tightening the screws completely. If you’re working with a heavier door, consider using three hinges instead of two for added stability and support.
Also Read: Steps for Hanging a Door Easily
With your door hung, it’s crucial to double-check the alignment and swing to ensure smooth operation.
Checking Door Alignment and Swing
Test the door’s alignment and swing by opening and closing it several times. Make any necessary adjustments to the hinges or shims to ensure smooth operation. Pay close attention to how the door sits in the frame when it’s closed, looking for any gaps or unevenness.
If the door isn’t swinging freely or is rubbing against the frame, you may need to make minor adjustments to the hinges or shims. Keep in mind that seasonal changes in humidity can cause doors to expand or contract, so it’s essential to allow for a small amount of clearance to accommodate these shifts. Once you’re satisfied with the door’s alignment and swing, you can move on to attaching the additional components.
Now that the main installation is complete, let’s focus on the finishing touches that will make your door stand out.
Also Read: How to Install Bifold and Sliding Closet Doors
Attaching Additional Components
We’ve secured the basics, now let’s get into the finer details of accessorizing your new door installation
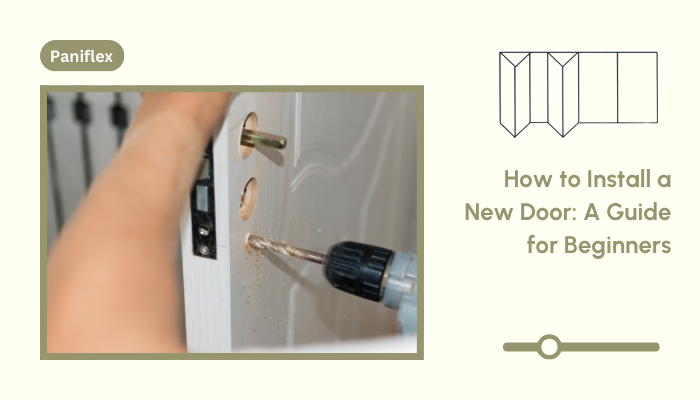
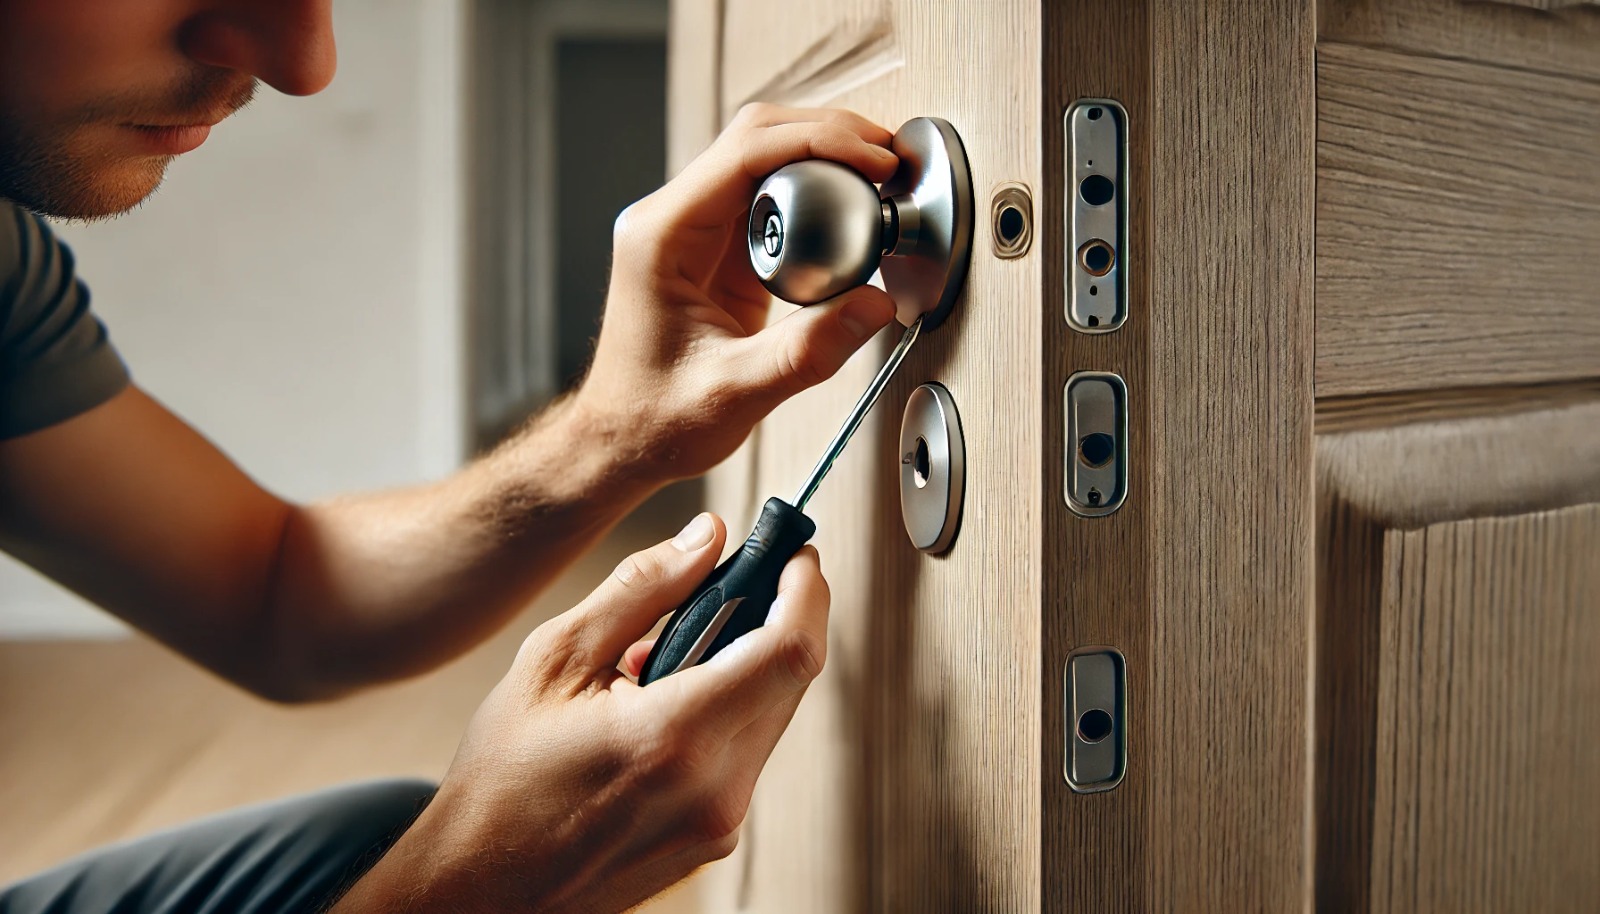
Installing the Doorknob and Lockset
Follow the manufacturer’s instructions to install the doorknob and lockset. Ensure proper alignment and smooth operation. Start by marking the placement of the doorknob and lockset on the door, using a template or measuring carefully to ensure accuracy.
Drill the necessary holes for the lockset and doorknob, being cautious not to splinter the wood or damage the door. Insert the latch and attach the doorknob and lockset components, testing for smooth operation and proper alignment.
If you’re working with a pre-drilled door, this process may be more straightforward, but it’s still essential to double-check the manufacturer’s instructions and ensure a secure fit.
To improve your door’s energy efficiency and keep drafts at bay, don’t forget about weatherstripping and door sweeps.
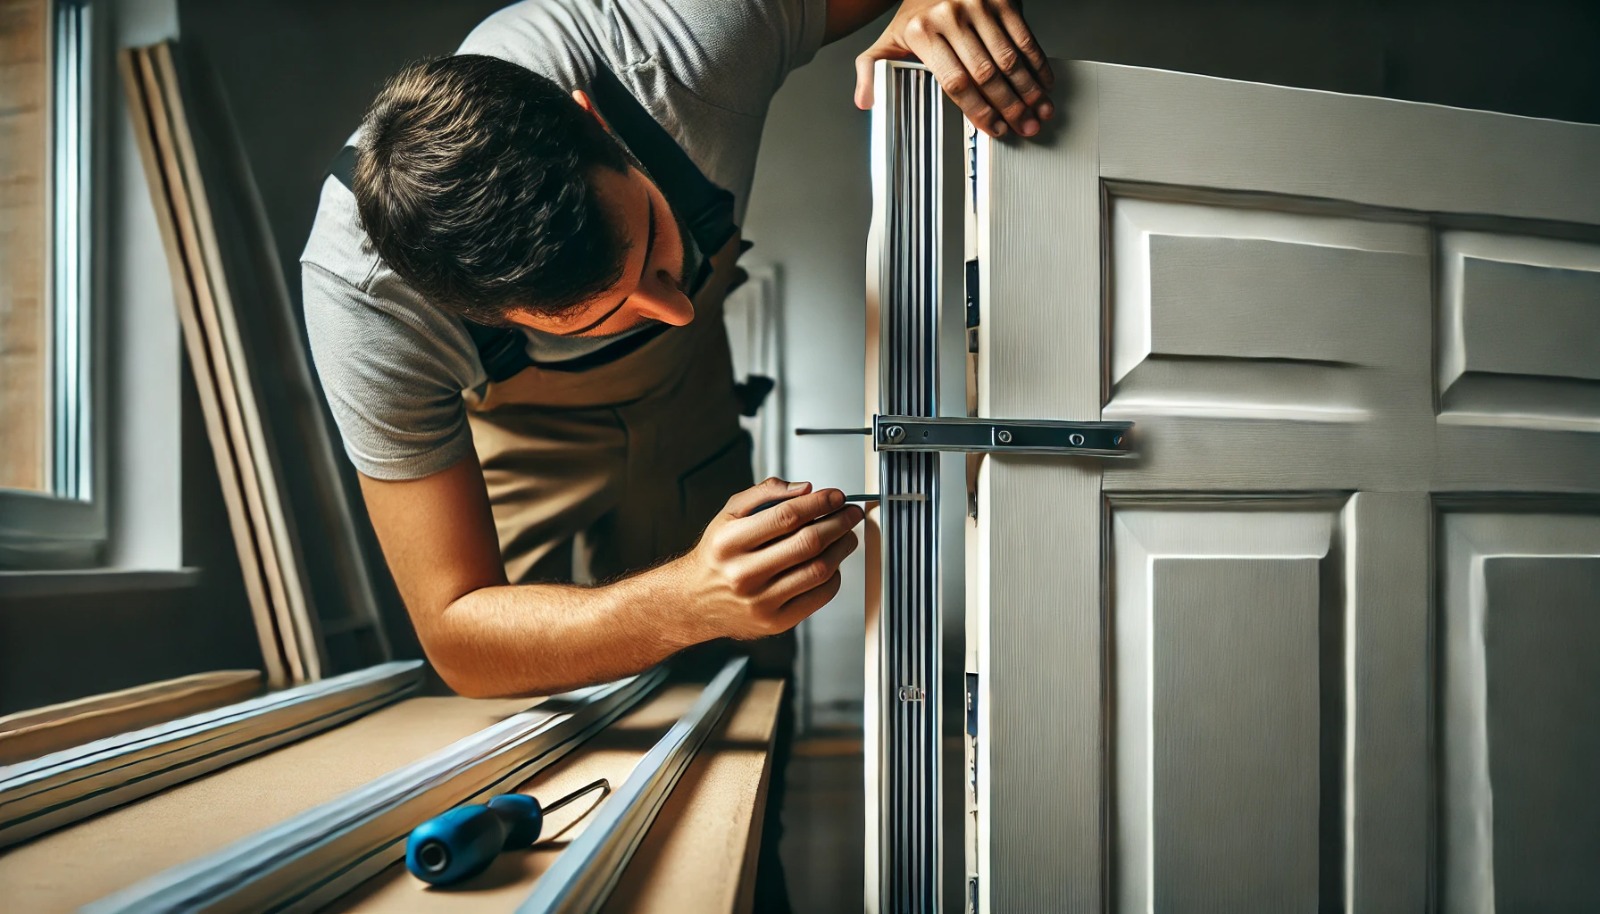
Adding Weatherstripping and Door Sweep
To improve energy efficiency and reduce drafts, install weatherstripping around the door frame and a door sweep at the bottom of the door. The U.S. Department of Energy estimates that energy-efficient fiberglass and steel doors are five times better insulated than a comparable solid wood door. Start by measuring the perimeter of the door frame and cutting the weatherstripping to size.
Apply the weatherstripping to the top and sides of the frame, ensuring a snug fit against the door. For the door sweep, measure the width of the door and trim the sweep to fit if necessary. Attach the sweep to the bottom of the door, ensuring that it creates a tight seal against the threshold when the door is closed.
These added components can significantly improve the door’s insulation and help maintain a comfortable indoor environment.
Proper sealing and insulation are key to maximizing your door’s performance and energy savings.
Ensuring Proper Sealing and Insulation
Apply caulk around the door frame to create a weathertight seal. Check for any gaps or drafts and address them accordingly. Remember, half of the energy used by the average American household goes toward heating and cooling, so better insulating the home can have a significant effect on monthly energy bills.
Use a high-quality, paintable caulk and apply it smoothly around the perimeter of the frame, both inside and outside. Pay special attention to the corners and any areas where the frame meets the wall, as these are common spots for air leaks. Once the caulk is dry, you can paint over it to match the door frame and create a seamless appearance.
By properly sealing and insulating your newly installed door, you can help your clients save money on their energy bills and create a more comfortable living space.
With your additional components in place, it’s time to step back and admire your work—but not before a final round of inspections and adjustments.
Finishing Touches and Final Adjustments
Before we wrap up, let’s give that door a final polish and make it a lasting feature.
Inspecting the Door for Smooth Operation
Thoroughly test the door’s operation, checking for smooth opening and closing, proper latching, and even gaps around the perimeter. Open and close the door several times, feeling for any resistance or unevenness in the motion.
Check the latch to ensure that it engages securely with the strike plate and that the door stays closed when latched. Look for any gaps around the perimeter of the door, paying close attention to the top, bottom, and sides. If you notice any issues, make a note of them so that you can address them in the final adjustments.
If you notice any issues during your inspection, now’s the time to make those final adjustments for optimal performance.
Making Necessary Adjustments to the Door
Make any final adjustments to the hinges, strike plate, or weatherstripping to ensure optimal performance. If the door is rubbing against the frame or not latching properly, you may need to adjust the hinges or reposition the strike plate. Use a cordless drill to loosen the screws slightly, allowing you to make minor adjustments to the position of the hardware.
Test the door’s operation after each adjustment, making sure that it swings smoothly and latches securely. If you notice any gaps around the perimeter of the door, you may need to adjust the weatherstripping or add additional insulation to create a tighter seal.
Once your door is operating flawlessly, consider adding a personal touch with paint or stain.
Painting or Staining the Door
If desired, paint or stain the door to match the surrounding decor. Follow the manufacturer’s instructions for proper application and drying times. Start by removing the door from its hinges and laying it flat on sawhorses or a sturdy table. Sand the door lightly to create a smooth surface for the paint or stain to adhere to.
If you’re painting the door, apply a coat of primer first, followed by two coats of paint, allowing each coat to dry completely before applying the next. If you’re staining the door, apply the stain evenly with a brush or rag, wiping off any excess stain to achieve the desired color and depth. Once the paint or stain is dry, reattach the door to its hinges and enjoy your newly finished door.
Also Read: Step-by-Step Guide to Door Painting – Tips and Methods
Now that your door is installed and looking great, let’s talk about how to keep it that way for years to come.
Maintenance Tips for Your New Door
Just one more thing before we conclude your new door installation!
Regular Cleaning and Care Guidelines
To keep your new door looking and functioning its best, regularly clean the surface with a mild detergent and soft cloth. Avoid abrasive cleaners or excessive moisture. Dust the door regularly to prevent buildup and maintain a clean appearance. If the door has a glass insert, use a glass cleaner and a soft, lint-free cloth to avoid scratches.
Don’t forget to clean the hardware, including the doorknob, hinges, and strike plate, to keep them looking shiny and new. By maintaining a regular cleaning schedule, you can help extend the life of your door and keep it looking great for years to come.
Even with routine care, your door may require occasional minor repairs and adjustments.
Handling Minor Repairs and Adjustments
Periodically check for loose hinges, worn weatherstripping, or misaligned strike plates. Address any issues promptly to prevent further damage. If you notice a loose hinge or a sagging door, tighten the screws or adjust the position of the hinge to correct the issue. If the weatherstripping is worn or damaged, replace it with a new strip to maintain a tight seal and prevent drafts.
If the strike plate becomes misaligned, loosen the screws and adjust its position to ensure that the latch engages securely. By addressing minor repairs and adjustments as they arise, you can prevent more significant issues from developing and keep your door functioning smoothly.
To ensure your door stands the test of time, consider implementing these long-term maintenance tips.
Long-term Maintenance Tips for Longevity
Schedule regular inspections and maintenance to extend the life of your new door. Lubricate hinges, tighten screws, and replace worn components as needed. At least once a year, thoroughly inspect your door for any signs of wear or damage.
Lubricate the hinges with a silicone-based lubricant to keep them moving smoothly and prevent squeaking. Tighten any loose screws or hardware to maintain a secure fit and prevent sagging or misalignment.
If you notice any worn or damaged components, such as weatherstripping or door sweeps, replace them promptly to maintain the door’s energy efficiency and prevent drafts. By scheduling regular maintenance and addressing any issues as they arise, you can help extend the life of your door and ensure that it continues to function properly for years to come.
While we’ve covered best practices for a successful installation, it’s equally important to be aware of common pitfalls to avoid.
Common Mistakes to Avoid
When installing a new door, be sure to avoid these common mistakes:
- Failing to measure accurately: Inaccurate measurements can lead to a poor fit and difficulty during installation. Always measure twice and cut once to ensure a precise fit.
- Neglecting to check for level, plumb, and square: A door that is not level, plumb, or square will not function properly and may cause issues with opening, closing, and latching. Use a level and carpenter’s square to ensure that the frame and door are properly aligned.
- Overtightening hinges or strike plates: While it’s essential to secure hinges and strike plates, overtightening the screws can cause damage to the door or frame. Tighten screws securely but avoid applying excessive force.
- Skipping weatherstripping or caulking: Failing to properly seal and insulate the door can lead to drafts, energy loss, and even water damage. Always take the time to install weatherstripping and apply caulk around the perimeter of the frame.
- Ignoring necessary repairs or adjustments: Small issues, such as loose hinges or misaligned strike plates, can quickly escalate into larger problems if left unaddressed. Promptly attend to any necessary repairs or adjustments to keep your door functioning smoothly.
By being aware of these common pitfalls and taking steps to avoid them, you can ensure a successful and long-lasting door installation.
By following these guidelines and leveraging the expertise of Paniflex, interior designers and architects can confidently tackle new door installation projects with ease. By steering clear of these common mistakes and following the expert guidance provided by Paniflex, you’ll be well on your way to mastering the art of door installation.
Conclusion
Installing a new door may seem daunting, but with the right tools, techniques, and guidance, it’s a project that interior designers and architects can master. By following this comprehensive guide and utilizing Paniflex’s custom closet doors, you can ensure a flawless installation that meets your clients’ needs and exceeds their expectations.
Remember to prioritize accurate measurements, proper alignment, and secure installation to achieve the best results. Don’t forget to focus on the finer details, such as weatherstripping and caulking, to maximize energy efficiency and create a comfortable living space.
As you embark on your next door installation project, keep in mind the valuable tips and insights shared by experienced professionals and DIY enthusiasts alike. From the importance of proper tools and techniques to the benefits of using pre-hung doors, these nuggets of wisdom can help streamline your process and minimize frustrations along the way.
At Paniflex, we understand the unique challenges and opportunities that interior designers and architects face when tackling door installations. That’s why we offer a wide range of custom closet doors designed to suit any style, budget, or functional requirement. Our team of experts is always ready to provide guidance and support, ensuring that your project runs smoothly from start to finish.


