Have you ever stood before a closet opening, envisioning the perfect bifold doors but hesitating at the thought of installation? As a design professional, you know how well-chosen and adequately installed bifold closet doors can impact a space. But what if you could master installing these doors yourself, adding another valuable skill to your repertoire?
At Paniflex, we understand the importance of seamless integration between design and functionality. That’s why we’ve created this comprehensive guide on installing bifold closet doors specifically for interior designers and architects like you. Ready to elevate your projects with a hands-on approach? Let’s dive in.
Gather Your Tools and Materials

Before you begin, ensure you have all the necessary tools and materials. This preparation will streamline your installation process and prevent unnecessary delays.
Essential tools include:
- Drill with appropriate bits
- Level
- Pencil
- Hammer
- Screwdriver (both Phillips and flathead)
- Measuring tape
Check your bifold door package for:
- Pins
- Brackets
- Tracks
- Screws
Pro tip: For a visual guide on tool preparation, check out this helpful YouTube video.
Also Read: Common Door Materials and Their Purpose
Prepare the Door Frame

Preparing the door frame well is crucial for a successful installation. Follow these steps:
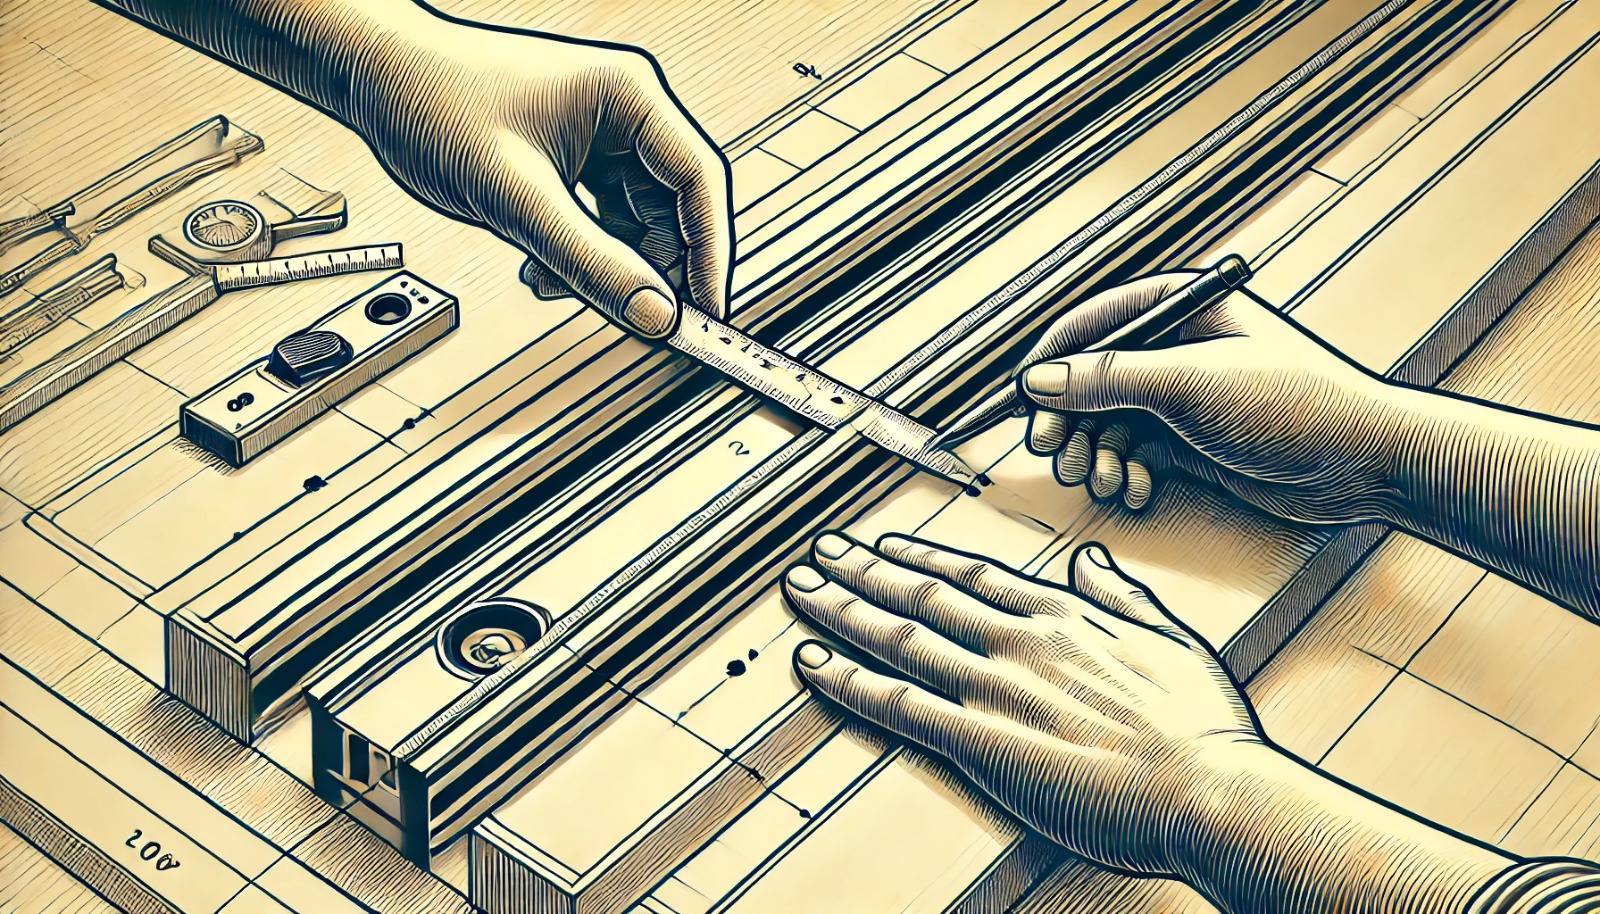
- Check for square and level
Use a carpenter’s square and level to ensure your door opening is actual. This step is critical for smooth operation. Check both horizontally and vertically:
- Horizontal Check: Place your level tool horizontally across different parts of the opening—top, middle, and bottom.
- Vertical Check: Use the level tool to check the left and right sides of the opening.
- Corner Check: Use the carpenter’s square to ensure all corners are perfect at 90-degree angles.
Also Read: Guide To Sizing A Rough Opening For Bifold Doors
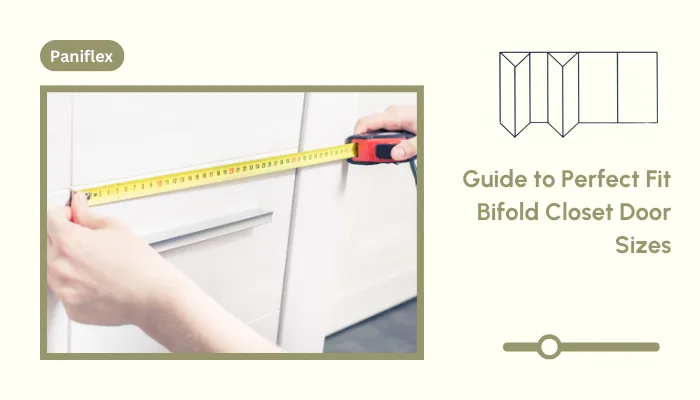
- Measure precisely
Take accurate measurements of the width and height at multiple points. Remember, bifold doors are typically undersized to ensure proper fit.
- Width: Measure the width of the door opening at three points—top, middle, and bottom—and note any variations.
- Height: Similarly, measure the height at three points on both the left and right sides.
- Address any issues
Fill old screw holes, sand rough areas, and paint if necessary. Attending to these details will enhance the final look of your installation.
- Remove old hardware: Remove any old hinges, tracks, or pivot brackets.
- Fill holes: Use wood filler or spackling compound to fill any old screw holes and let them dry completely.
- Even surfaces: Sand any rough areas to ensure all surfaces are smooth.
- Paint: If needed, paint the header and the trim around the door opening before installing the new track.
- Floor clearance: Ensure the doors operate smoothly enough, particularly if you have or plan to install carpet. Bifold doors generally require around 1/16″ clearance on either side.
One Reddit user shared their experience with uneven floors. Consider their solution of using wood pieces under hardware for a level installation.
With a solid frame ready, let’s tackle installing the door track.
Install the Door Track
Your bifold door system relies on the foundation of the door track. Here’s how to install it correctly:
- Mark the center
Find and mark the center of the top door frame. This spot is crucial for aligning the track.
- Insert the pivot guide.
Slide the pivot guide into the door track before mounting. This piece is essential for the doors’ movement. Also, slide in any additional hardware, like roller guides and pivot sockets, as per the manufacturer’s instructions.
- Position the track
Align the track with your center mark, typically 1 inch back from the front edge of the door header. This placement helps to conceal the track with trim. Use a pencil to mark the screw holes on the header through the track’s screw holes.
- Secure the track
Drill pilot holes and fasten the track with the provided screws. Leave them slightly loose for later adjustments. Use a drill bit that’s slightly smaller than the screws to avoid splitting the wood and to ensure the screws grip securely.
Additional tips:
- If you’re working over carpet or uneven flooring, consider using a spacer to ensure your track is level.
- Always check that the track is level and plumb during installation.
- Cut the track to fit your closet opening, leaving a small gap on each end if required. You can use a hacksaw or multi-tool for this.
For a detailed visual guide on track installation, refer to this comprehensive YouTube tutorial.
Next up, let’s get those pivot and roller pins in place.
Install Pivot Pins and Roller Pins
Installing pivot and roller pins properly is crucial for smooth door operation:
- Top pivot pin
Insert into the pre-drilled hole on the non-opening side of the door panel. This pin stabilizes the door and prevents excessive movement.
- Roller pin
Install the remaining hole on the other door panel. Ensure it aligns properly so the roller part fits smoothly into the track.
- Secure pins
If needed, gently tap the pins in place with a hammer. Use a soft-faced hammer or rubber mallet to avoid damaging the door or pins.
Test the fit by gently pulling on the door; neither pin should come loose.
A Reddit user shared a helpful tip for adjusting bifold doors. They suggest loosening the top screw and making adjustments from outside the closet for better alignment.
Also Read: Expert Guide: Door Hardware Installation for Modern Design Professionals
With the pins secured, it’s time to focus on the bottom bracket installation.
Install the Bottom Bracket and Pins
Anchor your bi-fold door and ensure proper alignment using the bottom bracket:
- Mark and align
Position the bracket at the corner where the side jamb meets the floor, aligned with the top track. Measure the depth of your side door jamb and mark the halfway point for the lower pivot bracket.
- Secure the bracket
Drill pilot holes and fasten the bracket with screws. If you’re working on a carpeted floor, consider placing a piece of wood underneath the hardware to ensure the bracket rests securely.
- Insert bottom pivot pin.
Place the pin into the corresponding hole on the hinged door panel. You might need to lightly tap it into place with a hammer or mallet to ensure it’s snug.
Consider this Reddit user’s solution for carpeted floors with concrete slabs underneath. They suggest cutting slits in the carpet for drilling or using masonry bits for concrete subfloors.
Now, let’s bring it all together by hanging the bifold door.
Hang the Bifold Door
Now comes the moment of truth – hanging your bifold door:
- Insert top pivot pin
Place the pin into the pivot guide in the track, ensuring the door is upright. It can be very helpful to have a friend hold the door panels steady.
- Secure the bottom pivot pin.
Align and insert the bottom pin into its bracket. This keeps the door stable and allows for smooth operation.
- Adjust door height
Use the adjustable pivot pin to fine-tune the door’s height if needed. Lift the door assembly slightly and adjust the pivot pin in the top or bottom bracket. For vertical adjustments, screw the bottom pivot up or down.
- Check for even gaps
Ensure there are even gaps on both sides of the door, adjusting pivot points as necessary. Loosen the screw in the top pivot bracket and move it towards or away from the jamb until you see an even gap. Re-tighten the screws to lock everything in place.
Remember, patience is essential during this step. Take your time to ensure proper alignment for smooth operation. Open and close the door several times to ensure everything is aligned and functioning smoothly.
With your door hanging perfectly, let’s add the finishing touch by installing door pulls or knobs.
Install Door Pulls or Knobs
Add pulls or knobs as the finishing touch to your bifold closet doors:
- Determine placement
Typically, place pulls on the central door panels for easy access. For a neat appearance, align the knobs with the top of the bottom door rail, and for pulls, line up the bottom of the pull with the top of the door rail.
- Mark and drill
Use a template to ensure uniform placement, then drill holes for the hardware. Masking tape can be a good substitute if you don’t have a template.
- Secure hardware
Attach pulls or knobs according to the manufacturer’s instructions. Tighten the screws by hand using a screwdriver to prevent over-tightening, which could damage the door.
Pro tip: For drawers wider than 24 inches, consider using two pulls for visual balance and ease of use. Apply thread sealant to keep the screws in place over time.
To add a personal flair, consider these customization and upgrade options.
Customization and Upgrades
As a design professional, you know the importance of personalization. Consider these upgrades to elevate your bifold door installation:
- Paint
Painting your doors a fresh coat can transform their look. Consider a bold color for a statement piece, or use chalkboard paint for a fun, interactive surface in children’s rooms.
- Decorative trims
Add molding or trims for a custom, high-end look. Measure and cut trim pieces to fit, and attach them securely using liquid nails and a nail gun.
- Hardware upgrades
Swap standard hardware for unique, designer pieces that complement your overall aesthetic. Consider sleek black handles for a modern touch or bespoke hardware like half-moon walnut pieces for sophistication.
- Panel replacement
Consider replacing panels with new materials like fluted wood or cane webbing for a more substantial change. Sand and paint the new elements to blend with the rest of the door to create a harmonious look.
Remember, Paniflex offers customization options for bi-fold doors, allowing you to create truly bespoke solutions for your clients.
Significant installations sometimes need troubleshooting, so let’s cover some common issues.
Troubleshooting Common Issues
Even with careful installation, you may need some help with some issues. Here are solutions to common problems:
- Uneven hanging
Adjust the height screws on the bottom pivot bracket to level the doors. To achieve ideal alignment, you may need minor tweaks to both bottom and top pivots.
- Misaligned hardware
Check and tighten all pivot brackets and hinges. Adjust the top pivot bracket if needed. Ensure the center gap between the doors is even from top to bottom.
- Sticking or dragging
Clean tracks and rollers and lubricate moving parts for smoother operation. If the doors collide with each other or the walls, adjust the pivot screws at the top and bottom to find the correct position.
For more troubleshooting tips, check out this Reddit thread.
Follow these maintenance tips to keep your doors looking and functioning.
Maintenance Tips
To ensure the longevity of your bifold closet doors, follow these maintenance practices:
- Regular cleaning
Dust and clean tracks and rollers to prevent debris buildup. To remove dirt, use a thin vacuum cleaner nozzle or a small brush.
- Lubrication
Apply silicone spray to tracks and WD40 to locks and critical mechanisms periodically, ideally two to three times a year.
- Seasonal checks
Inspect seals and hardware, especially during changing seasons, to catch any wear and tear early. Pay particular attention to the bottom pivot pin and bracket.
Follow these maintenance tips to ensure your bifold doors remain in top condition and impress clients for years.
And with that, you’re ready to enjoy your beautifully installed bifold doors for years.
Conclusion
Congratulations! You have now mastered installing bifold closet doors. This new skill will undoubtedly enhance your design projects and impress your clients. Remember, practice makes perfect, so don’t hesitate to refine your technique with each installation.
At Paniflex, we support design professionals like you in creating stunning, functional spaces. Our range of custom bifold closet doors offers endless possibilities for your projects. Explore our collection and see how our doors can elevate your next design.