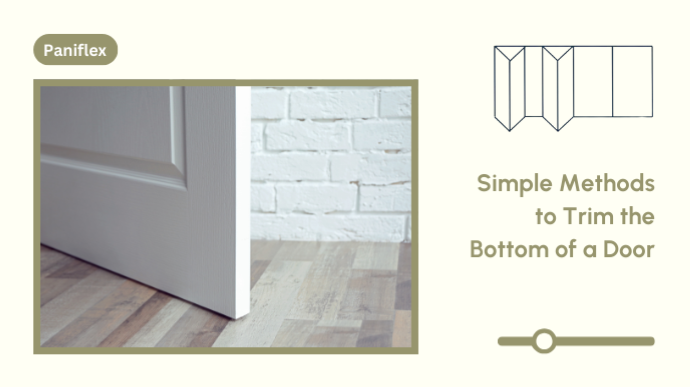
As an interior designer or architect, you understand that perfection lies in the details. One such detail that can significantly impact both functionality and aesthetics is the fit of a door. Knowing how to trim bottom of a door is an essential skill in your professional toolkit.
Understanding the Need to Trim a Door Bottom
Several factors might necessitate you trimming the bottom of a door:
- Uneven floors due to building settlement
- New flooring installation changing door clearance
- Need for improved energy efficiency
- Aesthetic requirements of your design vision
Benefits of Proper Door Trimming for Fit and Clearance
Mastering how to trim bottom of a door offers numerous advantages:
- Enhanced functionality: You can open and close doors smoothly
- Improved energy efficiency: Minimizes drafts and enhances insulation
- Better sound insulation: Reduces noise transmission between rooms
- Aesthetic perfection: Ensures doors complement your overall design
- Increased property value: Well-fitting doors contribute to overall quality
Preparation for Door Trimming
Proper preparation is crucial when you’re about to trim bottom of a door. Let’s break down the process into clear, manageable steps.
Marking the Clearance Needed on the Door
- Close the door completely.
- Measure the gap at multiple points along the bottom of the door.
- Identify the largest gap – this is your trimming target.
- Add 1/8 inch for clearance to your measurement.
- Use a pencil to mark this measurement on both sides of the door.
- Connect these marks with a straight line across the door’s bottom.
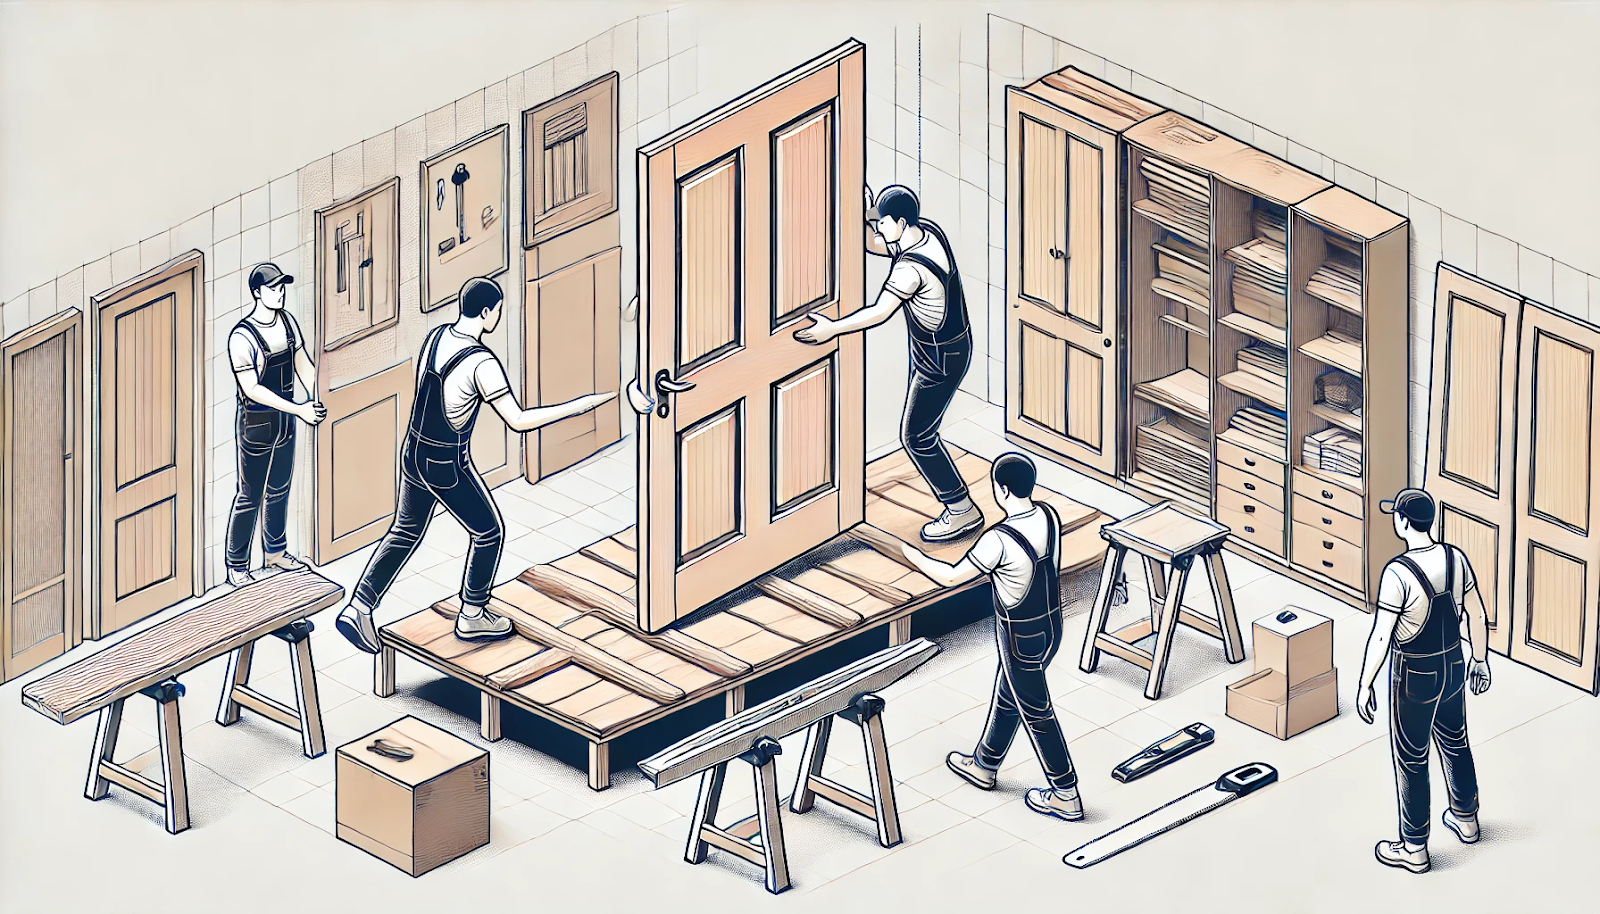
Removing the Door and Placing it on a Stable Work Surface
- Remove the hinge pins, starting from the bottom.
- Carefully lift the door off its hinges. This may require an assistant.
- Transport the door to your work area.
- Set up sturdy sawhorses or a dedicated door trimming stand.
- Place the door horizontally on the support, ensuring it’s level and stable.
Tip: Use non-slip pads on your supports to prevent the door from shifting during trimming.
Applying Masking Tape Along the Cut Line
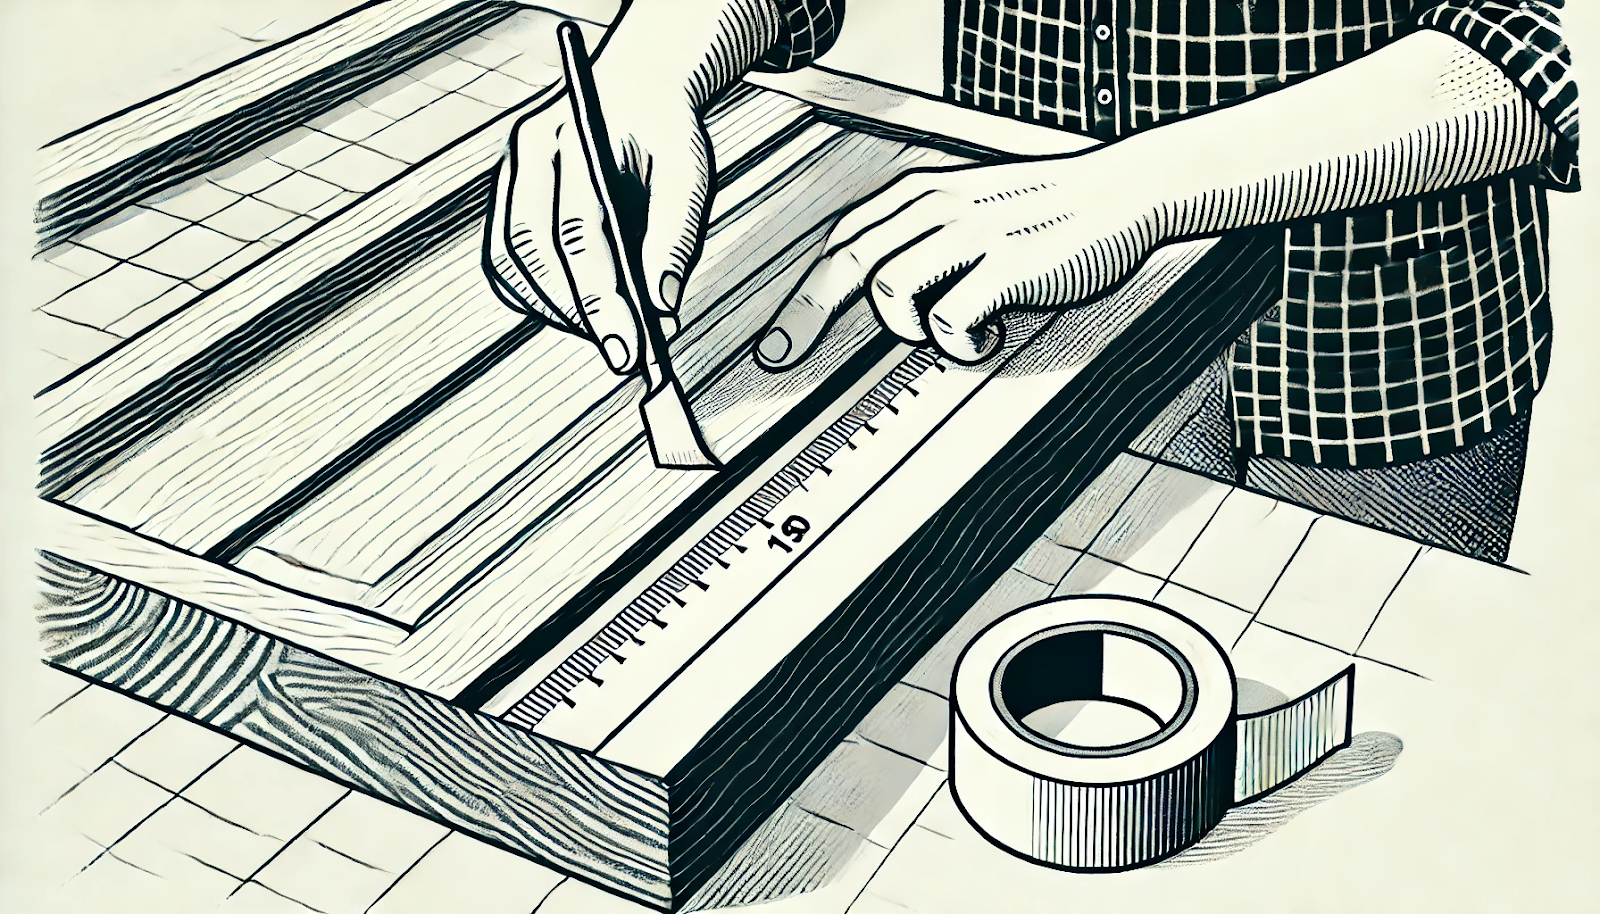
- Apply a strip of masking tape along your marked cutting line.
- Ensure the tape is smooth and free of bubbles.
- This tape serves two purposes: it helps prevent splintering and provides a crisp edge for cutting.
Scoring the Cutting Lines with a Utility Knife for Precision
- Using a sharp utility knife, score along the marked line.
- Apply firm, consistent pressure to create a shallow groove.
- This scoring helps prevent splintering and ensures a clean cut.
- Pay extra attention to the corners and edges of the door.
Tools and Materials Required
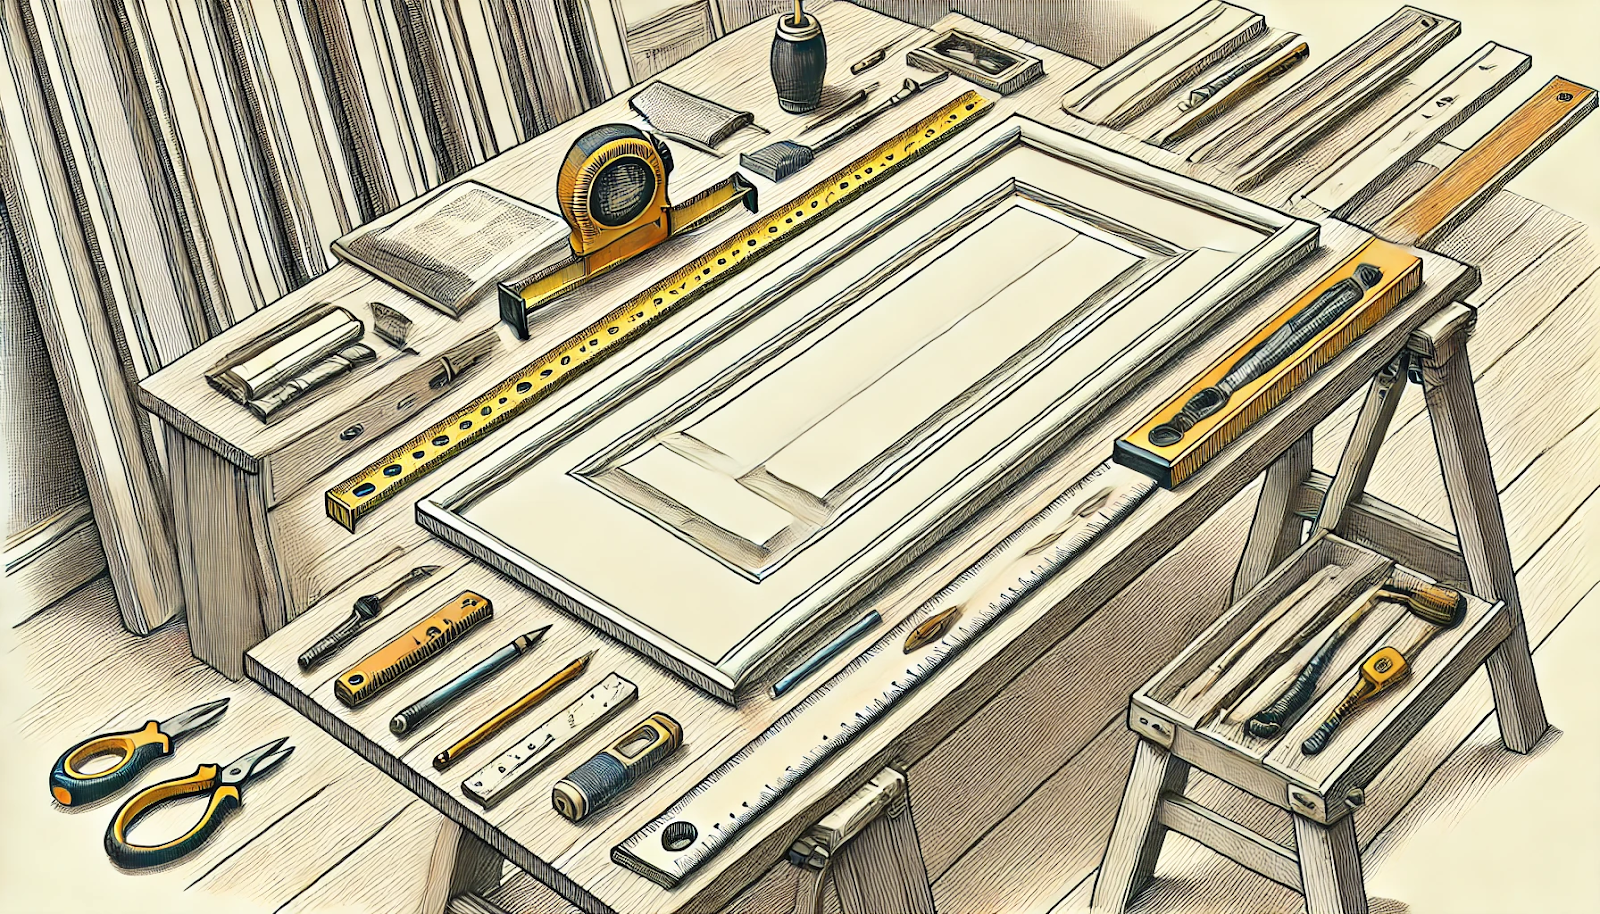
To effectively trim bottom of a door, gather these essential tools and materials:
- Circular saw with a sharp blade (appropriate for door material)
- Straightedge or saw guide
- Measuring tape
- Pencil
- Masking tape
- Utility knife
- Sandpaper (60, 120, and 220 grit)
- Clamps
- Sawhorses or door trimming stand
Protective Equipment:
- Safety glasses
- Work gloves
- Dust mask
Ensure all tools are in good condition and properly calibrated before beginning your project.
Executing the Cut
Now that you’re prepared, it’s time to trim bottom of a door with precision and care.
Ensuring the Saw Blade is Appropriate for the Door Material
- Check the door’s material: solid wood, hollow core, or composite.
- Select a saw blade designed for that specific material.
- Ensure the blade is sharp and properly installed in your circular saw.
Setting up the Door, Guide, and Saw for the Cut
- Position your straightedge or saw guide along the scored line.
- Secure the guide firmly with clamps to prevent shifting.
- Set your circular saw depth to 1/8 inch more than the door’s thickness.
- Double-check all measurements and alignments before proceeding.
Making the Cut Slowly to Follow the Scored Line
- Put on your safety gear: glasses, gloves, and dust mask.
- Just position the saw blade to the waste side of your cutting line.
- Start the saw and allow it to reach full speed before touching the door.
- Guide the saw slowly and steadily along the straightedge.
- Maintain a consistent speed to ensure a clean, straight cut.
And here we are, the real make-or-break moment: preventing splintering.
Tips for Preventing Splintering During the Cut
- Use a zero-clearance insert on your saw for a cleaner cut.
- Cut from the good side of the door to minimize visible splintering.
- If possible, clamp a sacrificial board to the underside of the door where the blade will exit.
- For hollow core doors, stuff the bottom with rigid foam before cutting to prevent crushing.
Alright, let’s move on to the finishing touches to make your work look professional.
Finishing Touches
After you trim bottom of a door, these final steps ensure a professional result.
Sanding the Edges for a Smooth Finish
- Start with 60-grit sandpaper to remove any rough edges or splinters.
- Progress to 120-grit for a smoother surface.
- Finish with 220-grit for a polished edge.
- Sand in one direction to avoid creating cross-grain scratches.
- Wipe away all dust with a tack cloth between grits.
Almost there! Let’s rehang the door and check the fit to finalize everything.
Rehanging the Door to Check Fit and Clearance
- Carefully lift the door back onto its hinges.
- Replace the hinge pins, starting from the top.
- Close the door slowly to check for proper clearance.
- Open and close the door multiple times to ensure smooth operation.
Final Adjustments for a Perfect Fit
- If the door drags slightly, mark problem areas and sand further.
- You might consider adding a door sweep or threshold to improve the seal.
- You can adjust the strike plate as needed.
When to Consider Professional Help
And sometimes, it’s best to bring in the pros. Here’s when to consider it:
- Dealing with antique or high-value doors
- Working on large-scale projects with multiple doors
- Addressing complex flooring transitions
- When specialized tools or techniques are required
In these cases, partnering with door fitting specialists can ensure precision and preserve the integrity of your design vision.
Conclusion: Elevating Your Designs, One Door at a Time
Mastering how to trim the bottom of a door is more than a practical skill—it’s a way to ensure your designs are executed flawlessly. This attention to detail sets exceptional designers apart, allowing them to deliver spaces that not only look stunning but also function perfectly.Ready to take your door designs to the next level? Explore Paniflex’s range of customizable doors that can be tailored to fit any space perfectly. With Paniflex, you ensure that every door in your project not only fits flawlessly but also enhances your overall design aesthetic. Request a consultation with Paniflex today and discover how their custom solutions can elevate your next project.


