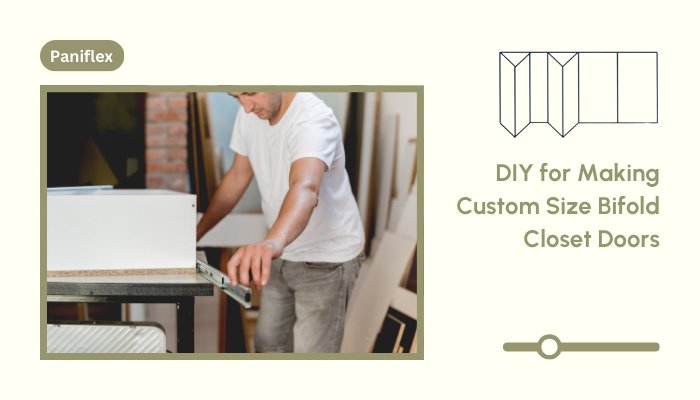
Are you looking to enhance your closet space with a touch of personalization? Learning how to make custom size bifold closet doors can transform your storage areas while adding a unique flair to your interior design. Let’s dive into this DIY project that combines functionality with style.
Getting Started
Before we begin, let’s understand why custom-sized bifold closet doors are worth considering:
- Perfect fit for non-standard openings: Custom doors allow you to maximize space utilization in irregular or uniquely sized closets.
- Cost-effective alternative to pre-made options: By creating your own doors, you can save significantly compared to high-end custom orders.
- Opportunity for unique, customizable designs: Express your creativity with personalized patterns, colors, and materials that complement your space.
- Modern look that complements your space: Tailor the design to match your room’s aesthetic, from minimalist to ornate styles.
These benefits make custom bifold doors an attractive option for both practicality and aesthetics. By creating your own doors, you can address specific spatial challenges while expressing your personal style.
Gathering Materials and Tools
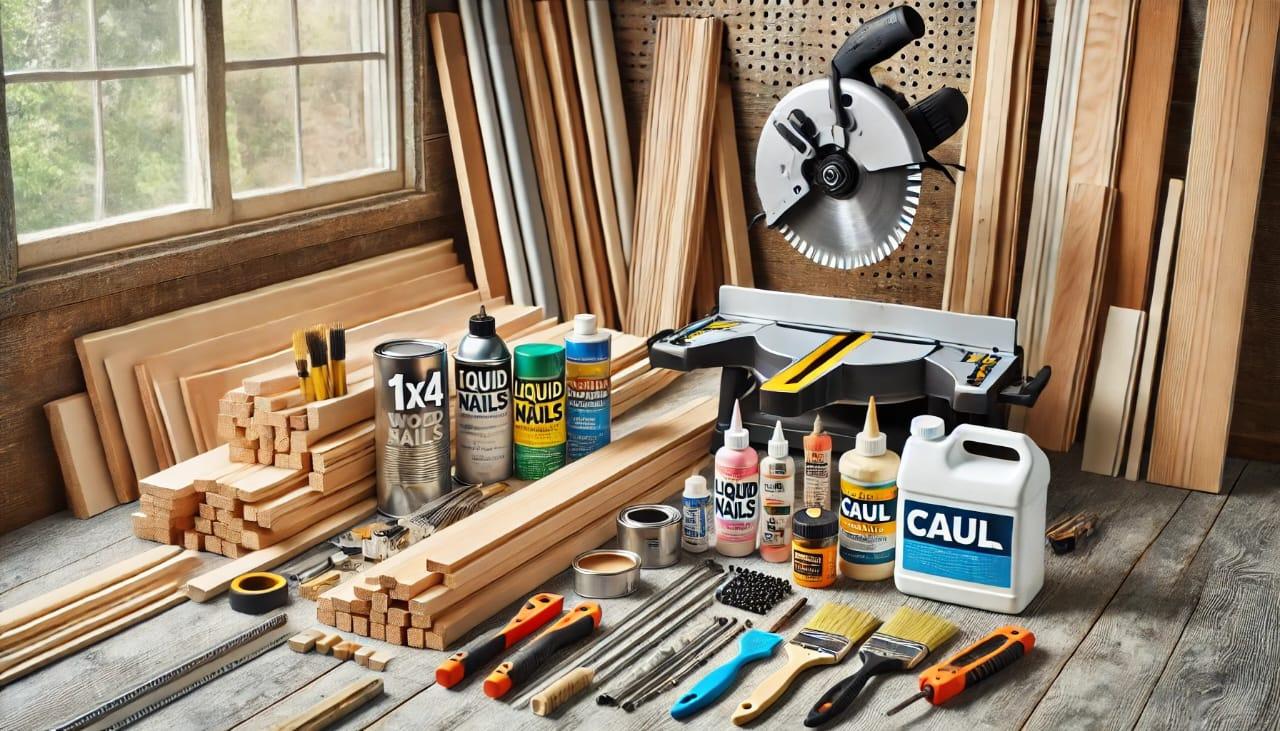
To create your custom size bifold closet doors, you’ll need:
Required Materials:
- 1×4 lumber for the frame: Choose a high-quality wood that’s straight and free from knots for the best results.
- Wood trim for finishing touches: Select a style that complements your overall design aesthetic.
- Primer and paint in your chosen color: Opt for durable, easy-to-clean finishes for longevity.
- Liquid nails and caulk for secure assembly: These ensure a strong bond and seamless appearance.
- Door knobs or handles for easy operation: Consider both functionality and style when selecting hardware.
Required Tools:
- Compound miter saw for precise cuts: This tool is essential for creating clean, accurate angles in your frame and trim.
- Self-centering drill bits for accurate hardware installation: These help ensure your hardware aligns perfectly every time.
- Paint brushes and rollers for a smooth finish: Use high-quality tools for the best paint application.
- Glazier points to secure decorative panels: These small, inconspicuous fasteners keep your panels in place without visible hardware.
Pro tip: Check out Paniflex’s range of customizable options for inspiration on bifold door designs. Their expertise can guide your DIY project, offering insights into current trends and practical solutions.
Measuring and Planning
Accurate measurements are crucial for custom bifold doors. Remember, precision at this stage ensures smooth operation of your bifold doors later. Follow these steps:
- Measure the opening precisely at both the top and bottom, accounting for any inconsistencies: Older homes especially may have slight variations in opening sizes.
- Divide the total width by the number of door panels you want, typically two or four for bifold designs: Consider the space available for door swing when deciding on panel numbers.
- Plan your door frame measurements, allowing for hardware and movement: Include clearance for hinges, tracks, and the folding mechanism.
- Sketch out decorative panel designs that complement your space, considering various patterns or materials: This is your chance to create a truly unique door that reflects your personal style.
Take your time with this stage, as proper planning will save you headaches down the line. Consider factors like the room’s lighting, existing décor, and the visual weight of the doors in your space.
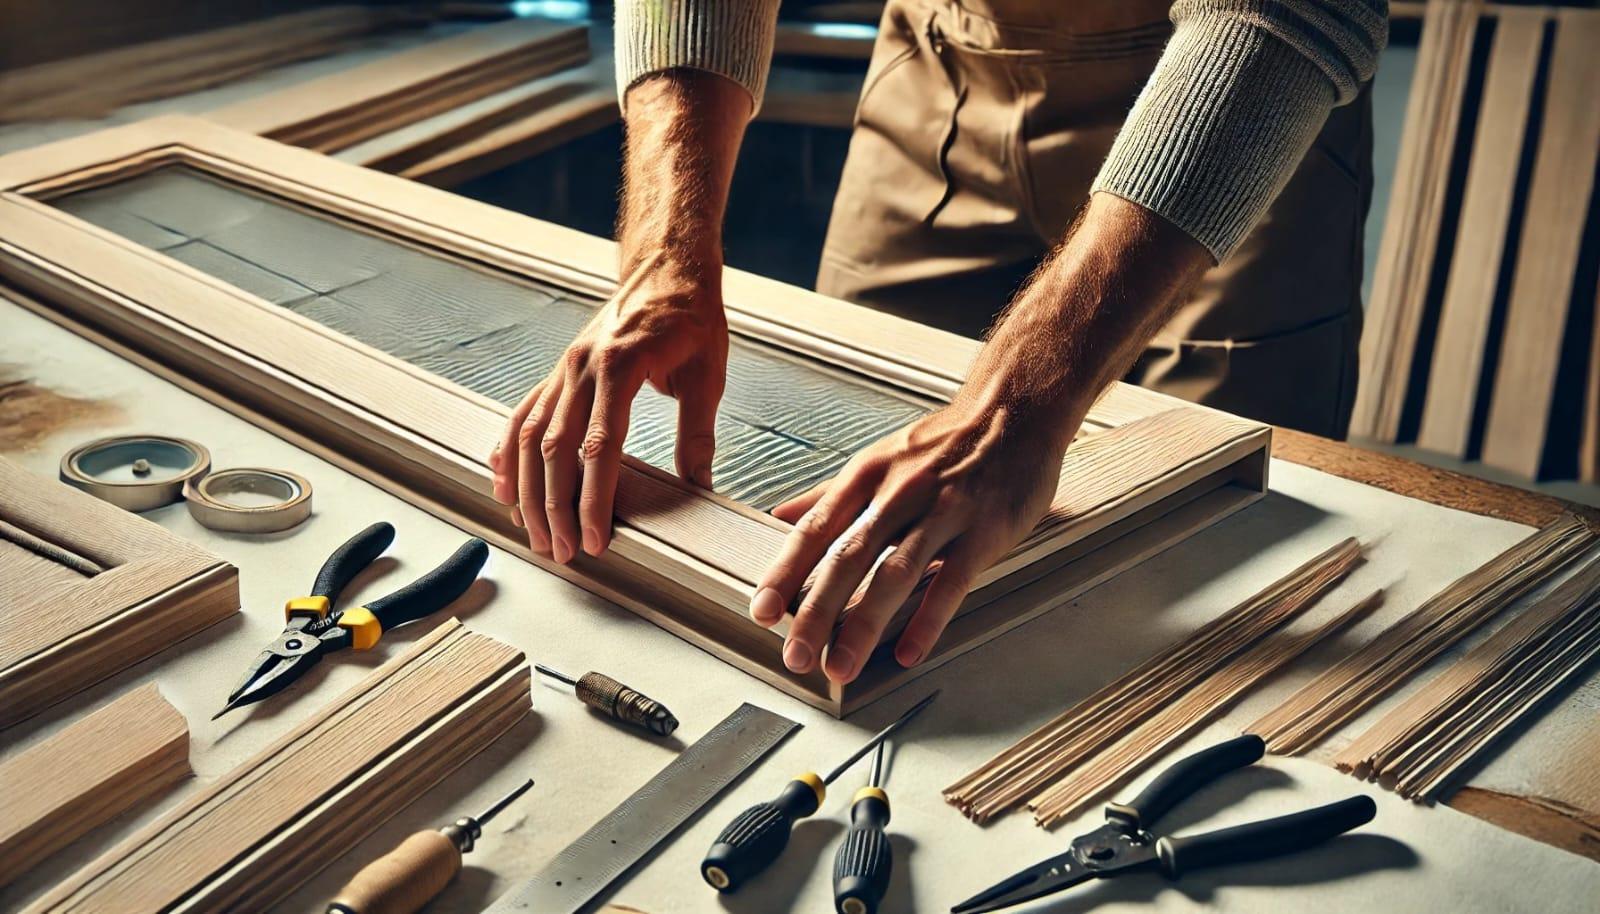
Building the Door Frames

Now, let’s construct the foundation of your custom bifold doors:
- Create rectangular frames using 1x4s, cutting them to your planned measurements: Use a sturdy work surface and clamps to ensure your cuts are straight and true.
- Implement half-lap joints for added strength, ensuring a sturdy structure: These joints distribute weight evenly and resist twisting over time.
- Add a rabbet to the frames for decorative panels, creating a recess for a flush fit: This step gives your doors a professional, finished look.
- Ensure you make the frames thick enough to accommodate bifold hardware: Check the specifications of your chosen hardware before finalizing frame dimensions.
Pay special attention to the frame construction as it forms the backbone of your doors. A well-built frame will contribute significantly to the doors’ longevity and smooth operation. Take care to sand all surfaces thoroughly for a polished final product.
Painting and Decorating
Before adding trim, prime and paint your doors. Remember, painting before adding trim ensures a clean, professional finish. Follow these steps:
- Apply primer for a smooth base, allowing it to dry completely: This step improves paint adhesion and coverage.
- Paint the doors in your chosen color, using multiple thin coats for the best results: Thin coats prevent drips and ensure even coverage.
- Consider creative design ideas for inserts:
- Geometric patterns for a modern look: Think chevrons, hexagons, or asymmetrical designs.
- Landscape scenes to add visual interest: Use stencils or freehand painting for nature-inspired motifs.
- Custom names or designs using CNC methods for a personalized touch: This could include family names, quotes, or abstract designs.
Experiment with different paint techniques or finishes to achieve your desired look. You might consider a distressed finish for a rustic appeal or a high-gloss paint for a more contemporary style. Don’t be afraid to mix textures or colors for a truly unique door.
Adding Decorative Inserts
Enhance your bifold doors with decorative panels:
- Choose lightweight yet durable materials for inserts, such as thin plywood or MDF: Consider the weight of your chosen material to ensure smooth door operation.
- Set panels in the rabbet using glazier points, ensuring a secure fit: This method allows for easy panel replacement if you want to update your look in the future.
- Ensure the panels complement the overall door design: Think about how the panels will look when the doors are both open and closed.
The decorative inserts offer an opportunity to showcase your creativity. Consider using textured materials, fabric inserts, or even stained glass for a unique look. You could also explore options like bamboo sheets for an eco-friendly touch or metallic finishes for a modern aesthetic.
Installing Wood Trim
Complete your custom bifold doors with trim:
- Cut trim pieces with 45-degree corner cuts to fit the frame precisely: Use a miter box for clean, accurate cuts.
- Attach trim using liquid nails and painter’s tape for a secure bond: The tape holds the trim in place while the adhesive sets.
- Caulk the seams and edges for a seamless look: Choose a caulk that’s paintable and matches your paint color for the best results.
- Paint trim to match or contrast with the doors: Consider using a semi-gloss finish on trim for easy cleaning and a subtle sheen.
The trim adds the finishing touch to your doors, so take your time to ensure clean lines and smooth transitions. Pay special attention to corners and joints, as these areas often draw the eye.
Conclusion
Learning how to make custom size bifold closet doors offers numerous benefits, from cost savings to the satisfaction of creating a truly unique element in your home. This DIY project not only enhances your living space but also provides valuable skills for future home improvements.
Remember, practice makes perfect. Don’t hesitate to try various techniques to achieve the perfect custom bifold closet doors for your space. And if you ever need professional assistance or inspiration, Paniflex is always ready to help with their expertise in custom door solutions. Their detailed guides can help you navigate the final steps of your project with confidence, ensuring a professional-looking result you’ll be proud to showcase in your home.


