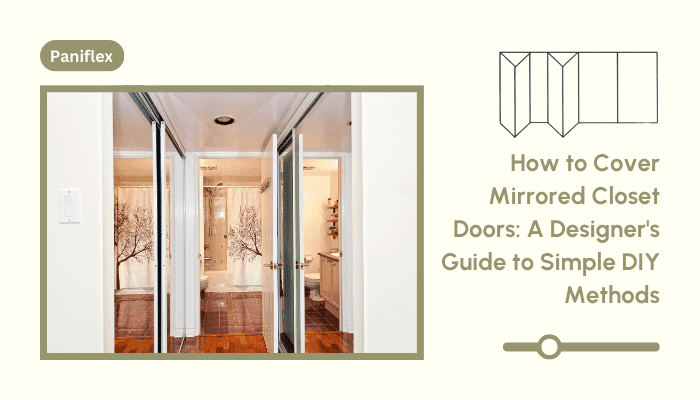
As an interior designer or architect, you constantly face unique challenges that demand creative solutions. One such challenge often comes in the form of mirrored closet doors – a staple in many homes but not always aligned with your carefully crafted design vision. Whether you’re working on a high-end residential project or a budget-friendly makeover, knowing how to transform these reflective surfaces can be a game-changer in your design arsenal.
Mirrored closet doors, while functional, can sometimes clash with the overall aesthetic you’re trying to achieve. They might reflect unwanted elements, create an outdated look, or not fit the style direction your client desires. However, replacing these doors entirely can be costly and time-consuming – a luxury not always available in tight project timelines or budgets.
This is where the art of covering mirrored closet doors comes into play. It’s a skill that combines creativity, practicality, and cost-effectiveness – three elements that are music to any client’s ears. By mastering this technique, you’ll be able to:
- Offer quick and impactful solutions to design challenges
- Demonstrate your versatility and problem-solving skills
- Provide budget-friendly options without compromising on style
- Create unique, customized looks that set your designs apart
- Add value to your services without significantly increasing project costs
This comprehensive guide covers mirrored closet doors using simple DIY methods. From selecting suitable materials to adding the perfect finishing touches, you’ll learn techniques that can be adapted to various design styles and client preferences.
Whether you’re working on a modern minimalist apartment in the city center or a cozy country home in the suburbs, these methods will give you the flexibility to transform spaces efficiently and impressively. Plus, we’ll explore how these DIY techniques can complement more permanent solutions, like Paniflex’s custom closet doors, for those clients seeking long-term, professional-grade options.
So, are you ready to add another valuable skill to your design toolkit? Let’s dive in and discover how to turn those reflective surfaces into stunning design elements that will wow your clients and elevate your projects to new heights.
Essential Supplies for Covering Mirrored Closet Doors
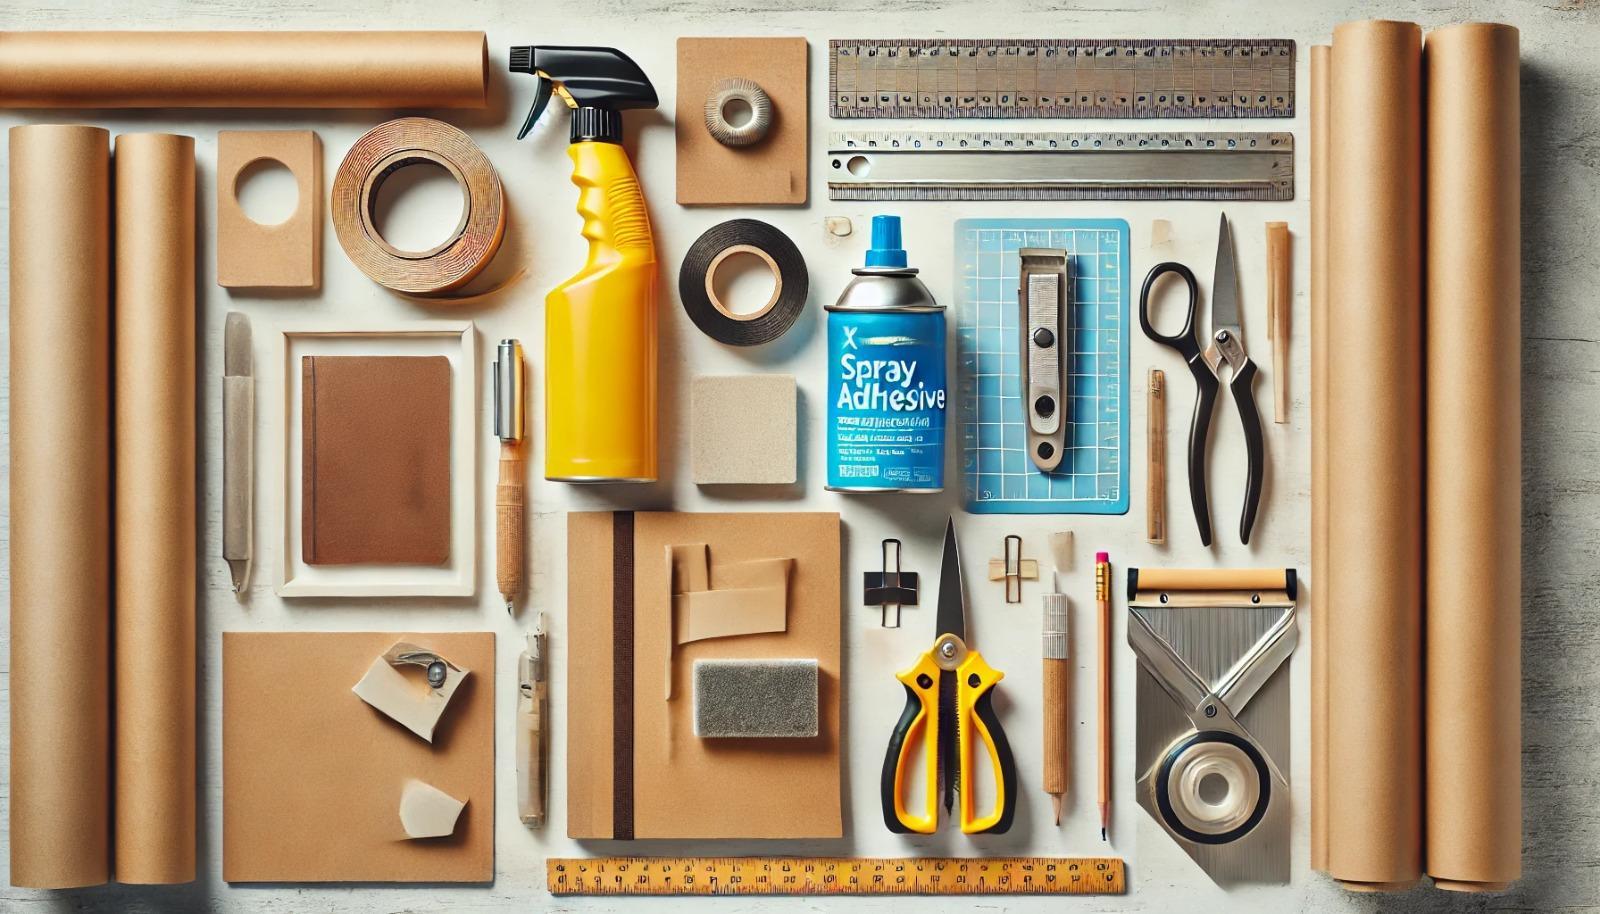
Before we begin, gather these tools:
- Kraft Paper or Wrapping Paper
- X-acto Knife
- Spray Adhesive (temporarily repositionable, e.g., 3M General)
- 48″ Ruler
- Self Stick Door Pulls (optional)
- Squeegee or Credit Card
- Pencil and Eraser
- Scissors
Have you got everything? Awesome. Let’s examine why you would want to cover those mirrored doors in the first place.
Initial Steps: Why Cover Mirrored Closet Doors?
There are several compelling reasons to cover mirrored closet doors:
- Moving into a new home: Help clients quickly personalize their space without significant renovations.
- Repurposing a room: When transforming a bedroom into a home office, existing mirrors might clash with the new professional atmosphere.
- Updating decor: New color schemes or styles can complement covered doors, refreshing the entire room’s look.
- Hiding imperfections: Cover dated or damaged mirrors in older homes to modernize the space instantly.
- Creating a cohesive design: Unify the room’s aesthetic by incorporating the doors into your overall design scheme.
- Temporary solutions: For renters or staged homes, offer a non-permanent way to alter the space.
Understanding your client’s motivation will guide your design choices. Now that you know the ‘why,’ let’s talk about the ‘how’ with some precise measurements.
Step-by-Step Process: Precision is Key
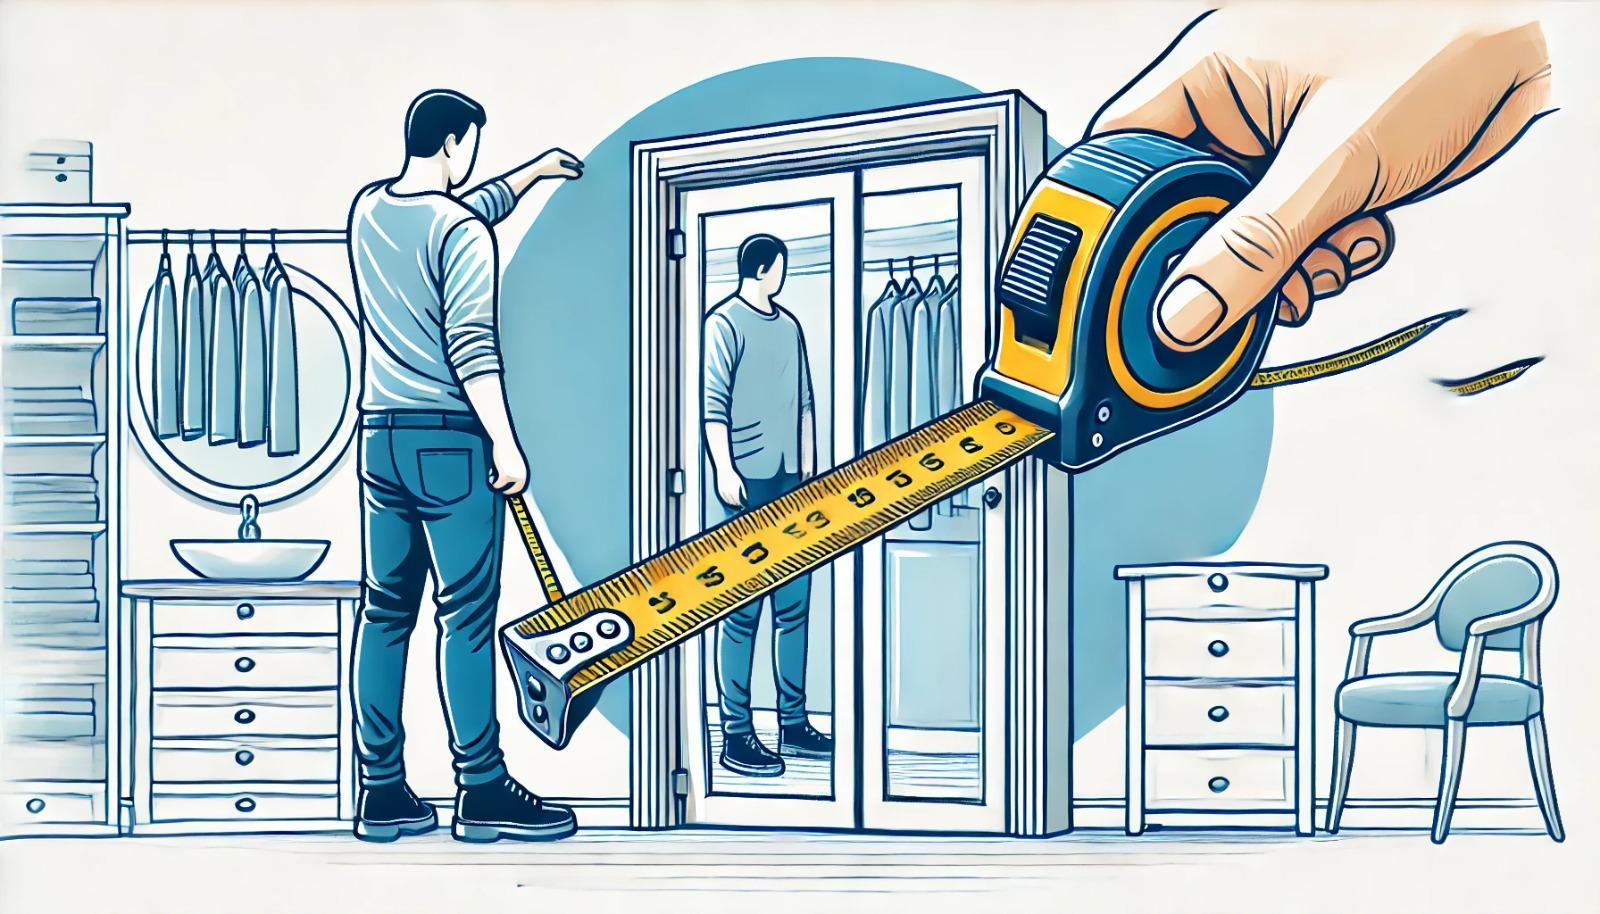
1. Measuring Mirrors
Accurate measurements are crucial for a professional result:
- Measure the width and height of each mirror panel separately
- Account for any gaps between panels or frames
- Add an extra 2-3 inches to each dimension for overlap
- Double-check all measurements to avoid costly mistakes
Pro tip: Use a laser measure for accuracy, especially with large or hard-to-reach areas.
2. Cutting Paper Larger than Mirrors
- Transfer your measurements to the paper, adding the extra 2-3 inches
- Use a straightedge and pencil to mark your cutting lines
- Cut on a large, flat surface to ensure straight edges
- If using patterned paper, consider pattern matching across panels
Also Read: Expert Guide: Door Hardware Installation for Modern Design Professionals
The extra size ensures full coverage and allows for easier handling. Alright, you’ve got the measurements down; next up, let’s tackle the challenge of managing large paper.
Preparing the Paper: Overcoming Challenges
Handling large pieces of paper can be tricky. Here’s how to manage it like a pro:
- Fold the paper with the print side in to protect the design
- Take it outside for spraying to avoid fumes and overspray
- Use a large dowel or PVC pipe to support the paper
- Lightly spray one half of the paper first, then carefully rotate the dowel to spray the other half
- Maintain an even spraying distance for consistent adhesive application
- Allow the adhesive to become tacky before applying (follow the manufacturer’s instructions)
This method ensures even coverage and minimizes the risk of wrinkles or overspray. Are you feeling confident with the paper? Great, it’s time to get sticky and apply that adhesive.
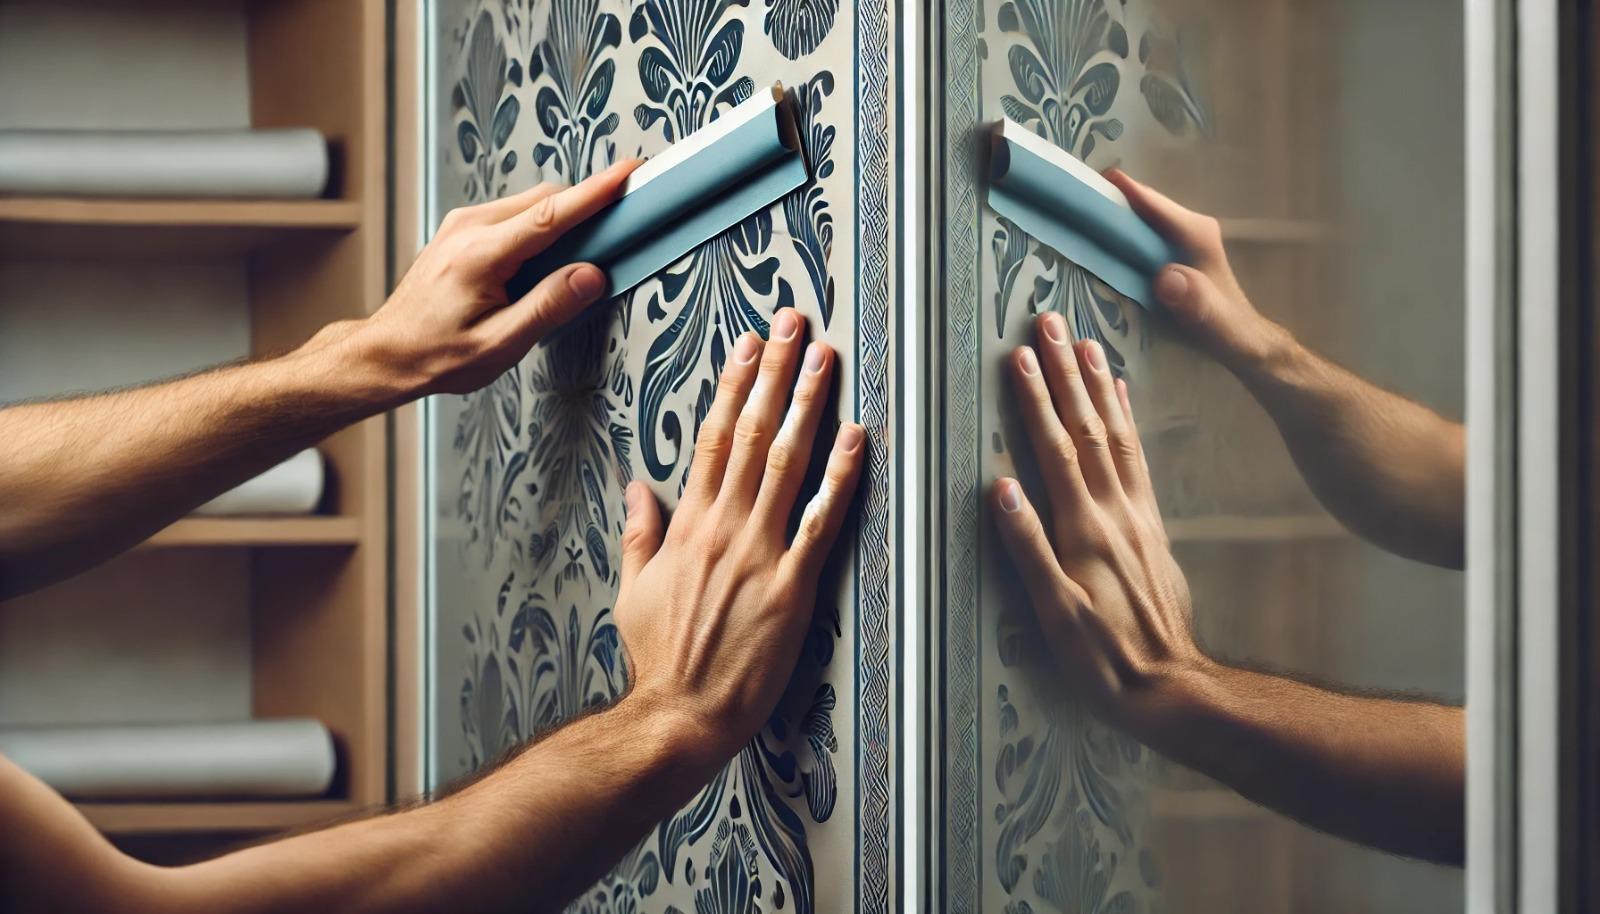
Applying the Adhesive: A Designer’s Touch
Now, let’s apply the paper to the mirrored closet doors:
- Bring the sticky paper inside while folded
- Start at the top edge, slowly unfurling the paper onto the mirror
- Use your hands to smooth the paper, working from the center outward
- For stubborn bubbles, use a squeegee or credit card
- Trim excess with your X-acto knife, using a metal straightedge as a guide
- Work slowly and methodically to ensure a perfect application
- If you make a mistake, carefully peel back the paper and reposition
- Repeat for other sides of the mirror
Also Read: Safe Placement and Ideas for Bedroom Doors: A Comprehensive Guide for Designers
Almost there! Let’s trim everything up for a perfect fit.
Trimming for a Perfect Fit
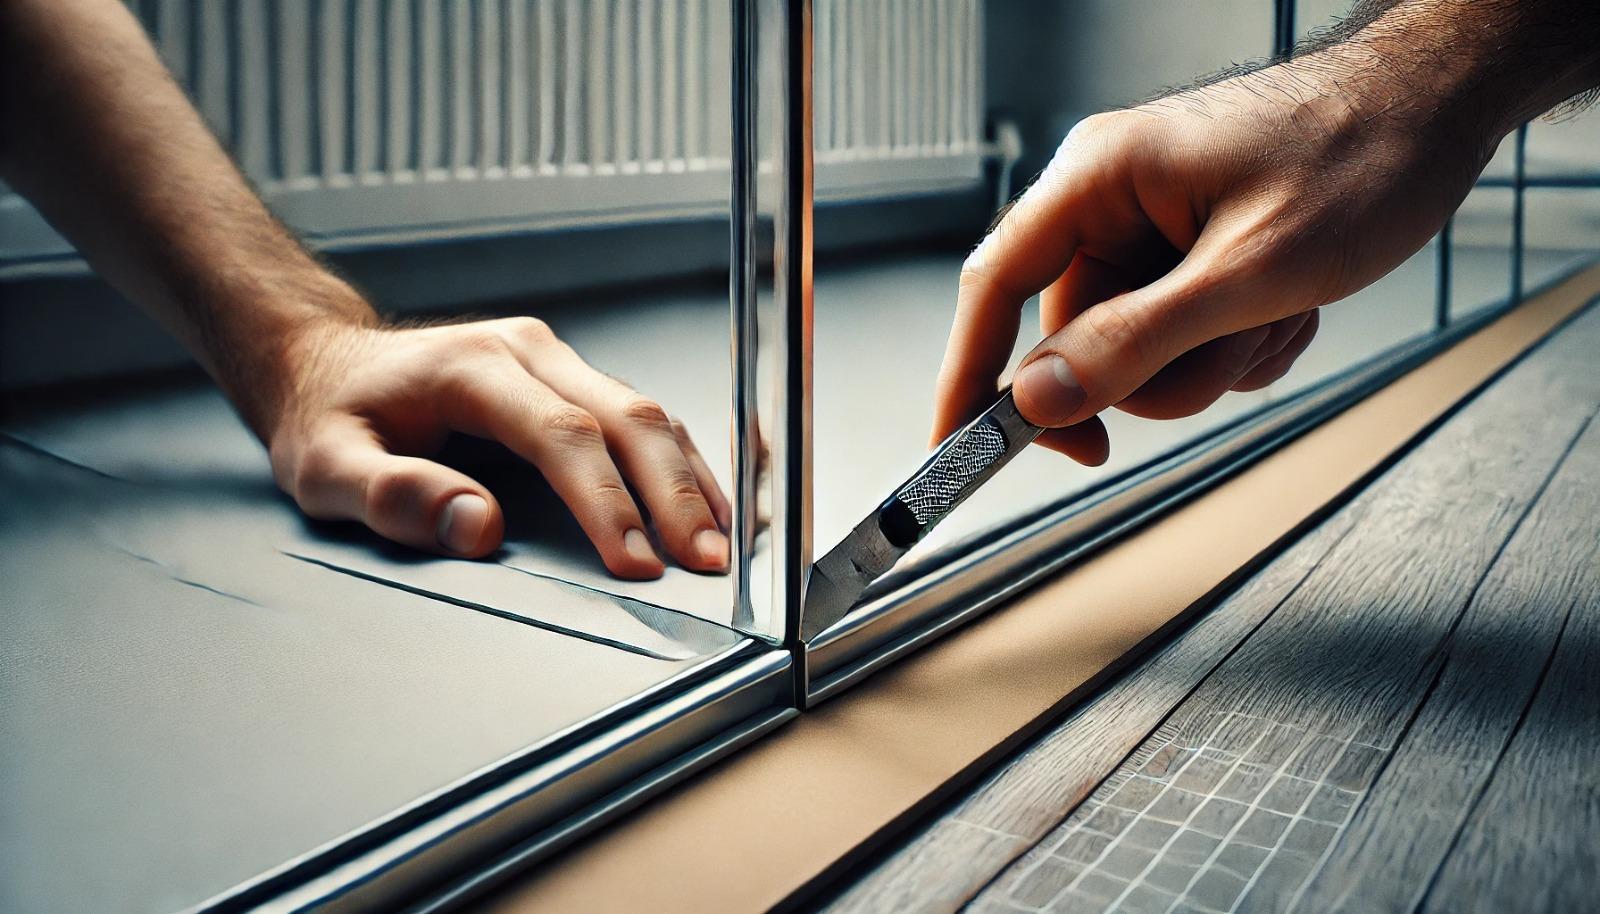
Achieve that custom look with these techniques:
- Crease the edges with a metal ruler before cutting
- For clean cuts, change your X-acto blade frequently
- If the paper sticks to itself, use a thin plastic card to separate it gently
- For minor tears, use a small piece of matching paper as a patch or camouflage with colored pencils
- Take your time with corners and edges for a professional finish
- Step back periodically to check your work from different angles
Looking sharp! Let’s add some finishing touches to make it pop.
Adding the Finishing Touches
Elevate the design with these optional final steps:
- Decide if you want to add self-stick door pulls for functionality
- If using pulls, trace their outline on the paper where you want to place them
- Cut out the traced area carefully
- Attach the door pulls according to the manufacturer’s instructions
- Consider adding decorative trim or molding for a high-end look
- Clean any fingerprints or smudges from the newly covered surface
- Perform a final visual check to ensure everything looks perfect
Also Read: Popular Front Door Colors and Their Meanings
Everything in place? Awesome, let’s brainstorm some design possibilities for a truly custom look.
Exploring Design Possibilities
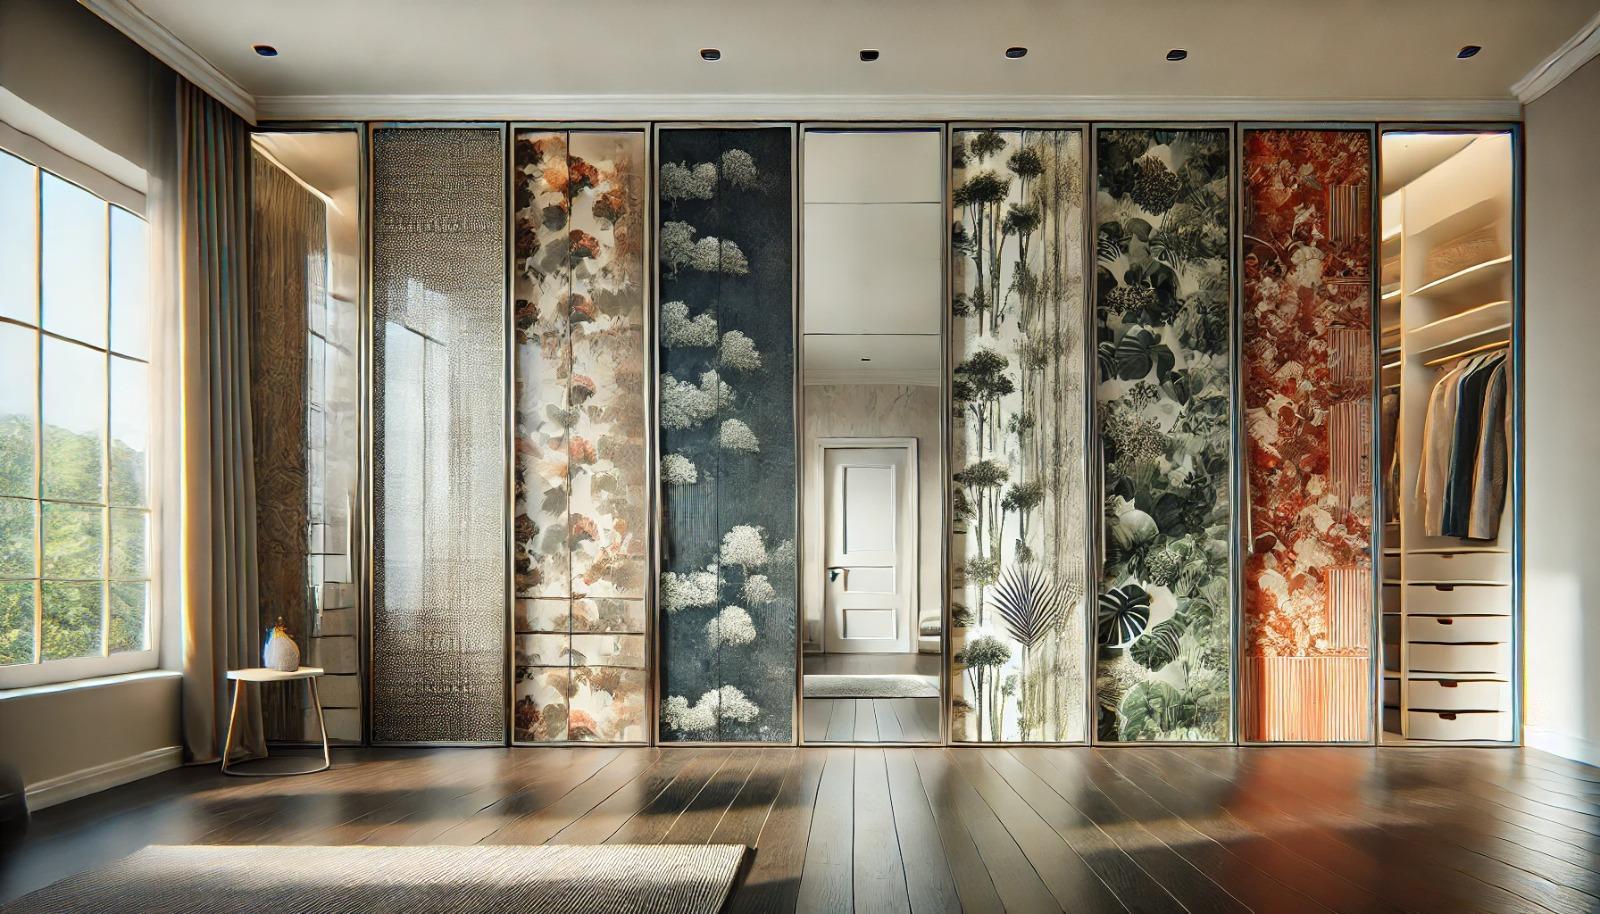
The flexibility of this method opens up numerous design opportunities:
- Textured wallpaper for a luxurious feel
- Bold patterns for a statement piece
- Subtle textures for a sophisticated touch
- Metallic finishes for a modern look
- Nature-inspired prints for a calming atmosphere
- Geometric designs for contemporary spaces
- Faux wood or stone patterns for a natural aesthetic
Conclusion: Elevate Your Design with Simple DIY Methods
Mastering how to cover mirrored closet doors adds a valuable skill to your design repertoire. This DIY method allows you to transform spaces quickly and affordably, showcasing your creativity to clients.
We encourage you to experiment with various papers and techniques. Try different textures, patterns, and finishes to create unique looks for each project. The possibilities are endless – from sleek modern designs to rustic chic styles.
Remember, this method is flexible and adaptable to various situations. Don’t hesitate to put your spin on the process. Your creativity and attention to detail will turn any space into a masterpiece.
For projects requiring a more permanent or high-end solution, consider Paniflex’s range of custom closet doors. Their variety of styles can complement any design vision, offering a professional alternative to DIY methods.Whether you cover existing mirrored closet doors or opt for custom replacements, your innovative approach will continue to impress even your most discerning clients. Ready to elevate your designs? Explore Paniflex’s custom door options today and bring your vision to life with professional-grade solutions that will set your work apart in the competitive world of interior design.