
Are you looking to elevate your closet doors with a stylish and functional upgrade? Installing a new closet door handle may seem daunting, but with the right tools and a few simple steps, you can transform your closet in no time. In this article, we’ll guide you through the process of closet door handle installation, ensuring a seamless and professional result.
Definition of Dummy Door Handles
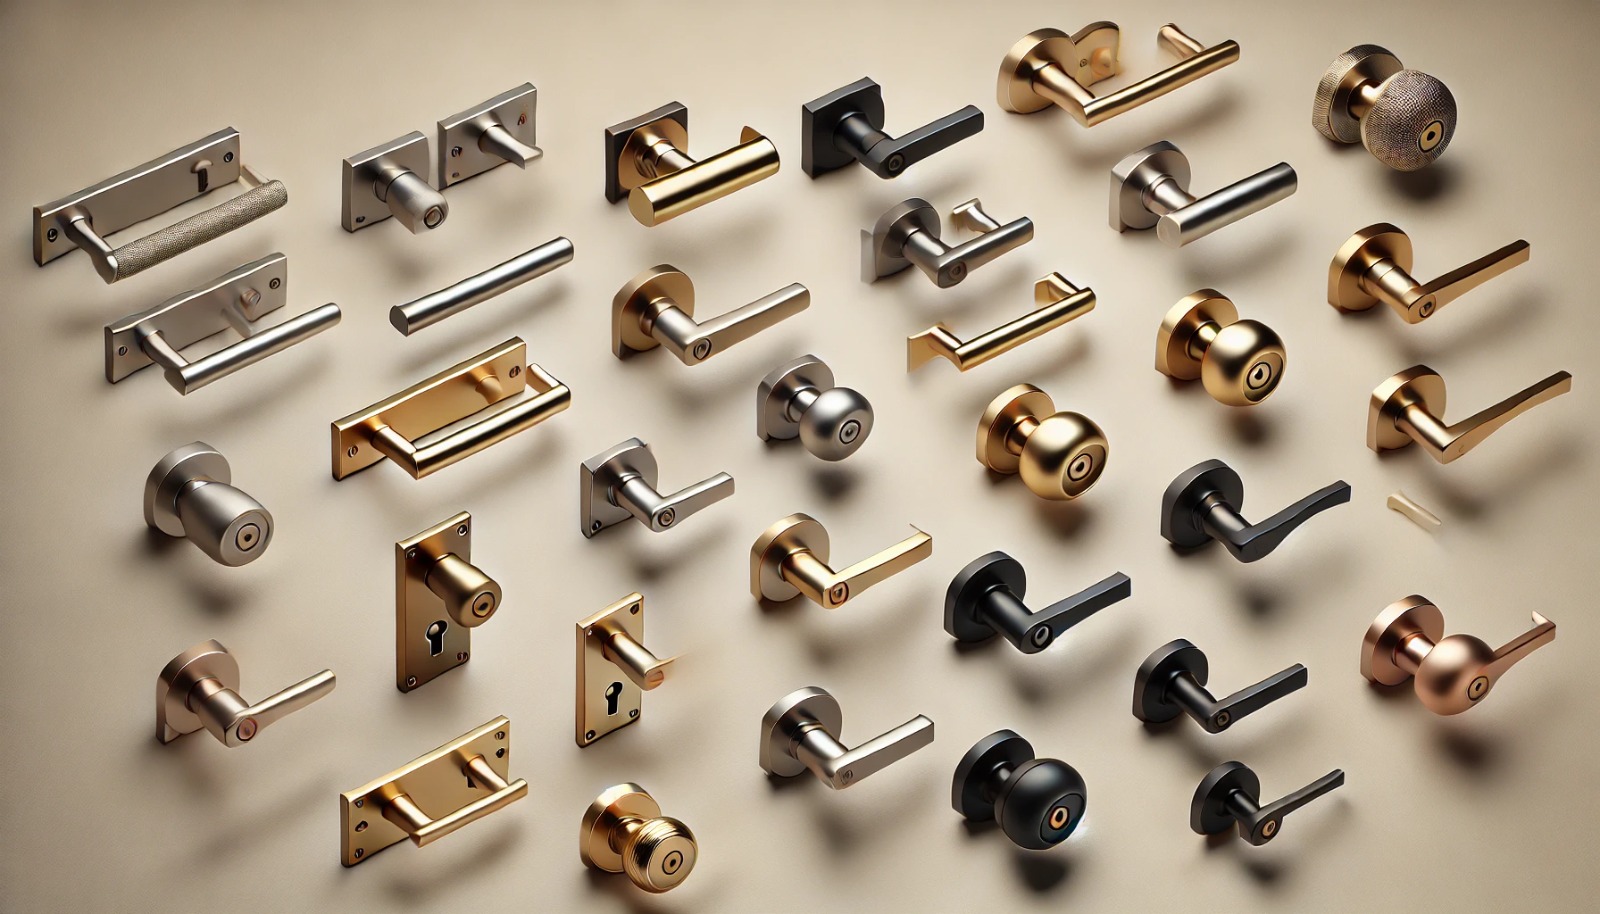
Before we dive into the installation process, let’s clarify what a dummy door handle is. Dummy door handles, also known as dummy door knobs, are non-functional handles that serve a decorative purpose. They are commonly used on closet doors, providing a cohesive look without the need for a locking mechanism. Dummy door handles come in various styles, finishes, and sizes, allowing you to choose the perfect match for your closet doors.
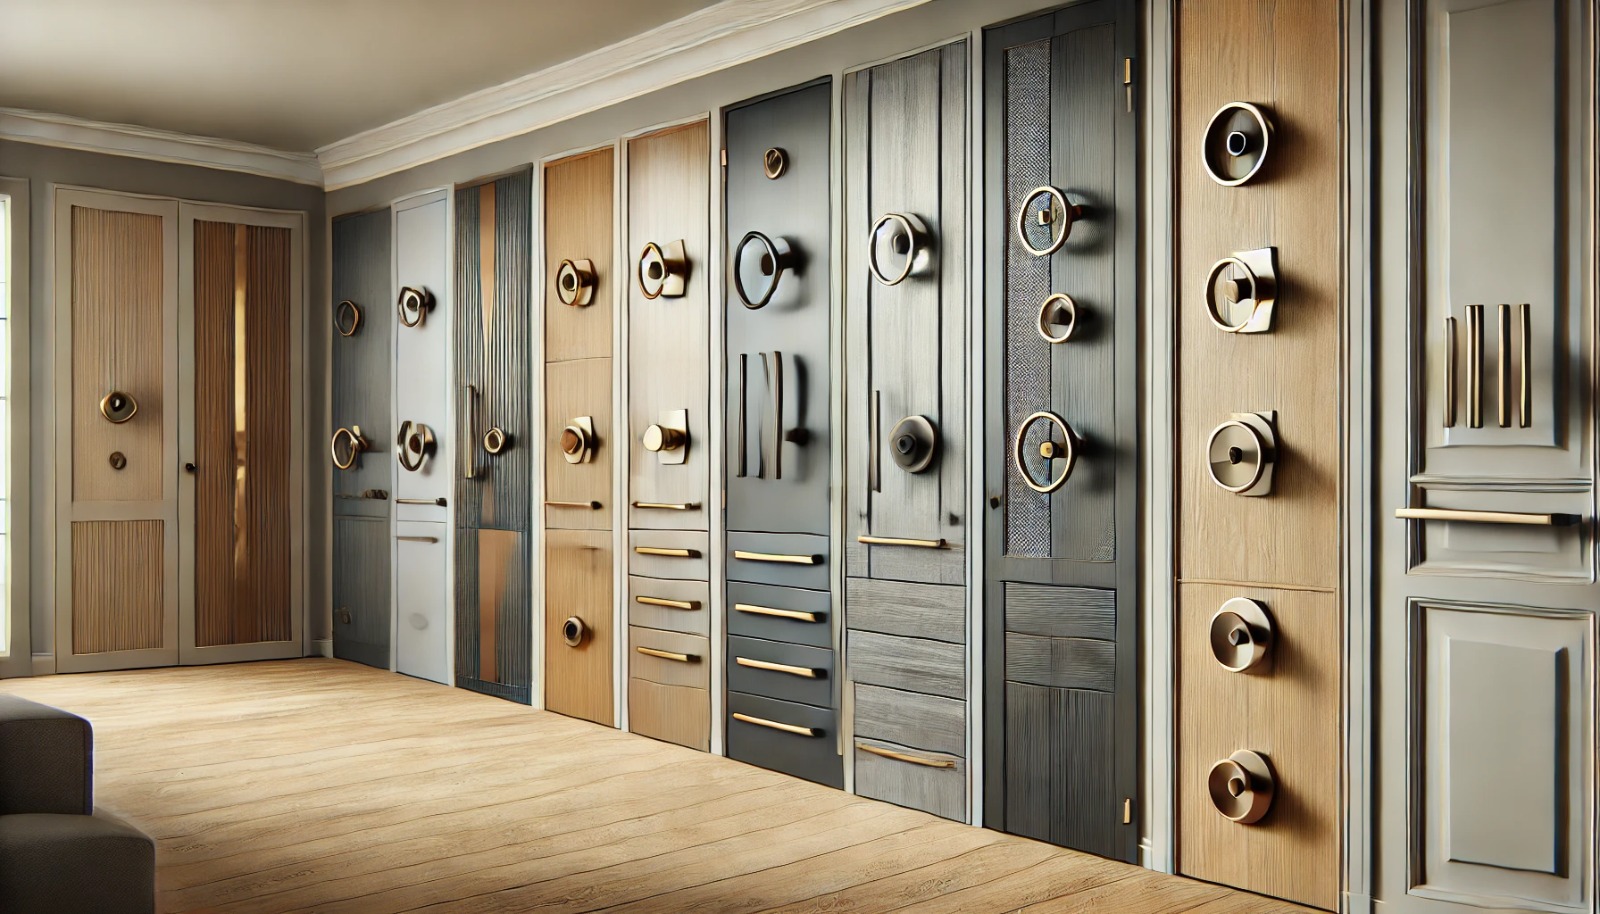
When selecting dummy door handles for your closet door handle installation project, consider the overall design aesthetic of your space. Whether you prefer a sleek and modern look or a more traditional and ornate style, there’s a dummy door handle to suit your preferences. Keep in mind that dummy handles are purely decorative and do not have a latch or lock, making them ideal for closet doors that don’t require a secure closure.
Required Supplies for Installation
To begin your closet door handle installation project, gather the following supplies:
- Studio Short Plate: This is the backplate that sits behind the door knob, providing a finished look and concealing the installation hardware.
- Craftsman Knob: Choose a knob that complements your closet door style and matches the finish of your other door hardware.
- Drill: A power drill is essential for creating pilot holes and securing the handle in place.
- Level: Use a level to ensure your handle is installed straight and even.
- Screwdriver: You’ll need a screwdriver to fasten the screws and securely attach the handle to the door.
In addition to these essential supplies, it’s always a good idea to have a tape measure, pencil, and masking tape on hand to mark the drilling locations and ensure precise measurements.
Before We Dive In
Now that you’ve got the basics down, let’s roll up our sleeves and get into the thick of it! Before you begin the actual installation process, take a moment to familiarize yourself with the instructions provided with your specific door handle. While the general steps are similar across most handles, there may be slight variations depending on the brand and model.
It’s also crucial to ensure that your closet door is properly prepared for the new handle installation. Check that the door is clean, smooth, and free from any old hardware or debris that may interfere with the new handle’s placement. If you’re working with a newly painted door, allow ample time for the paint to dry completely before proceeding with the installation.
Steps for Installing a Closet Door Handle
- Remove the old door knob: Start by carefully removing the existing door knob. Most knobs can be easily unscrewed or popped off with minimal effort. If you encounter any resistance or difficulty, consult the manufacturer’s instructions for specific removal guidance.
- Check screw pattern compatibility: Compare the screw pattern of your new handle with the old one. If they match, you’re good to go. If not, proceed to step 3. Ensuring screw pattern compatibility is essential for a secure and proper fit.
- Make necessary adjustments: If the screw patterns differ, you may need to make slight adjustments to accommodate the new handle. This could involve filling old screw holes with wood filler or drilling new ones to match the new handle’s configuration. Take your time and be precise to ensure a seamless and professional-looking installation.
- Finding the center and marking holes: Use a tape measure and level to find the center of your door. Mark the locations for the new screw holes based on the handle’s specifications. Double-check your measurements to avoid any misalignment or off-center placement.
- Drilling pilot holes: With a drill, create pilot holes at the marked locations. This will make it easier to attach the new handle securely and prevent the wood from splitting. Choose the appropriate drill bit size based on the screws provided with your handle.
- Attach the new door knob: Align the new handle with the pilot holes and securely fasten it using the provided screws. Ensure the handle is level and firmly attached. Avoid over tightening the screws, as this may damage the door or the handle itself.
Project Timeline and Difficulty
Got everything you need? Great, because it’s time to take action and glide into the project timeline. Understanding the expected duration and difficulty level of your closet door handle installation project will help you plan accordingly and set realistic expectations.
- Prep Time: Allocate approximately 10 minutes to gather your supplies, remove the old handle, and ensure your door is ready for the new installation.
- Active Time: The actual installation process, including marking holes, drilling pilot holes, and attaching the new handle, should take around 40 minutes.
- Total Time: From start to finish, expect to spend about 50 minutes on your closet door handle installation project.
- Difficulty Level: This project is considered moderate in difficulty. While it doesn’t require extensive DIY experience, it does involve some drilling and precise measurements.
Remember, these are general estimates, and your actual timeline may vary depending on your level of expertise and the specific characteristics of your closet door.
Tools Required
Before starting your closet door handle installation project, make sure you have the following tools on hand:
- Drill: A power drill is a must-have tool for creating pilot holes and ensuring a secure installation.
- Level: Use a level to ensure your handle is perfectly straight and aligned.
- Pencil: Mark the drilling locations accurately with a sharp pencil.
- Tape Measure: Precise measurements are key to a successful installation. Use a tape measure to find the center of your door and position the handle correctly.
- Screwdriver: A screwdriver is essential for fastening the screws and securely attaching the handle to the door.
Having these tools readily available will streamline your installation process and help you achieve professional-looking results.
Handling Old Door Knob Holes
Got old knobs to deal with? Let’s tackle those before we bring in the new bling. When replacing an old door knob, you may be left with visible holes from the previous installation. Don’t let these holes detract from the beauty of your newly installed handle.
In most cases, removing an old door knob is a straightforward process. Simply unscrew or pop off the knob, and you’re ready to install the new one. However, if the old holes don’t align with the new handle’s screw pattern, you’ll need to take a few extra steps to achieve a seamless look.
One option is to fill the old holes with wood filler or spackling compound. Apply the filler material, allow it to dry completely, and then sand it smooth. Once the surface is even, you can paint over the filled holes to match the door’s color, creating a flawless finish.
Alternatively, if the old holes are too large or numerous to fill, consider using a decorative backplate or rosette to cover them. These decorative elements can add a touch of elegance to your closet door while concealing any unsightly holes.
Elevate Your Closet Doors with Paniflex
Ready to take your closet from functional to fabulous with Paniflex? Let’s see how they can help elevate your space.
When it comes to closet door handle installation, precision and quality are key. Paniflex, a leading provider of custom closet doors, offers a wide range of bifold and sliding door designs that seamlessly blend style and functionality. With Paniflex, you can personalize your closet doors by choosing from various styles, colors, sizes, and panel configurations. Their attention to detail ensures a perfect fit and smooth operation, elevating your closet to new heights.
One of the standout features of Paniflex closet doors is their commitment to quality craftsmanship. Each door is meticulously engineered and manufactured to withstand daily use while maintaining its aesthetic appeal. Whether you opt for a sleek and modern look or a more traditional design, Paniflex doors are built to last.
In addition to their exceptional quality, Paniflex closet doors are designed with functionality in mind. Their advanced track systems ensure smooth and quiet operation, allowing you to access your closet with ease. Plus, with a wide variety of customization options, you can create a closet door that perfectly complements your interior design style.
When you choose Paniflex for your closet door handle installation project, you’re not just investing in a door – you’re investing in a long-lasting, stylish solution that will enhance the overall look and feel of your space. Plus, with their expert installation services and detailed guides, you can have peace of mind knowing that your new closet doors will be installed flawlessly.
Conclusion
Installing a new closet door handle is a simple and rewarding project that can significantly enhance the look and feel of your closet. By following these step-by-step instructions and utilizing the right tools, you can complete the closet door handle installation process with ease. Remember, the key to success lies in careful measurements, proper alignment, and secure attachment.
If you’re seeking a truly exceptional closet door solution, consider exploring the custom options offered by Paniflex. With their commitment to quality and precision, you can transform your closet into a stunning and functional space that reflects your personal style.
So, grab your tools, embrace your inner DIY enthusiast, and give your closet the upgrade it deserves with a beautifully installed door handle. Whether you’re a seasoned pro or a beginner, this project is an excellent opportunity to showcase your skills and add a touch of personality to your closet doors.
Don’t settle for a dull and outdated closet – take the first step towards a more stylish and organized space with a new closet door handle. And if you’re ready to take your closet to the next level, remember that Paniflex is here to help you every step of the way.


