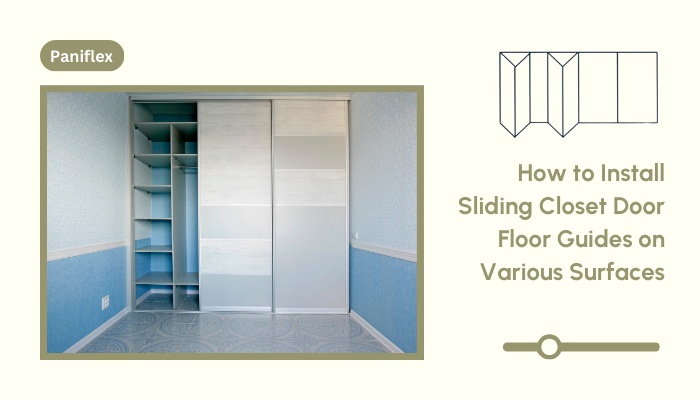
Are you an interior designer or architect looking to create the perfect closet space for your clients? Installing sliding closet door guides is a crucial step in ensuring smooth and effortless door operation. At Paniflex, we understand the importance of precision and quality in every aspect of closet door installation. In this article, we’ll guide you through the process of installing sliding closet door guides on various surfaces, so you can achieve professional results every time.
Choosing the Right Location for Floor Guides
Before you begin installing sliding closet door guides, it’s essential to choose the right location. Positioning the bottom guides correctly ensures proper alignment with the closet door sliding tracks. Take the time to measure and mark the ideal spot for your guides to guarantee smooth door movement. With the perfect location marked, let’s dive into the installation process for different flooring types.
Installation on Carpet
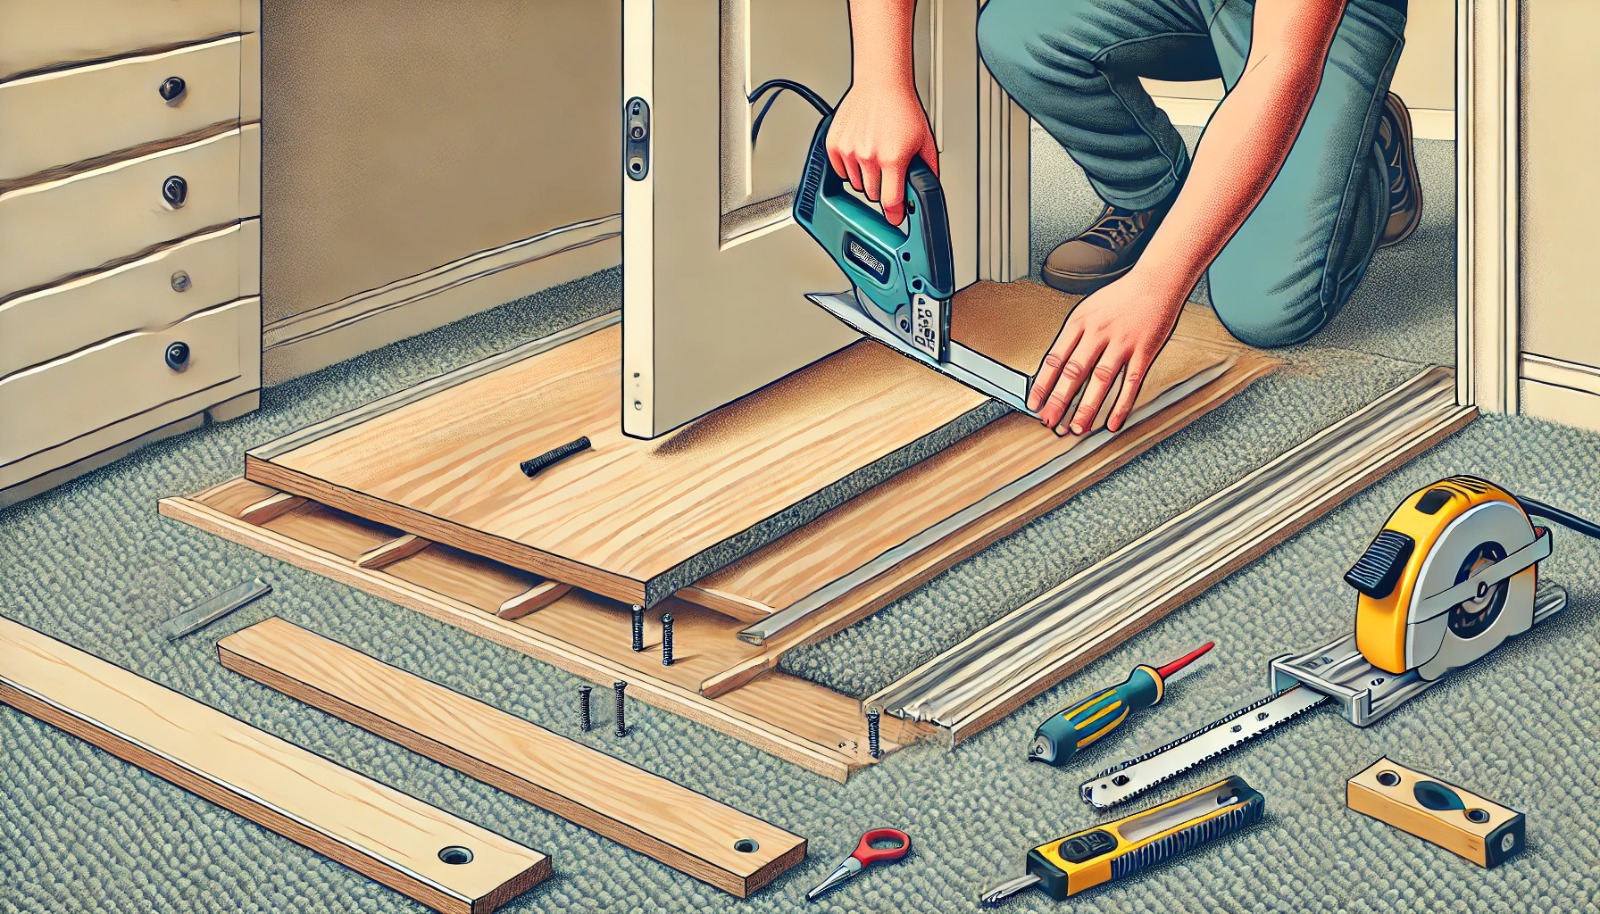
Installing sliding closet door guides on carpet can present unique challenges, such as carpet fibers getting caught in drills. To secure guides through carpet into wood floors, follow these steps:
- Cut an ‘X’ in the carpet at the marked location for the guide
- Fold back the carpet flaps to expose the wood floor
- Drill pilot holes and secure the guide using appropriate screws
- Trim any excess carpet fibers and tuck the flaps neatly around the guide
Great! Now, let’s tackle hard surfaces like hardwood and tile after conquering carpeted floors.
Installation on Hard Floors
When installing sliding closet door guides on hardwood or tile surfaces, it’s crucial to protect the floor finish during the process. Consider these tips:
- Use a piece of masking tape to mark the drilling location and prevent scratches
- Select appropriate screws and anchors designed for hard surfaces
- Apply gentle pressure when drilling to avoid cracking or chipping the floor
If you’re working with porcelain tile, a tile hole saw can effectively drill without cracking the tile, as long as it is correctly installed. Keep the drill bit cool with some water to avoid complications.
Fantastic! But what if your carpet is extra thick after handling hardwood and tile with care?
Using Plywood for Added Stability
If your carpet and pad are particularly thick, adding a plywood base can provide extra stability for your sliding closet door guides. Here’s how:
- Cut a small piece of plywood slightly larger than the guide base
- Secure the plywood to the subfloor using screws
- Install the guide onto the plywood following the carpet installation steps
Now that you’ve beefed up the base, let’s make sure those guides are locked in place securely.
Securing the Guides

Once you’ve prepared the surface and drilled the necessary holes, it’s time to secure your sliding closet door guides. Ensure that the guides are properly aligned and fastened, sitting flush with the surface to prevent door jamming. Use a level to double-check the alignment before tightening the screws completely.
For a visual demonstration of installing a closet track guide onto laminate wood flooring, check out this step-by-step installation guide video.
Perfect! The moment of truth has arrived – testing the doors after securing and leveling the guides.
Checking Door Functionality
After installing sliding closet door guides, always test the door movement to ensure smooth operation. Open and close the door several times, checking for any gaps or resistance. If necessary, make minor adjustments to the guides until the door glides effortlessly.
This video shows the installation of a closet sliding door bottom guide on engineered hardwood floor using super glue, presenting an adhesive solution that’s relevant for engineered hardwood installation.
Awesome! Now, let’s talk about keeping the doors gliding like a dream for years to come.
Maintenance Tips
To keep your sliding closet doors functioning flawlessly, regular maintenance is key. Inspect the floor guides periodically for any signs of wear or loosening. Clean the tracks and guides with a soft brush or vacuum attachment to remove dust and debris, ensuring ongoing smooth door operation.
If you ever need to replace missing sliding door guides, identify and purchase the correct guide model, remove the sliding door completely, and follow the steps to remove and replace the guide assembly.
With maintenance squared away, let’s wrap up with some final thoughts on achieving professional results with your door installations.
Alternative Solutions
When installing sliding closet door guides on laminate flooring, adhesives can be a viable alternative to screws. Try using a removable adhesive that won’t damage the laminate if you need to remove it later. Super glue, 3M automotive grade double-sided tape, or Gorilla Tape are some options to consider.
For an easy and effective method to install closet door floor guides on a laminate floor without drilling holes, check out this helpful video guide.
Conclusion
Installing sliding closet door guides may seem daunting, but with the right techniques and attention to detail, you can achieve professional results on any surface. Remember to choose the correct location, secure the guides properly, and test the door functionality thoroughly. By following these guidelines and selecting high-quality, custom doors from Paniflex, you’ll create stunning and functional closet spaces that your clients will love for years to come.


