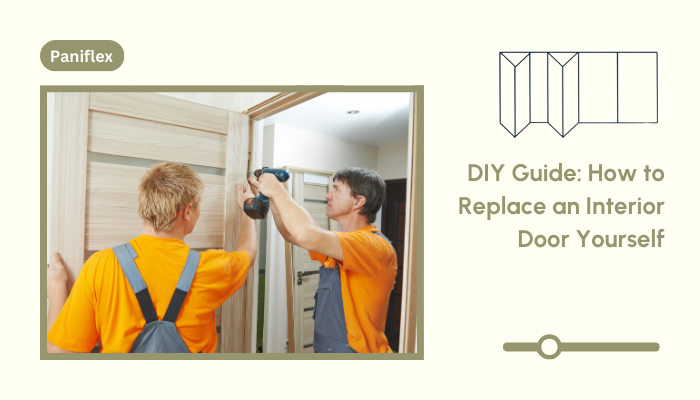
Are you an interior designer looking to expand your skill set? Or perhaps you’re working on a project where custom doors are key to the overall aesthetic? Whatever your reason, mastering the art of changing a door can elevate your designs and impress your clients. Let’s dive into this step-by-step guide tailored for professionals like you.
Materials and Tools: Setting the Stage for Success
Before you begin changing a door, gather these essentials:
- A new interior door (Consider Paniflex’s custom options for a perfect fit)
- Accurate measurements of the existing door frame
- Tools: Screwdrivers (both flathead and Phillips), claw hammer, power drill with various bit sizes, spirit level, wood chisel set, utility knife, tape measure, and pencil
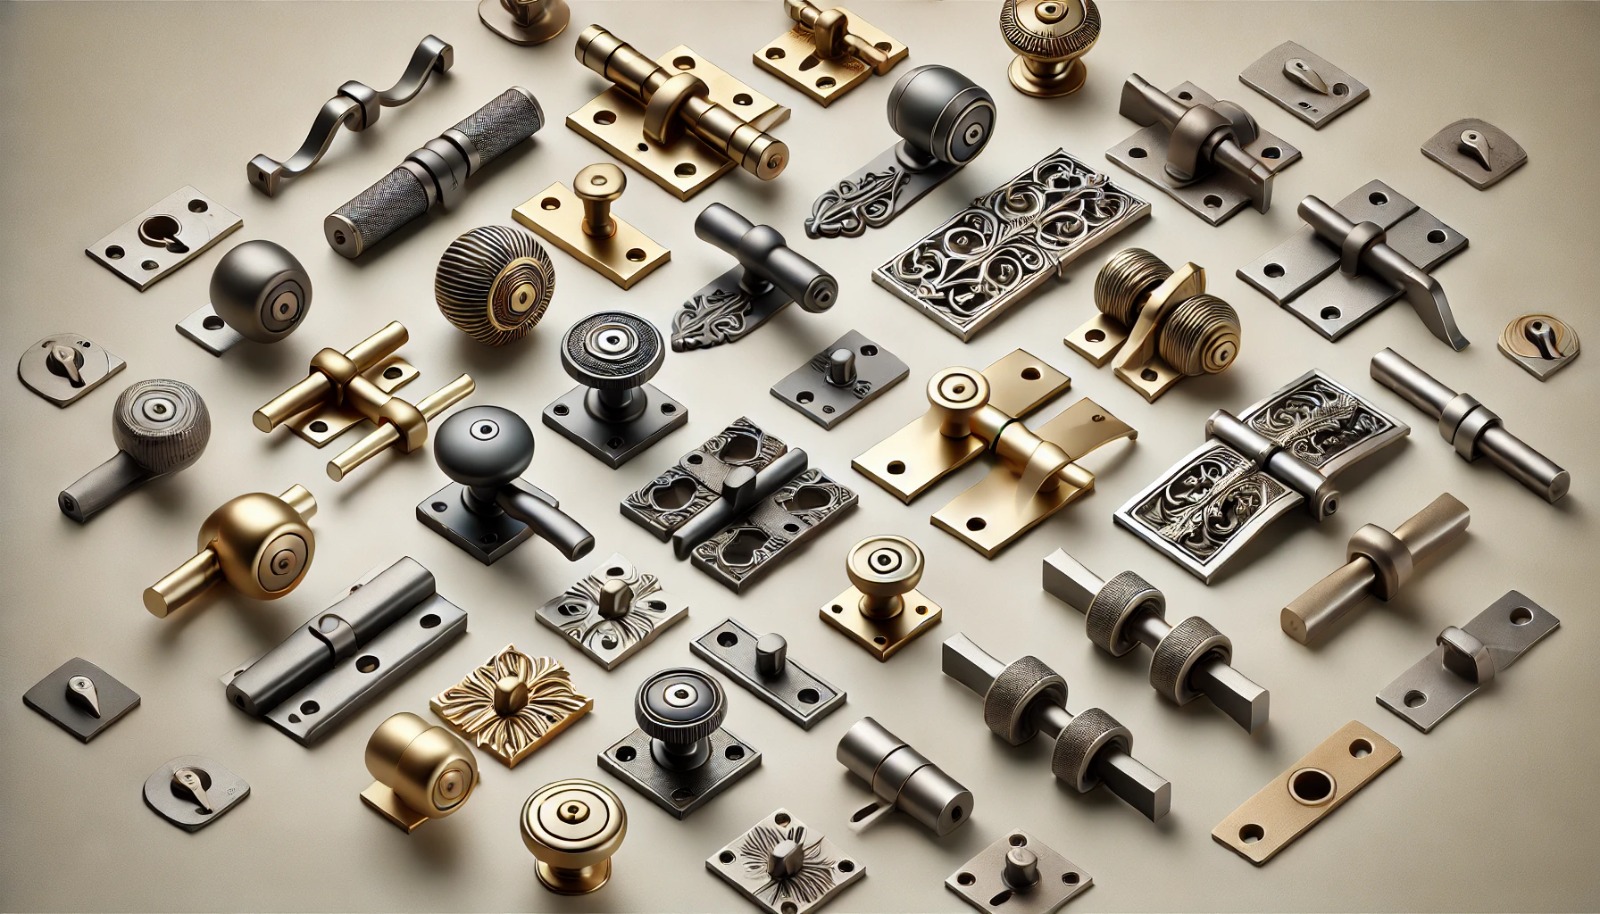
- Include door knob or lever handle, hinges (usually 3 per door), strike plate, wood screws, finishing nails, and wood filler in your materials list
Pro tip: Paniflex offers a wide range of custom closet doors that can add a unique touch to your designs. Why not explore their catalog for inspiration? Their bifold and sliding door options could be perfect for maximizing space in compact rooms.
Removing the Old Door: Out with the Old
- Remove all hardware from the existing door first. This includes the doorknob, lockset, and any decorative elements.
- Carefully detach the door from its hinges. You may need a helper to support the door’s weight as you remove the hinge pins.
- Either dispose of the old door responsibly or repurpose it for another project. You may upcycle it into a rustic table or a unique wall decoration for eco-conscious clients.
Preparing the Door Frame: The Foundation of a Perfect Fit
- Inspect the door frame for any damage or irregularities. Inspect for signs of rot, warping, or insect damage.
- Use a pry bar and utility knife to remove old trim and door stop molding. Be gentle to avoid damaging the surrounding wall.
- Ensure the rough opening is square and level. Use a carpenter’s square in the corners and a level on all sides.
- Place shims as necessary to create a perfect foundation. Position them behind hinge locations and at the top of the frame.
Remember, precision at this stage is crucial for a smooth-operating door. Take your time here – it’ll save you headaches later.
Now that your door frame is prepped and ready, let’s talk about getting the new frame in place.
Installing the New Door Frame: Precision is Key
- Insert the new frame into the rough opening. If you’re using a pre-hung door, this step might be combined with hanging the door itself.
- Align perfectly using your level. Check plumb on both sides and level across the top.
- Fasten the frame with screws, checking level and plumb as you proceed. Start with the hinge side, then move to the latch side.
Alright, with the new frame secured, it’s time for what might be the most satisfying part: hanging the door.
Hanging the New Door: The Moment of Truth
- Attach hinges to the door, ensuring they’re flush and aligned. Use a chisel to create mortises if needed.
- Hang the door carefully on the frame, aligning the hinges. This is often easier with a helper.
- Test the door’s operation, making adjustments as needed. Aim for even gaps all around when closed.
This step is where changing a door transforms from a task to an art form. Take your time to achieve that perfect swing. A well-hung door should open and close smoothly, with no sticking or uneven gaps.
With your door perfectly hung, let’s give it those final designer touches to make it truly stand out.
Installing Trim and Finishing Touches: The Designer’s Flair

- Cut and fit new trim to complement your design aesthetic. Consider using Paniflex’s custom trim options for a cohesive look.
- Use caulk for a weather-tight seal and clean finish. Choose a color that matches your trim for a seamless appearance.
- Paint or stain the trim to match or contrast with the door as you desire. This is your chance to tie the door into the overall room design.
Lastly, it’s time to install the door hardware for that complete, polished look.
Installing Door Hardware: The Final Pieces
- Fasten the doorknob or lever handle precisely. Ensure it’s level and at the right height for comfortable use.
- Attach the latch and strike plate, ensuring perfect alignment. A well-aligned latch will engage smoothly and quietly.
- Perform a final check of the door’s fit and operation. Open and close it several times, listening for any unwanted sounds.
Conclusion: Mastering the Art of Changing a Door
Changing a door is more than just a practical skill—it’s an opportunity to enhance your designs and offer added value to your clients. By mastering this process, you’re not just installing a door; you’re creating a seamless transition between spaces that can elevate the entire room.
Remember, for those special projects where off-the-shelf won’t do, Paniflex’s custom closet doors can provide that perfect finishing touch. Their range of styles and configurations can help you create truly unique spaces that will wow your clients. Whether you’re looking for sleek sliding doors or classic bifolds, Paniflex has options to suit every design aesthetic.
Ready to take your interior design projects to the next level? Start incorporating custom door installations into your repertoire, and watch as your designs transform from great to extraordinary. With your newfound skills in changing a door and Paniflex’s custom options at your fingertips, you’re well-equipped to create spaces that are both functional and visually stunning.


