Are you ready to transform your clients’ spaces with sleek, functional sliding doors? As an interior designer or architect, mastering sliding door installation is a game-changer for your projects. This comprehensive guide will walk you through the process of installing sliding doors, from initial measurements to the final touches, providing valuable insights for both residential and commercial applications.
Benefits of Installing a New Sliding Door
- Maximizes space utilization
- Enhances natural light and views
- Improves energy efficiency
- Adds a modern, streamlined aesthetic
Curious why the installation process is so important? Let’s dive into that next.
Importance of Proper Installation
Properly installing sliding doors enhances both aesthetics and functionality. When you install a sliding door well, it not only looks great but also operates smoothly and provides optimal energy efficiency. Attention to detail during installation prevents future issues such as drafts, sticking, or misalignment.
Professional Installation Support
While this guide provides a comprehensive overview, consider recommending professional installation to your clients, especially for complex projects or if they lack DIY experience.
Choosing the Right Size Sliding Door
Measuring the Rough Opening
- Begin by carefully removing the door casing to accurately locate the studs behind the wall surface. This step is crucial for precise measurements and secure installation.
- Measure the width at the top, middle, and bottom of the opening.
- Measure the height on both sides and in the center.
- Use the smallest measurements for a proper fit.
Pro tip: Use a laser level for more accurate measurements and to ensure your lines are perfectly straight.
Now that we’ve got the measurements sorted let’s talk about how to pick the perfect door.
Selecting New Doors
Choose doors based on:
- Accurate measurements (slightly smaller than the rough opening)
- Design aesthetics that complement the space
- Security features:
- Multi-point locking systems for enhanced security
- Reinforced glass options (e.g., laminated or tempered glass) for impact resistance
- Smart lock compatibility for integration with home security systems
- Energy efficiency ratings (look for ENERGY STAR certified options)
Pro tip: Paniflex offers customizable sliding door options to fit any opening perfectly while meeting your design vision for both residential and commercial projects. Their doors come with various security features to suit various client needs.
Preparing the Opening for Installation
Inspection and Verification
- Ensure all parts are included with the new door.
- Verify the structural integrity of the rough opening, checking for any signs of decay or damage.
- Double-check the dimensions against your measurements.
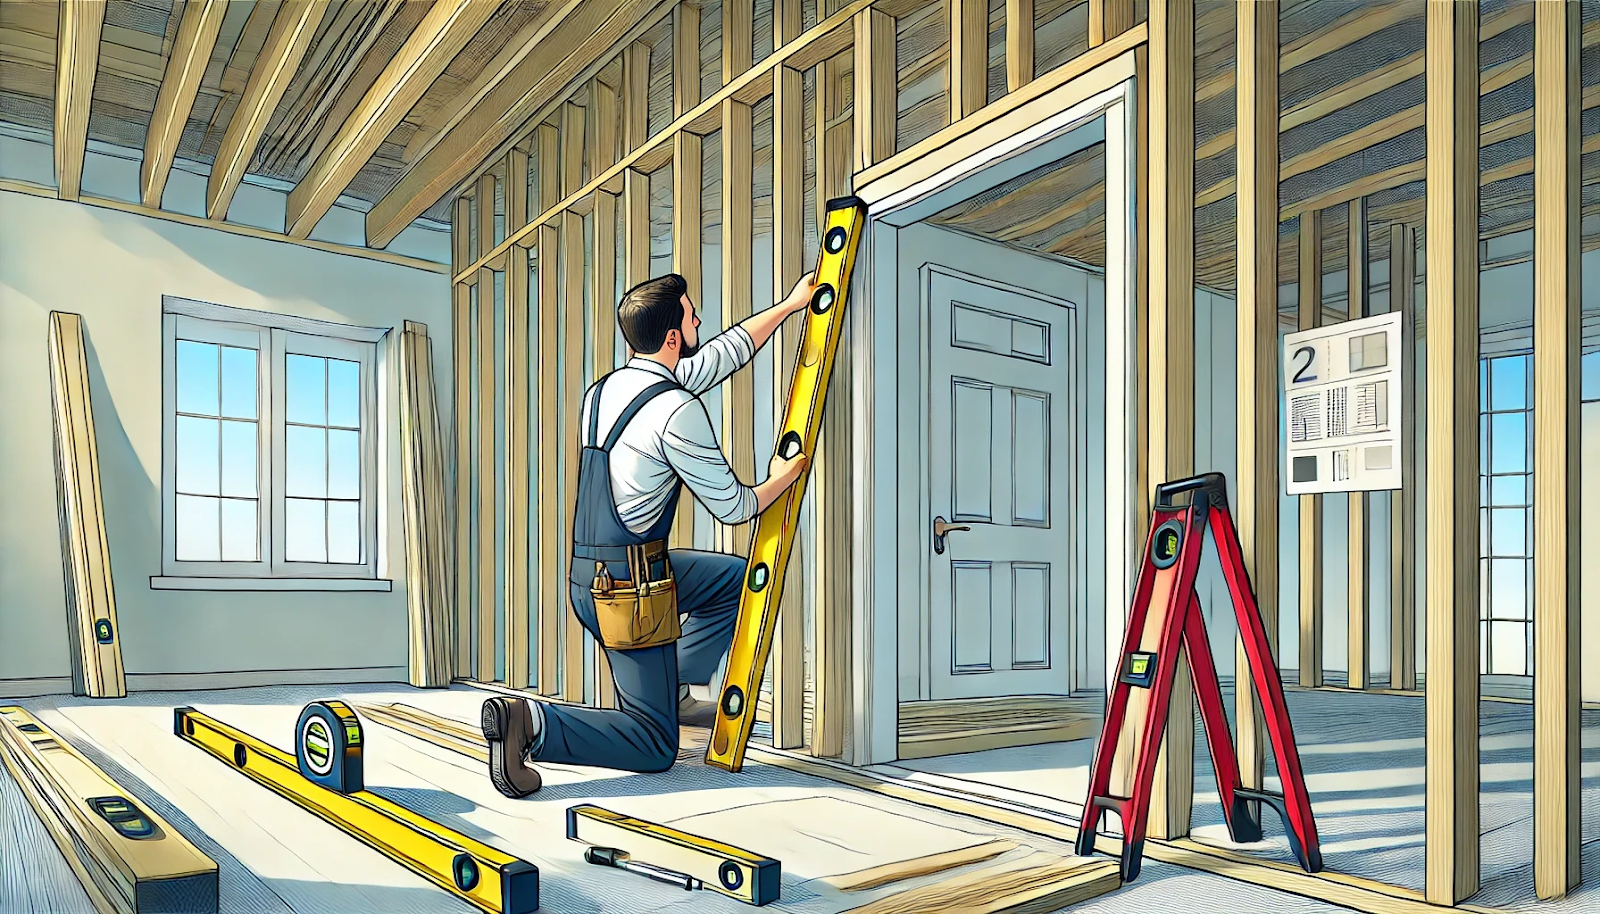
Ensuring Proper Alignment
- Verify the sill plate is level.
- Check that the opening is plumb, level, and square.
- Correcting Discrepancies: Use a level to identify uneven spots. If the rough opening width varies, use shims to adjust for squareness. Fill any gaps with wood filler and ensure the opening is symmetrical.
Pro tip: When checking for plumb, use a long level (at least 4 feet) for more accurate results. For checking square, measure diagonally from corner to corner in both directions – the measurements should be within 1/4 inch of each other for a proper square.
Ready to start sealing things up? Let’s cover caulking the opening.
Caulking the Opening

Creating a Sill Pan
- Cut roll flashing to size for the sill.
- Apply a bead of caulk along the sill.
- Press the flashing into place, creating a waterproof sill pan.
Weatherproofing
Apply silicone caulk around edges where siding and house wrap meet to ensure water resistance. This step is crucial for long-term protection against moisture intrusion.
Positioning the New Door
Installation Process
- Start by inserting the bottom of the door into the opening.
- Tilt the top of the door into place.
- Use shims to create a secure, level fit.
- For sliding doors with hinged panels, follow the manufacturer’s instructions to attach the hinges securely. This typically involves:
- Aligning the hinge leaves with pre-drilled holes in the door frame
- Inserting and tightening screws to fasten the hinges
- Checking for smooth operation and adjusting as needed
Did you get the frame secured? Perfect! Now, let’s move on to securing the threshold.
Securing the Door
Fastening the Frame
- Use finishing nails or screws to secure the brick mould and door frame.
- Ensure the frame is plumb and level before fully tightening.
Trimming Excess
Trim excess shims with a utility knife to flush with the door frame for a clean look. This attention to detail enhances the overall appearance and ensures a professional finish.
Securing the Threshold

Attachment and Sealing
- Attach the threshold with screws, avoiding exposed screw heads.
- Use expanding foam insulation to seal gaps around the frame.
- Use a utility knife to carefully trim any excess foam for a neat appearance, ensuring no foam is visible around the frame.
- Cover exposed foam with trim for a finished look.
Final Touches
- Apply caulk to the joint between trim and wall and around the exterior door casing.
- Fill nail holes with a spackle for a polished appearance.
And voilà, we’re done! But remember, the final touches make all the difference.
Conclusion
Installing a sliding door well enhances a space’s aesthetic appeal, functionality, and energy efficiency. By following this comprehensive guide, you can ensure a professional installation that will delight your clients and stand the test of time in both residential and commercial settings.
Remember, proper installation is key to avoiding future issues such as drafts, sticking, or misalignment. If you or your clients are unsure about any step of the process, don’t hesitate to seek professional installation support.
The importance of correct sliding door installation cannot be overstated. It directly impacts the door’s operation, energy efficiency, and longevity. A properly installed sliding door will glide smoothly, seal tightly, and provide years of trouble-free use, enhancing the overall value and enjoyment of the space.Ready to elevate your next project with a beautifully installed sliding door? Explore Paniflex’s range of customizable sliding door solutions and expert installation services for both residential and commercial applications. Contact us today to bring your design vision to life with confidence, ensuring your clients receive a perfect blend of form and function in their sliding door installation.


