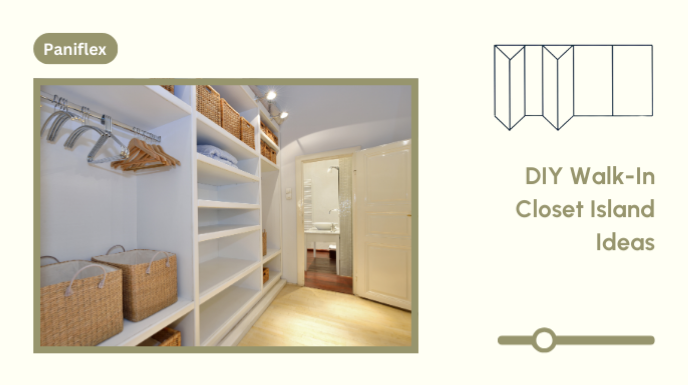
Are you an interior designer or architect looking to elevate your clients’ walk-in closets without breaking the bank? A custom closet island might be just the solution you need. But why spend a fortune on pre-made options when you can create a stunning, personalized piece yourself? Let’s dive into some innovative DIY walk-in closet island ideas that will impress your clients and showcase your creativity.
Why Consider a DIY Custom Closet Island?
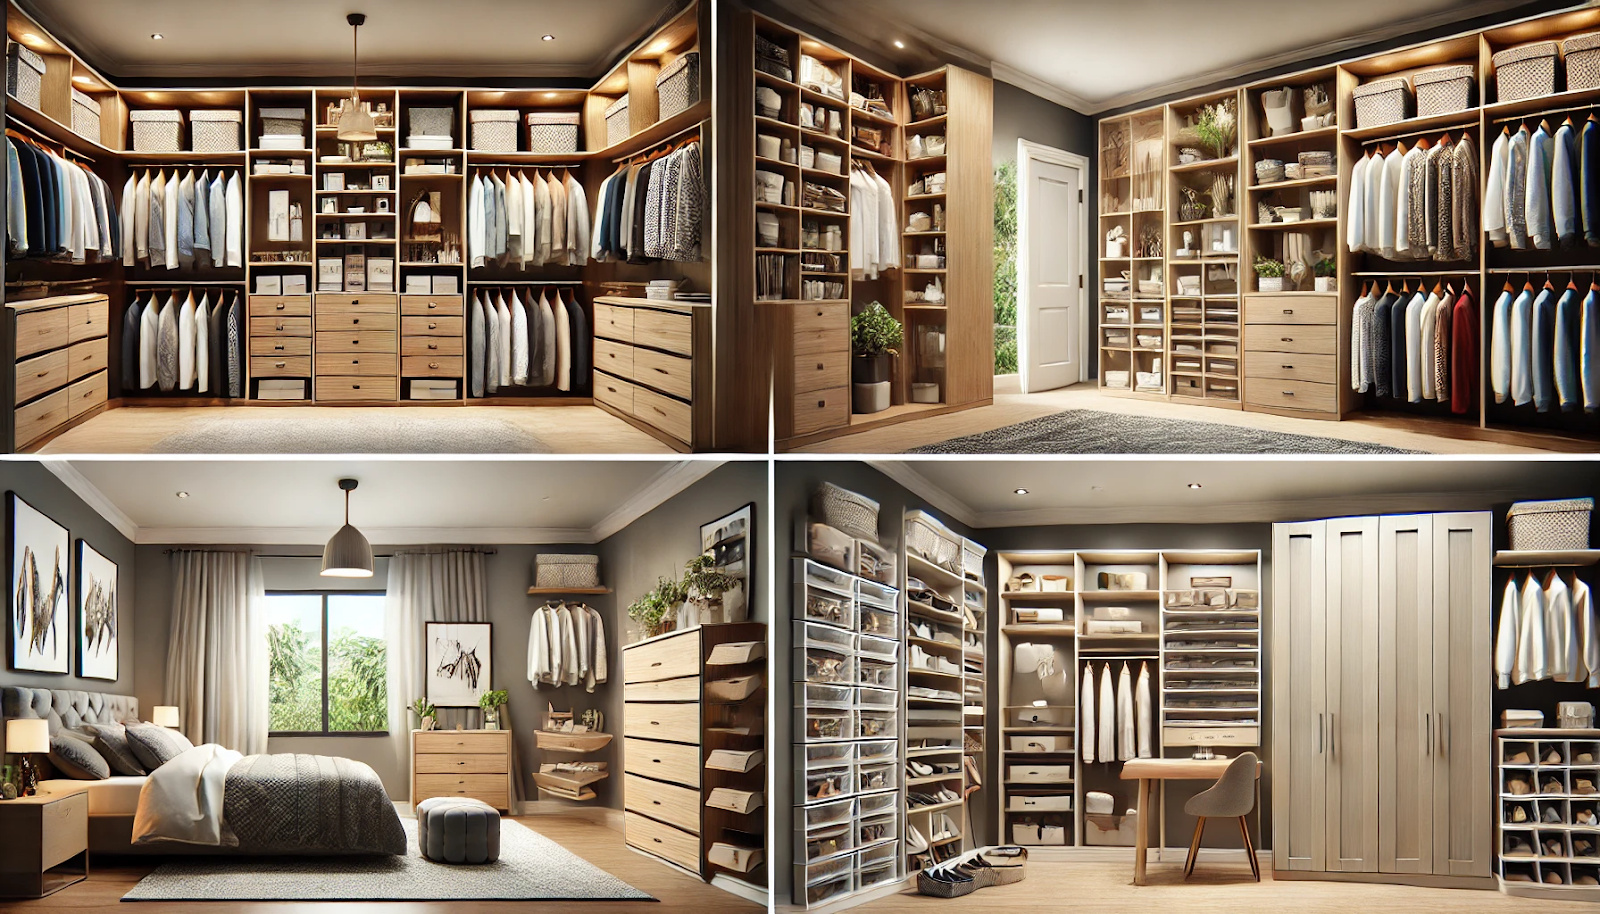
Walk-in closets are no longer just storage spaces; they’re becoming luxurious retreats within homes. A well-designed custom closet island transforms these spaces, offering both functionality and style. However, pre-made options often have hefty price tags. This is where your DIY skills come in handy!
Opting for a DIY approach allows you to:
- Tailor the design to your client’s specific needs and style preferences
- Control costs while maintaining high-quality results
- Showcase your creativity and craftsmanship
- Easily modify the island as storage needs change
Ready to get started? Let’s explore the materials, tools, and steps you’ll need to create the perfect custom closet island.
Gathering Your Materials and Tools
Before you begin your DIY custom closet island project, you must have all the necessary materials and tools at hand. Here’s what you’ll need:
Materials:
- Shelving units (consider affordable options like IKEA’s KALLAX or BESTA series)
- Legs or casters for mobility
- Drawer inserts or baskets for organization
- Countertop material (marble, granite, or a more budget-friendly laminate)
- Wood for framing (if needed)
- Paint or wood stain
- Hardware (handles, knobs)
Tools:
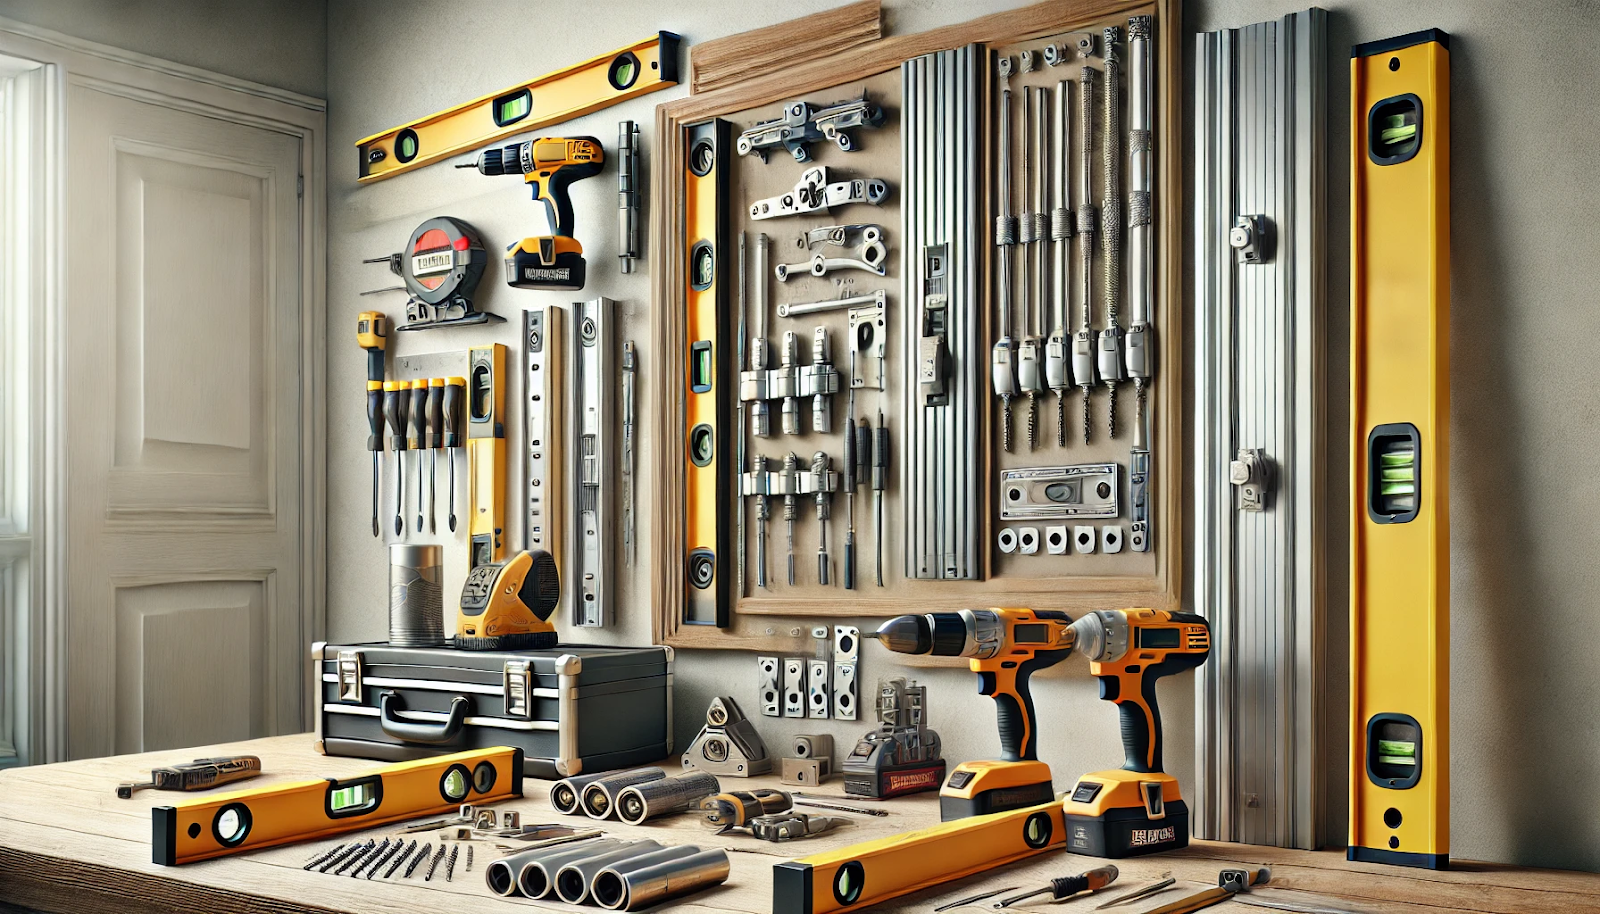
- Power drill and drill bits
- Screwdriver set
- Level
- Measuring tape
- Saw (if customizing the shelving units)
- Sandpaper
- Paint brushes or rollers
Pro tip: When selecting materials, consider durability and ease of maintenance. Your clients will appreciate a custom closet island that not only looks great but stands the test of time.
Step-by-Step Guide to Building Your Custom Closet Island
Now that you have a solid plan and materials in place, let’s jump into the fun part – building your masterpiece step-by-step!
- Plan and measure: Carefully measure the available space in the walk-in closet. Design your island to allow for at least 36 inches of clearance on all sides.
- Assemble the base: If you use IKEA shelving units, follow the provided instructions to assemble them. If you create a custom base, build the frame using wood and secure it with screws.
- Add stability: You should attach legs or casters to the base. Ensure you securely fasten them to support the weight of the island and its contents.
- Customize the storage: Arrange the shelves and drawer inserts to maximize storage potential. Consider your client’s specific needs: do they need more drawers for accessories or open shelving for folded items?
- Install the countertop: Measure and cut the chosen countertop material to fit the top of your island. Secure it in place with adhesive or screws, depending on the material.
- Add finishing touches: Paint or stain the visible parts of the island to match your client’s decor. Install hardware such as handles or knobs for a polished look.
Remember, the beauty of a DIY custom closet island is its flexibility. You can easily adapt these steps to create unique designs that perfectly fit each client’s space and style.
Decorating Your Custom Closet Island
Alright, with your custom closet island looking fabulous, let’s think about adding those extra touches that will make it pop. Here are some ideas to elevate its appearance and functionality:
- Use decorative trays to display jewelry or perfumes
- Add a small vase with fresh flowers for a touch of elegance
- Incorporate a pull-out mirror for convenience
- Install under-cabinet lighting for a luxurious glow
- Use stylish baskets or boxes to hide clutter
Encourage your clients to personalize the space with meaningful objects or artwork that reflect their style. This personal touch will make the custom closet island feel like an integral part of their home.
Upgrading and Personalizing Your Custom Closet Island
As you live with your DIY creation, you may find ways to enhance it further. Here are some ideas for future upgrades:
- Add a built-in charging station for devices
- Install a fold-out ironing board for convenience
- Incorporate a pull-out laundry hamper
- Create a dedicated space for shoe storage
- Add a wine rack for clients who enjoy a glass while getting ready
Remember, the beauty of a DIY custom closet island is its adaptability. As your clients’ needs change, you can easily modify the island to keep up with their evolving lifestyle.
Conclusion: Your Custom Closet Island Awaits
Creating a DIY custom closet island is an exciting project that allows you to showcase your skills as an interior designer or architect. By following these steps and incorporating your unique vision, you can craft a stunning centerpiece for any walk-in closet. Not only will you save your clients money, but you’ll also provide them with a truly personalized storage solution.
Ready to take your closet designs to the next level? Consider pairing your custom closet island with Paniflex’s range of custom closet doors. Their high-quality, customizable options can complement your DIY island perfectly, creating a cohesive and luxurious closet space. Visit Paniflex.com to explore their selection and find the perfect doors to complete your closet design.
Remember, a well-designed custom closet island isn’t just about storage – it’s about creating a space that brings joy and efficiency to your clients’ daily routines. So roll up your sleeves, grab your tools, and start crafting the perfect custom closet island today!


